views
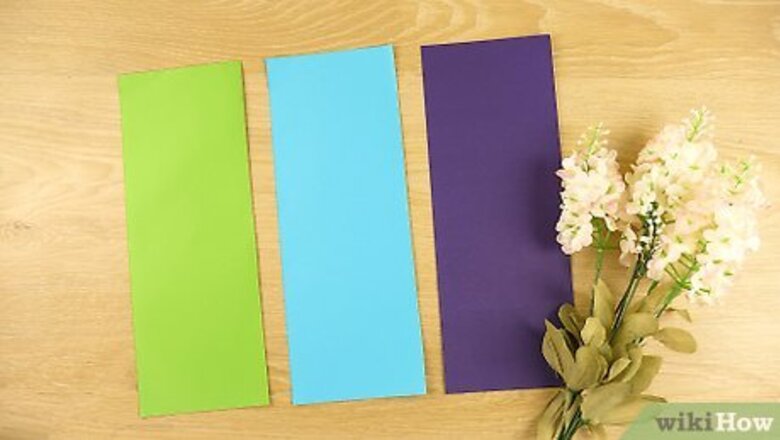
Start with a rectangular sheet of paper.
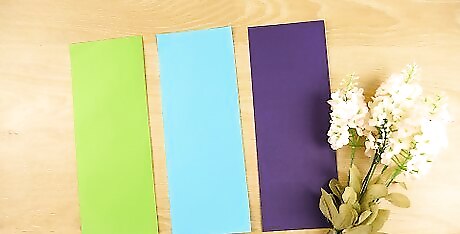
Most origami paper is square, but you'll need a rectangle. You can either cut a sheet of square paper in half, or you can purchase rectangular origami paper. The dimensions don’t matter too much—just note that the smaller your sheet of paper is, the smaller your peacock will be in the end. Pick any color paper that you’d like! Blue is a popular choice for peacocks, but you could go for red, pink, green, yellow, or any color of the rainbow.
Fold the paper in half lengthwise.
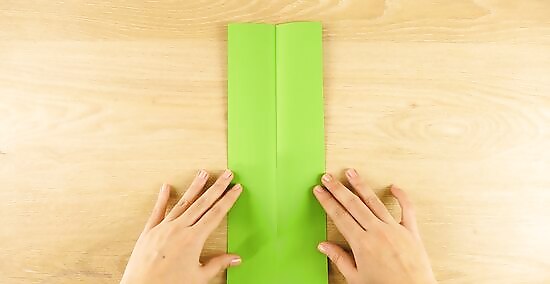
The goal is just to make a crease in the center. Set your paper out on a flat surface, then fold it in half. Use your fingers to press down on the crease, then unfold the paper again before moving on.
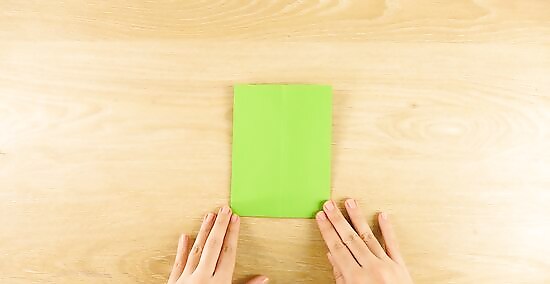
Fold the left and right edges inwards twice.
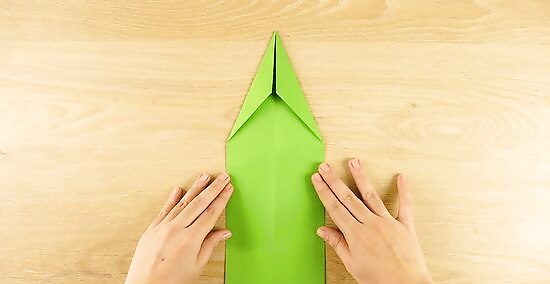
It will kind of look like a paper airplane. Fold the left corner in toward the center, then fold the right corner in to match. Press the creases down with your fingers, then fold both corners in again. You’ll end up with a triangle-shaped paper that has a sharp point on one end.
Fold the paper in half widthwise.
Flip the paper over so the folded parts touch the table. Then, bring the flat end of the triangle upward to meet the pointed end. Press down on the crease to make the fold stick. It might help to push down on the crease with your fingernail.
Fold the flat half of the paper backwards, then crease it.

You’re creating the first fan fold in your peacock’s tail. Grab the flat part of the triangle and fold it back, but leave about ⁄4 in (0.64 cm) of paper on top of the pointed part. Press the crease down to really cement it into the paper and start the tail.
Fold the back half of the triangle in a fan shape.
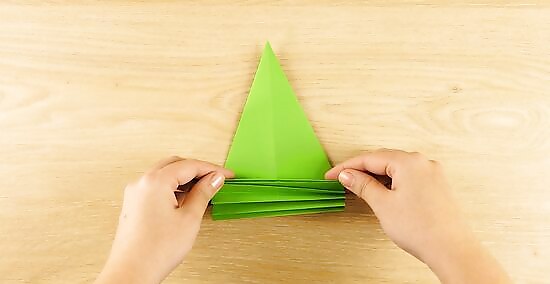
Time for more fan folds! Alternate between folding forward and backward, making horizontal folds up the tail. When you reach the top, press all your folds down one more time to really cement them into the paper before letting go.
Crease the tip of the triangle downward.
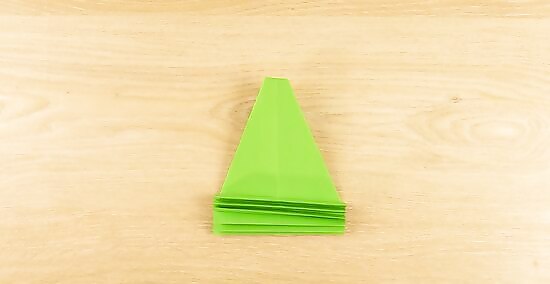
It’s time to create the peacock’s beak. Grab the very tip of the pointed part and fold it down just slightly, enough to make a small beak at the head of your animal. Press the crease down to keep it in place and make a bird-like mouth. It won’t look quite right at this step, so don’t worry—you still have more to do!
Flip the paper over and fold the tip backwards.
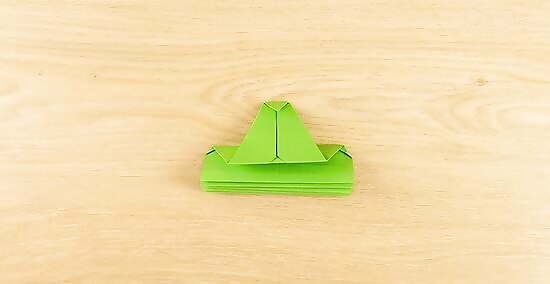
Mark the head and neck of the peacock with this fold. Flip your paper so that the beak is facing you. Fold the pointed part of the triangle down about halfway so the head just touches the base of the tail. Press the crease down to differentiate between the body and the neck. This fold will also help your peacock stand up on its own.
Fold the entire paper in half lengthwise.
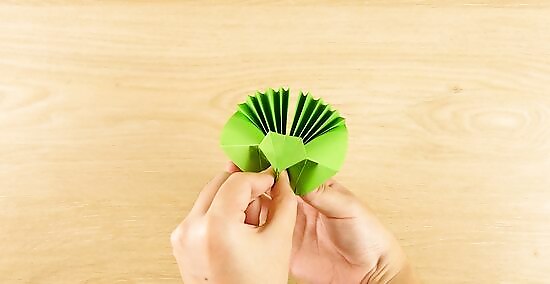
Really make those feathers fan out. Pick up your piece of paper and press down in the center of the tail with your thumb. Fold the entire peacock (body, tail, and head) in half around your finger, then press the fold together. When the peacock springs back, you’ll be able to see the animal more clearly.
Spread the feathers out in the back of the peacock.
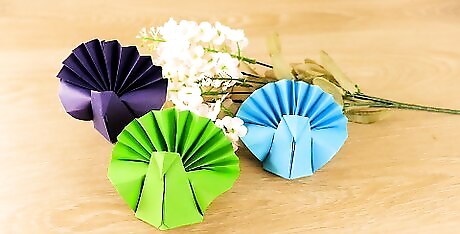
Now you’re done! Spend a few minutes making sure the tail in the back stands up straight and tall. Set your peacock down on the table and watch it stand up on its own to admire your creation. If your peacock isn’t standing up, try folding the paper in half again to really crease that last fold.





Comments
0 comment