views
Enabling Text to Speech
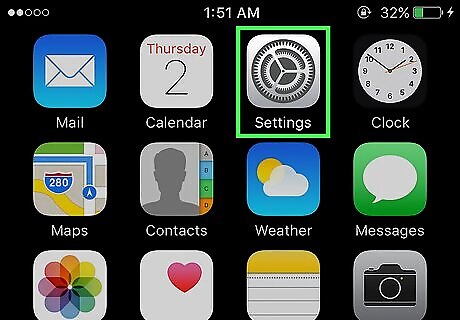
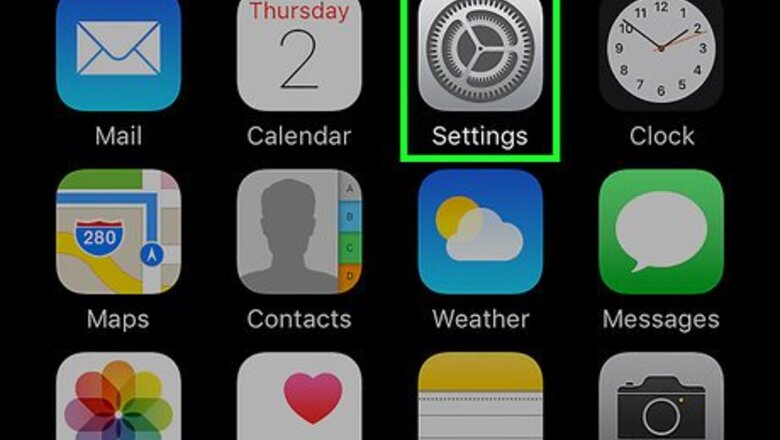
Open the "Settings" app.
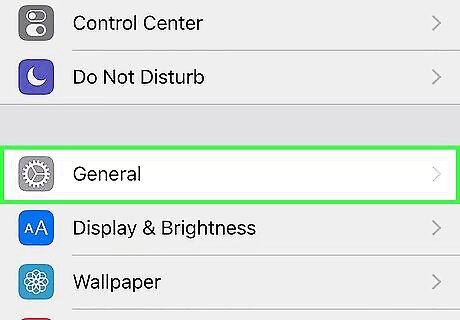
Tap "General".
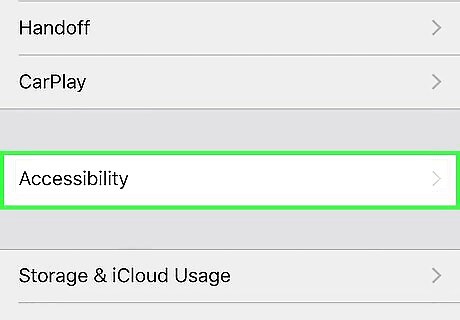
Tap "Accessibility". Here you will also find settings that can make it easier to hear audio, increase the contrast between light and dark colors, or add subtitles to supported videos.
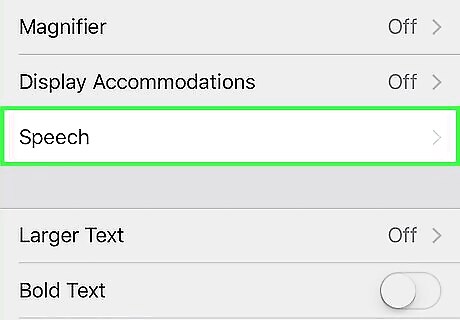
Tap "Speech".
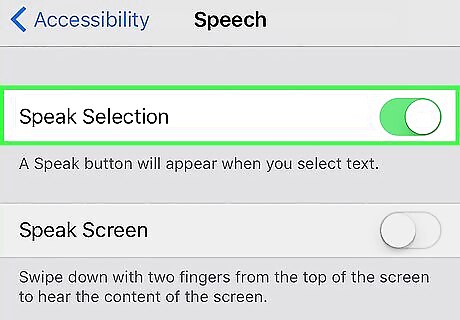
Toggle "Speak Selection" ON. This will enable your device to speak selected text.
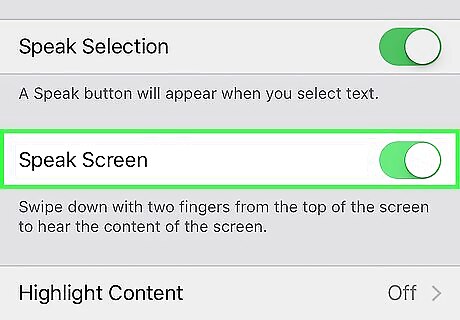
Toggle "Speak Screen" ON (iOS 8 and later). This will enable your device to speak text on the screen.
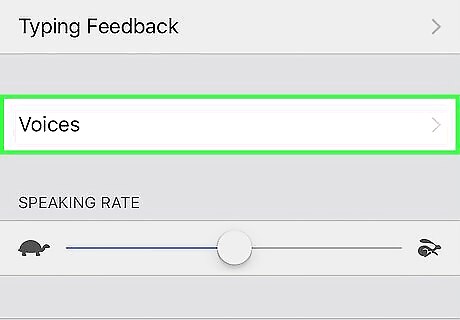
Select a voice (optional). If you'd prefer to have your text read back to you in different accents and/or languages. Tap the "Voices" option to choose. Note: Adding different voices will download files to your phone. Some voice files, such as Alex, can take up a significant amount of space.
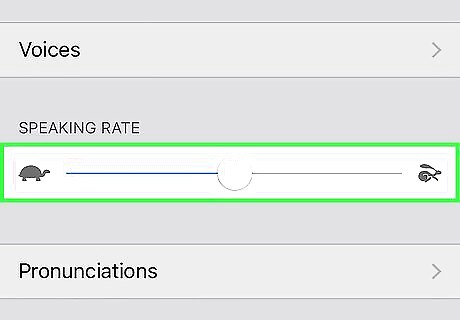
Change the speaking rate using the slider. The speaking rate controls how fast the words are read back to you. Move the slider towards the rabbit for quicker speech, or towards the turtle for slower speech.
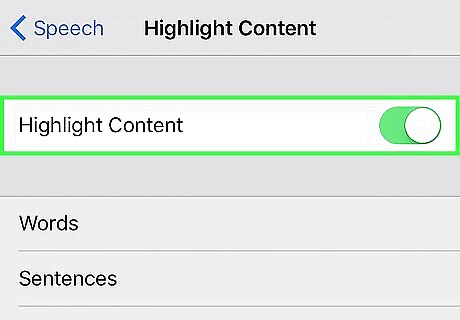
Toggle text highlighting on or off (optional). You can have your device highlight words as they're read by toggling this option on.
Using Speak Selection

Press and hold on the text you want to be read aloud. Use the vertical bars on each edge of the selection to adjust what words are selected.
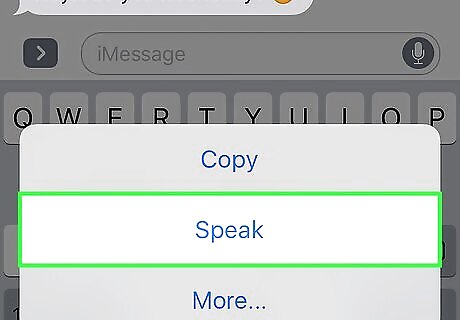
Tap the "Speak" button in the pop-up menu. If you can't see the "Speak" button, tap the arrow at the right edge of the pop-up menu to reveal it.
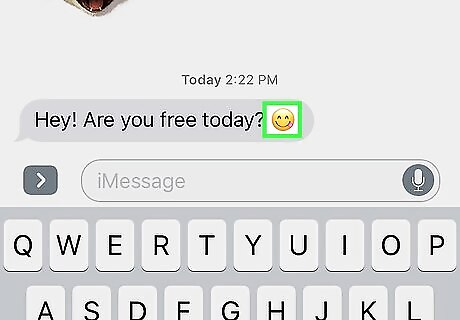
(Optional) Select an emoji to have your device say its description. Beyond reading words, your device can also describe emoji. Simply highlight the emoji you want to be read out loud and tap "Speak".
Using Speak Screen (iOS 8 and Later)

Swipe down from the top of the screen with two fingers. You will have more success if keep your fingers spread moderately apart when swiping. Speak screen can also be enabled by starting Siri and saying "speak the screen".
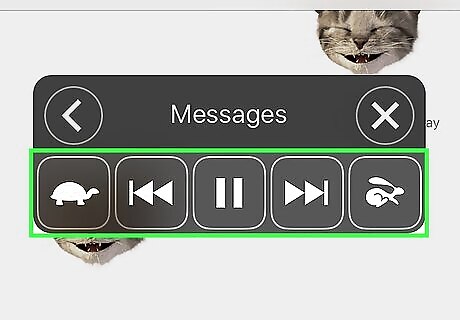
Use the onscreen menu to adjust playback. You can pause, play, back up, and fast forward, as well as change the rate of speech. Speak screen will not work when there is no content. For example, starting Speak Screen while on your Home screen will not work, as Speak Screen does not read your app names.
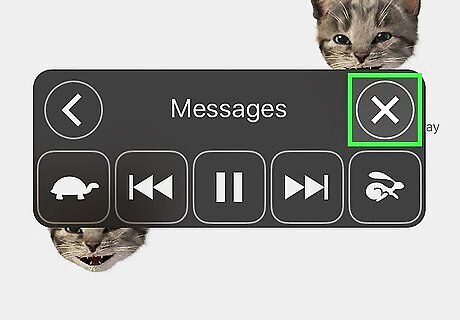
Press the "X" to stop Speak Screen. Press the "<" button to return to your device while continuing to have the screen read aloud.
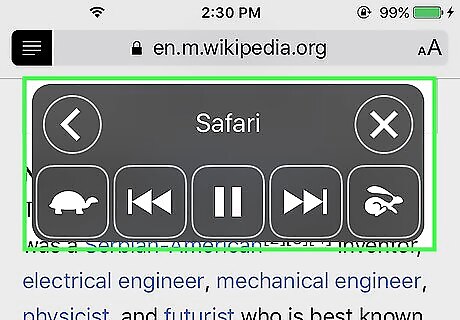
Activate Speak Screen in Safari using the Reader button. When using Safari in iOS 8, you'll see a small button to the left of the address bar that will open the Speak Screen menu. This is more useful than using the swipe method because the swipe method will read all of the hidden HTML tags, possibly making it difficult to understand.
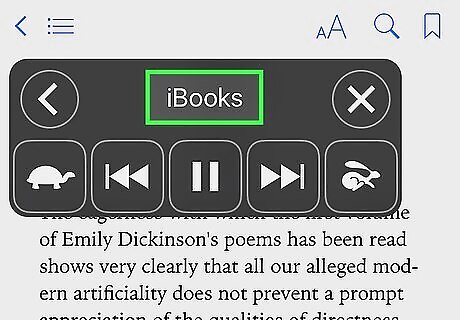
Use Speak Screen in iBooks to keep reading automatically. Unlike Speak Selection, Speak Screen will automatically turn the pages of your book, allowing you to listen to your books being read to you while you work with other apps.




Comments
0 comment