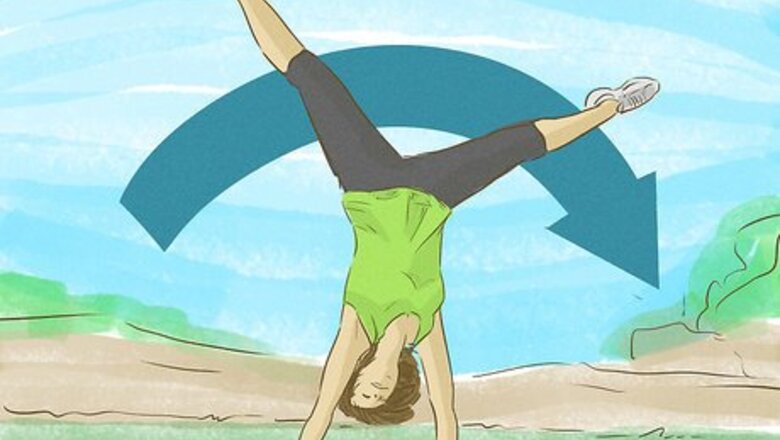
views
- Before attempting a side flip, make sure you can do a cartwheel and a front flip.
- Practice with lots of mats and a spotter.
- Once you're ready to do a side flip, jog at 30-40% speed to establish forward momentum, and keep your final steps smooth and low to the ground.
- Land on the balls of your feet with your feet shoulder-width apart.
Preparing for a Side Flip
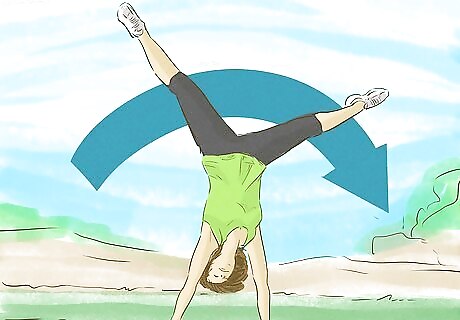
Practice cartwheels. Even though the technique between a cartwheel and a side flip is quite different, cartwheels can help you get used to the side flip rotation, as well as spotting the ground and orienting yourself through the sideways rotation. If you can graduate to doing one-handed cartwheels, that’s even better.
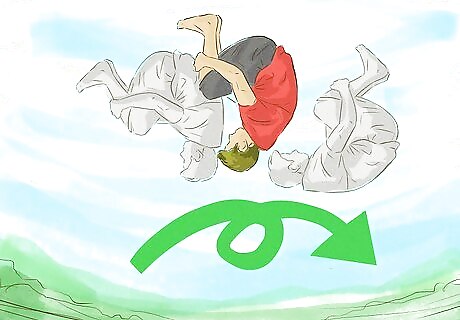
Practice front flips. In a number of ways, side flips have the same form as front flips with the leading steps, launch off the ground, and tucked rotation. Though not a requisite, already being comfortable with front flips will make the entire process come more naturally and easily. If you’d feel more comfortable starting with a front flip, you can find more information on learning to front flip at: How to Do a Front Flip
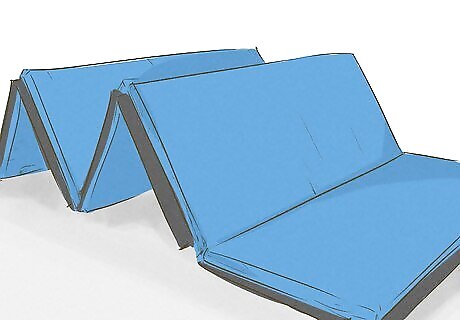
Practice with lots of mats. Since part of the difficulty of this trick is the mental block associated with fear from landing incorrectly, you can help overcome it by practicing with plenty of mats. Since this trick does require launching off your feet and gaining quite a bit of height, flipping onto gymnastics blocks is also a great way to practice, and they offer even more cushioning than mats.
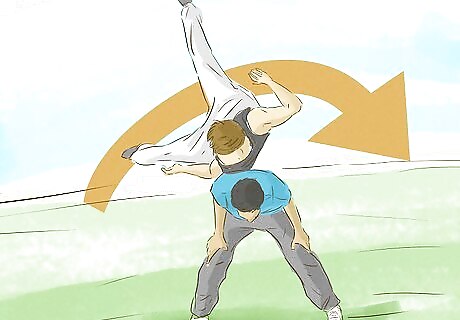
Get help from a spotter. Another great way to help you get the motion down is with the help of a spotter. In addition to possibly giving you tips on how to launch better or tuck more tightly, a spotter can help you practice by allowing you to roll over his or her back. The motion isn’t exactly the same, but by leading up in the same manner, tucking in a similar manner, and exiting the tuck with your feet pointing perpendicular to your movement, you’re still practicing key aspects of side flips.
Leading into the Side Flip
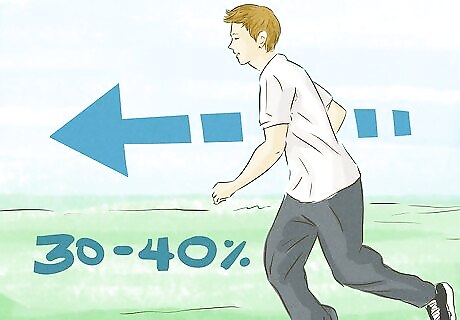
Establish forward momentum. The run up to a side flip is important because you need to transfer that forward energy into height when you actually jump into the flip. While you need good speed, you don’t want to be at a full sprint because that makes it much more difficult to plant your feet and spring off. You can think of the ideal speed as more of a jog at 30-40% speed.
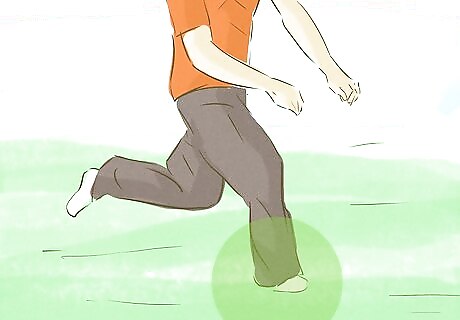
Keep your final lead up steps smooth and low to the ground. As you take your last two or three steps before launching, keep the steps smooth and your feet low to the ground. If the steps are too jarring or your knees are coming up too high, then you’re going to have a much more difficult time pivoting to the side and punching your feet off the ground to transfer your forward momentum into height for the flip. By making the final steps too high, you also prematurely transfer some of your forward momentum into downward momentum at the ground. You want to maximize the forward movement in order to transfer the motion into your jump as efficiently as possible.
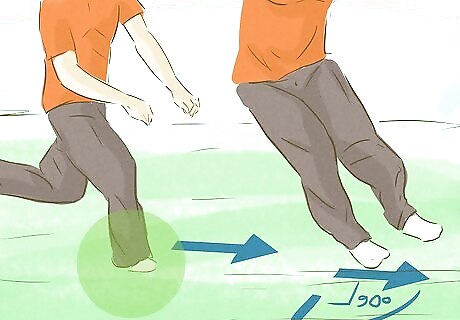
Turn 90° after your final step before the punch. The punch in this case literally refers to when you punch your feet off the ground to launch into the side flip. The punch is the final contact your feet make with the ground before flipping. After your final lead up step, you want to turn your body 90° so that your side is facing the direction of the flip. You will make this turn with both feet in the air, and you will bring your feet closer together, so they hit the ground more like a spring on the punch. It doesn’t matter one way or the other whether you turn 90° to the left or to the right. You’ll most likely find it most comfortable to turn toward the same side you would for a cartwheel, and you’ll probably choose that direction almost instinctively. You can find a visual tutorial on this exact moment at: https://www.youtube.com/watch?v=RFTKeJi6D7k#t=229
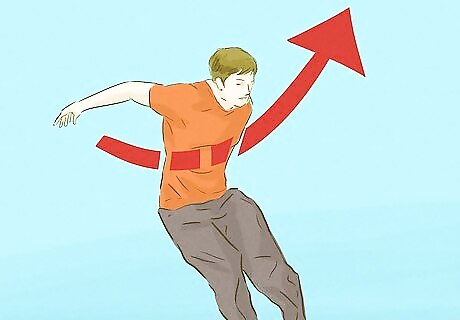
Bring your arms up. Your arm movement as you punch and launch will help with your body’s rotation. You will bring your arms up concurrently as you take your last stride and turn leading into your punch. Some people prefer to bring their leading arm (if you’re flipping right side first, then your right arm) all the way up so that their shoulder is nearly touching their head. Others prefer to have both arms out in front of them rather than one above in order to swing both arms to help with rotation. You may find one position works better for you than the other. For a visual representation of the arm movement, you can check: https://www.youtube.com/watch?v=RFTKeJi6D7k#t=286
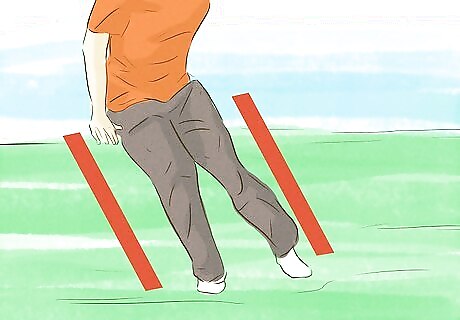
Angle your legs slightly against the direction you’re moving. In order to get the most height off your punch, you actually want to make the contact with the ground with your legs angled slightly against the direction you’re moving and with your knees bent slightly. It can be tough to visualize, but if you’re moving left to right across this page, for instance, then your legs would land more like \\. The reason for this is that as you land and punch, your body still carries forward momentum and your legs are closer to upright by the time you actually launch off the ground. If you land with your legs upright, then by the time you jump, your body is already leaning closer to //, which causes you to launch forward at a lower height, making it more difficult to tuck, rotate, and land before hitting the ground again. If you’re having trouble visualizing this positioning, try looking at: https://www.youtube.com/watch?v=RFTKeJi6D7k#t=382
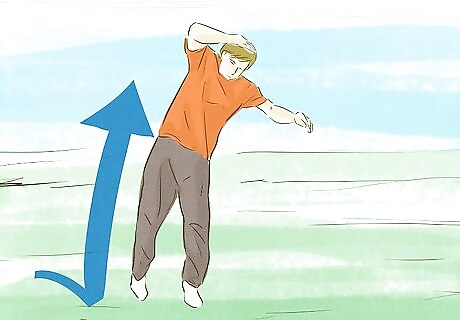
Punch off the ground with maximum height as the goal. At this point, you’ve made your 90° turn, brought your feet closer together, have your arms up, and have landed with your legs angled and knees slightly bent. Now is the point where you transfer all of that forward energy into upward height by springing off the ground. You can easily practice your run up and punch without actually tucking and rotating when you leave the ground. Practice this maneuver until you feel as though you’re transferring most of the momentum into vertical height rather than continuing forward and out.
Flipping and Landing
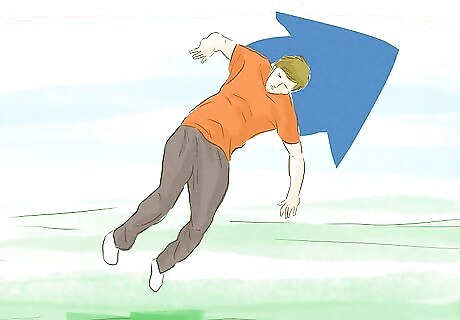
Throw your arms and chest into the flip. Your rotation for the side flip will come from your arms, head/chest, and your hips. As soon as your toes leave the ground, throw your arms and head into the direction of the flip. Since your arms are already up or out and prepped, this movement should be almost instantaneous. If upon practicing the side flip on mats, you determine that you have trouble with under-rotating, then you are likely throwing your arms and head/chest into the flip too late or with too little force. Try consciously starting your rotation the moment your toes leave the ground to get more rotation out of your time in the air.
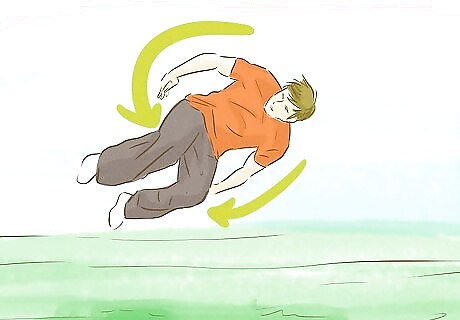
Pull your hips to the side. In order to help transfer the rotational movement down from your upper body through your lower body, you’ll additionally pull your hips into the flip as well, which will help begin the process of bringing your legs up and over. Your inclination may be to shove your hips back and your butt out, but you should keep your butt aligned and push your hips to the side rather than back. In order to properly visualize this movement, you can check: https://www.youtube.com/watch?v=XpMrFzb5rLM#t=59
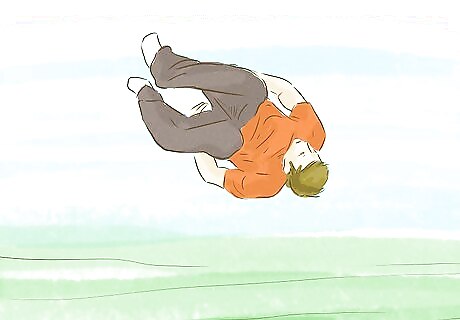
Bring your knees up. The same way a figure skater tucks into a ball to increase the speed of rotation, you need to tuck into a ball in order to flip faster. As you throw your arms, head, and hips into the rotation, you also want to bring your knees up and to tuck yourself into a ball as your legs go up and over yourself. By throwing your arms into the rotation in step 1, they will have moved from above you or in front of you to down closer to your legs. This makes it quite easy to grab your knees as you tuck them, which allows you to pull them in more tightly. You want to grab just below the kneecaps because at the knee can force your leg out and lower on the shin will force your leg back in an awkward position that makes it harder to land. The second leading reason for under-rotation is from not pulling in tightly enough. If you find you have too little time to tuck your legs, then make the effort to pull your legs in earlier; try to combine the effort of pulling your hips and bringing your legs up.
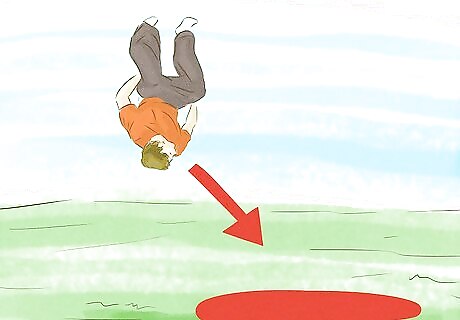
Spot your landing place on the ground. Roughly halfway through your rotation, you’ll easily be able to spot the ground. As soon as you see the ground, use it to orient yourself, so you can start preparing to land. Some people may find it hard to land because they get disoriented as they flip around and try to spot the ground in such a quick movement. You may find it easier to lock your eyes at one spot ahead of you rather than trying to look down toward the ground By locking your eyes on one object as you go around, you don’t have to spot the ground, simply extend your legs as the object returns to right-side up as your vision comes around.
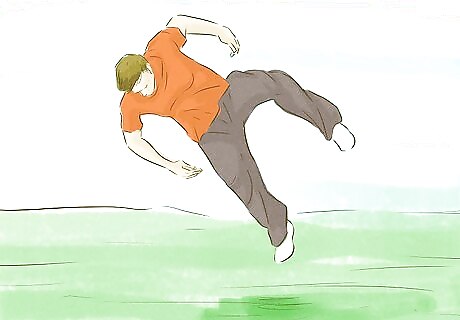
Extend your legs to absorb the impact. Once your legs are past the vertical point and coming back around toward the ground (around the 3/4 mark in the rotation), break the tucked position and extend your legs in order to land. This allows you to slow your rotation, and it also cushions your impact. You want your knees slightly bent and ready to absorb impact rather than rigidly straight. If you find yourself over-rotating and stumbling forward as you land, then try extending your legs slightly earlier in the flip to slow your rotation sooner.
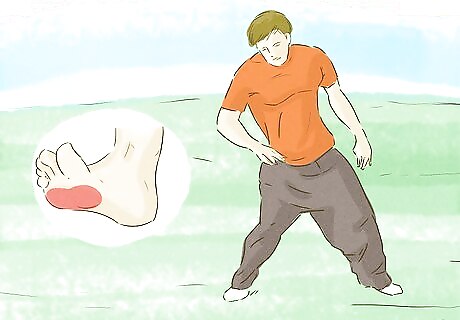
Land with your feet shoulder-width apart and on the balls of your feet. You’ll have the softest landing by most evenly distributing the force of the landing. In order to do this, land with your feet roughly shoulder-width apart and land on the balls of your feet rather than your heels or toes. By landing with your feet shoulder-width apart, you both distribute the force and give yourself a sturdier center of gravity, meaning you’re less likely to lose your balance and fall down. You’ll likely find that you initially round off during the flip and land facing backward rather than sideways. This is mostly from swinging your arms at an angle rather than directly into the side flip. It simply takes practice to correct.





Comments
0 comment