views
Slicing a Tomato
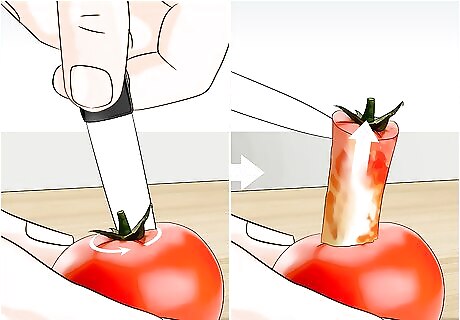
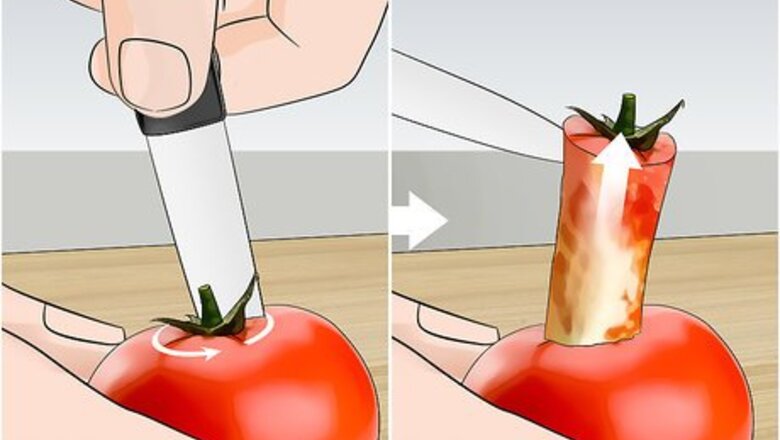
Cut out the core of the tomato with a paring knife. Place a tomato on a cutting board with the stem facing up. Cut a circle about ⁄2–1 inch (1.3–2.5 cm) deep around the stem. Remove the core by pulling it out or scooping it out with a spoon. Tomato corers are spoons with sharp spikes. If you have one, use the corer to gently dig under the stem and pull it up.
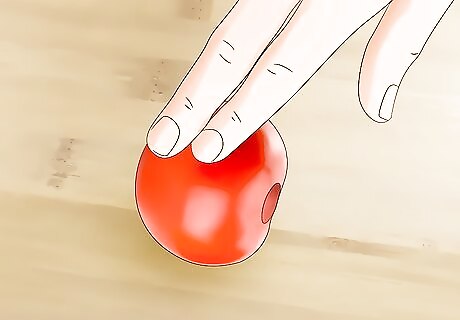
Turn the tomato onto its side. The empty core should face either left or right. This will help you get those beautiful spokes when you slice your tomato.
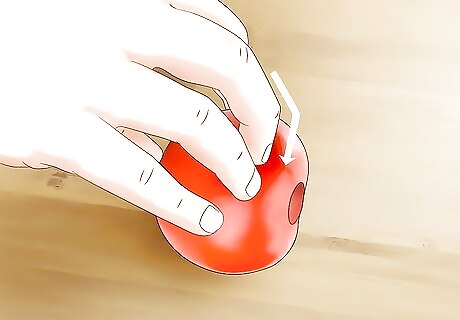
Hold the tomato with your fingers curled inward. This will help prevent accidental cuts while slicing. Hold it towards the end of the empty core. As you cut, the flat, dull edge of the knife should be lightly touching the knuckle of your middle finger.
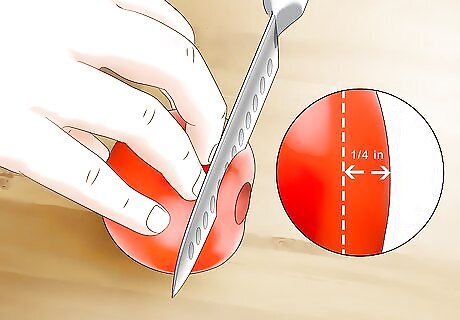
Cut down through the tomato with a serrated knife. Start at the end opposite to the core. Make a slice by cutting through the tomato about ⁄4 inch (0.64 cm) away from the edge. While any sharp knife will cut a tomato, a serrated knife will prevent all of the juices from escaping.
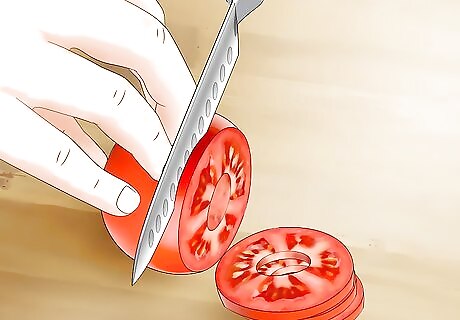
Make the slices equal thickness. How wide you make the slice depends on your preferences. As you continue to slice through the tomato, try to keep each slice roughly the same size. As you make each slice, move your fingers back slightly. This will keep your fingers away from the knife. Cut with a sawing motion, letting the blade do all the work so you don't end up squishing the tomato!
Dicing a Tomato
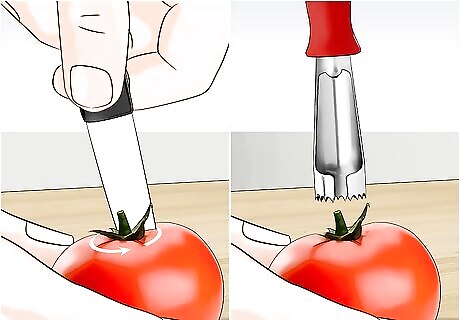
Remove the stem and core with a paring knife. Cut around the stem in a circle, and dig out the stem with a spoon. You can also use a tomato corer.
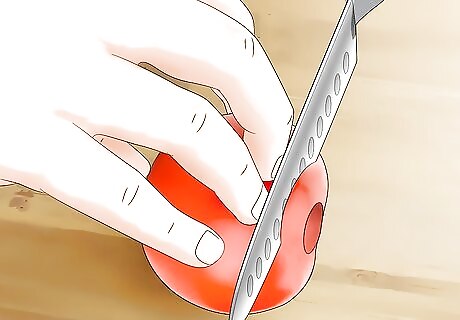
Slice the tomato. However thick you slice the tomato is how thick your dice will be. Wider slices will give you a chunkier dice while thinner slices will give you delicate cubes. Continue cutting until the entire tomato is sliced.
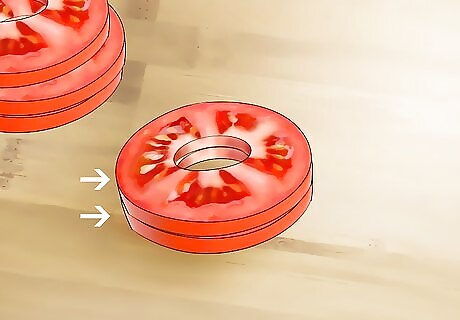
Stack 2 or 3 slices at a time. You will be cutting these all at the same time. If you have very thin slices, you may be able to stack a few more. You might have 2 or 3 stacks when you are done.
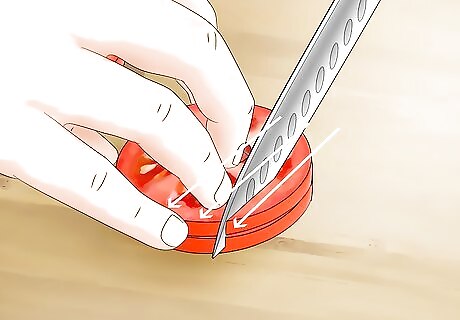
Cut the stack into strips with a serrated knife. Make sure you cut through all of the tomatoes in the stack. It does not matter which direction you start in, as long as you cut all of the strips in the same direction.
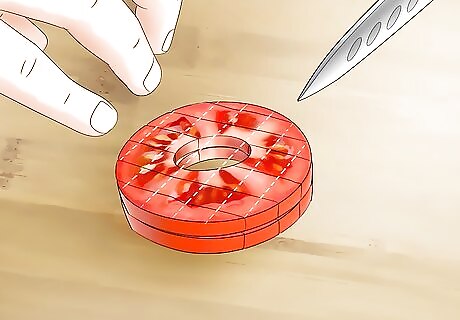
Chop up the strips. Cut into the strips at a 90 degree angle to create diced tomatoes. Continue until all of the strips in the stack have been completely diced.
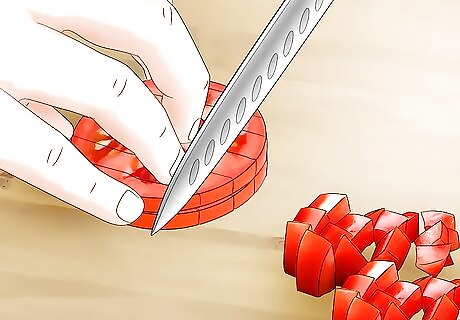
Repeat with the rest of the stacks. Once you are done with one stack, move on to the others. When you have finished dicing the tomatoes, you can add them to your recipe.
Making Tomato Wedges
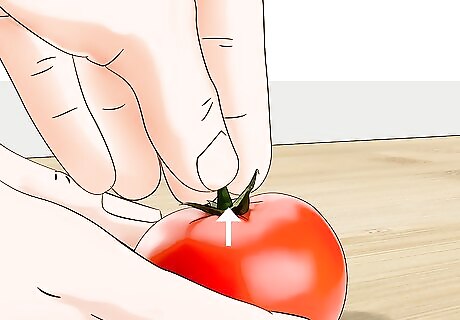
Pull off the stem. It is not necessary to completely core the tomato if you are making wedges. If there is a green stem on your tomato, pull it off with your fingers.
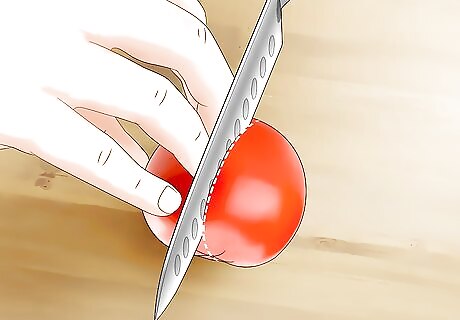
Cut the tomato in half with a cleaver or serrated knife. Slice straight down through the core (or where the stem used to be) with a sharp knife.
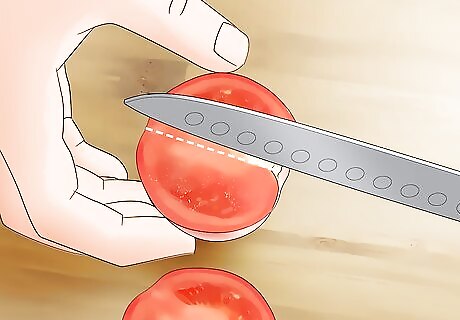
Slice each half to create quarters. Place the cut half of each side down against the cutting board. Make a cut down through the middle of each half. This will give you quarters.
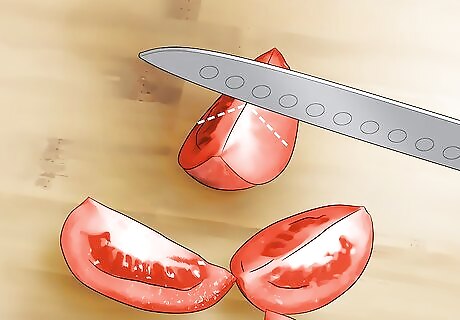
Cut the quarters in half again. After you do this, you should have about eight tomato wedges. If you want smaller wedges, cut each wedge half yet again. You can keep doing this until the tomatoes are the right size.
Slicing Grape or Cherry Tomatoes
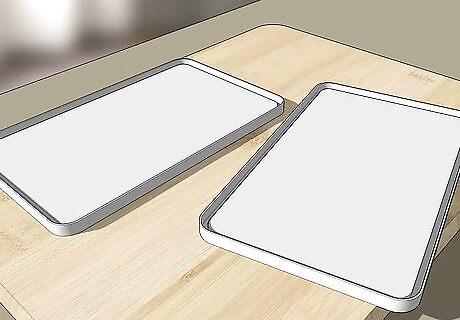
Find two plastic lids or plates of the same size. The lids might come from plastic storage containers, large yogurt containers, or butter containers. If you use plates, try to find ones that are flat, not sloped.
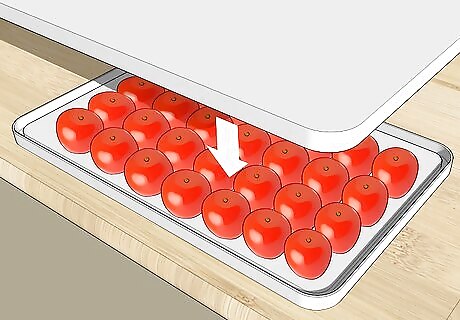
Place the tomatoes between the lids or plates. Let the tomatoes lie on their side on one lid or plate. You can do as many tomatoes as you can fit. Keep them in one single layer. Place the other lid on top when you are done.
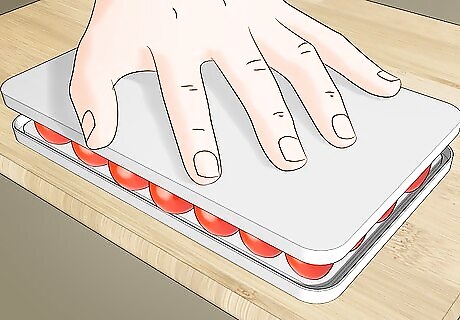
Keep one hand pressed flat on top at all times. Use gentle pressure. You want to keep the tomatoes from moving, but you don’t want to crush them.
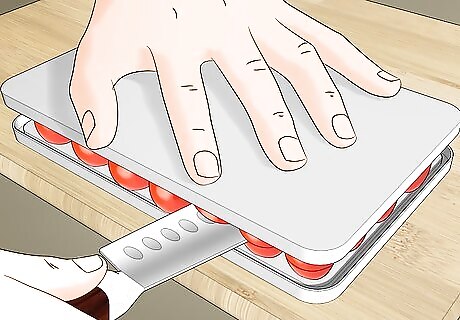
Slice the tomatoes between the plates with a serrated knife. As you cut sideways between the lids or plates, move the knife back and forth in a sawing motion. Go slowly, and keep one hand pressed on top of the lid or plate at all time. Once you have reached the other side, you can continue with your recipe.


Comments
0 comment