views
Using Cardboard
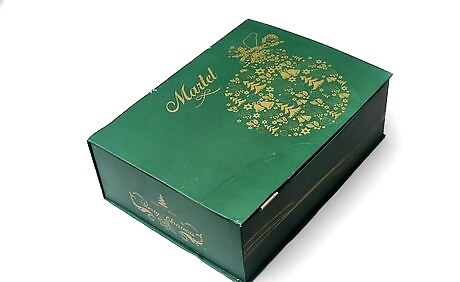
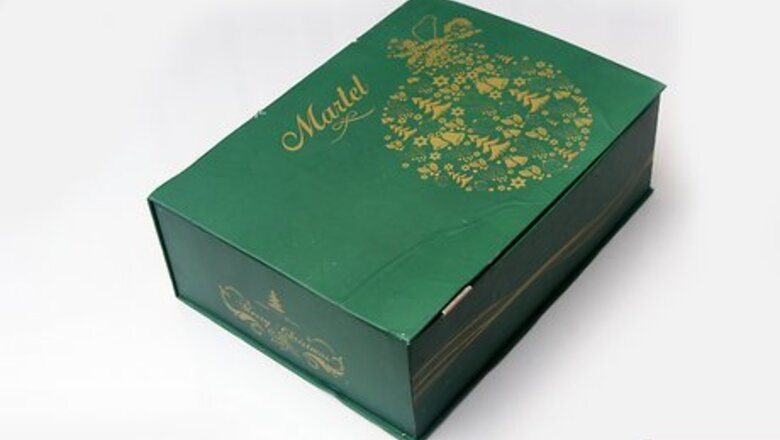
Choose a cardboard box with a lid. Any cardboard box with a lid should work for this project. A shoebox would be the most ideal choice, but if you want your box to be significantly different in size than a shoebox, feel free to use whatever you can find.
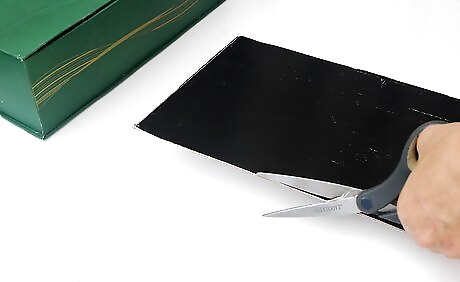
Cut a piece of sturdy cardboard for the base. From a separate sturdy cardboard box, cut out a square or rectangle to act as your false bottom for your secret box. Measure the length and width of the cardboard you are using for your secret box. Refer to these measurements when cutting out your false bottom. Do not cut the exact measurements, because then the bottom will not be able to fit into the box. Also, don’t cut too much smaller than the original measurements because then the bottom will not be snug.
Make sure to cut two half circles on either side of the bottom, this is how you will lift the false bottom out of place with your fingers.
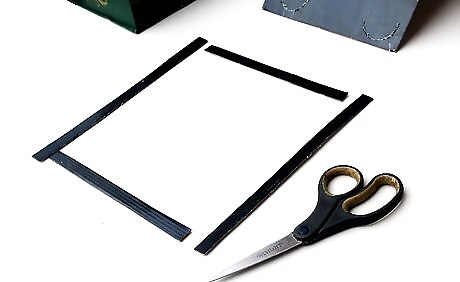
Cut out four thin pieces of cardboard that will fit inside your box. Referring to the measurements of the cardboard you will be using for your box, cut out four thin strips of cardboard to act as the foundation to the false bottom and also the walls to the secret compartment. How much room you have in your compartment will be dependent on how tall or short you make these four pieces.
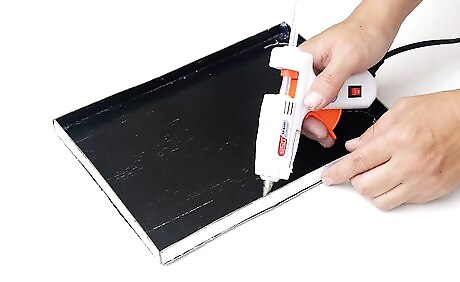
Glue strips of cardboard into place. Take the four cardboard strips you have cut out and glue them to the walls and bottom of your cardboard box. After they dry, place the false bottom piece of cardboard on top of the strips. Check to see if the false bottom passes off as the real bottom of your box. If all looks good, lift up the false bottom and put your secrets in the hidden compartment, then cover it again with the false bottom.
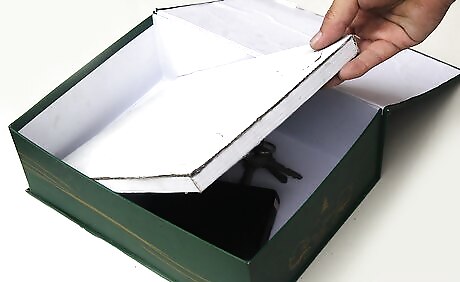
Decorate your box. Since you used cardboard for this secret box, you can decorate it however you want! Paint Construction paper Wrapping paper Stickers Markers or crayons
Using a Book

Choose a book. Look through your collection of books, you can use one that you wouldn’t mind cutting into for this project. Or go to your nearest bargain bookstore, where you can find an assortment of books sold for $1. When choosing a book, make sure to keep in mind what you are going to place in this secret box. The size and thickness of the book used affects what can be placed inside.

Leave a few pages towards the front untouched. Leaving these pages untouched from glue will give the illusion your secret box is just another book. Put a rubber band around the first few pages and the front cover to keep them in place.
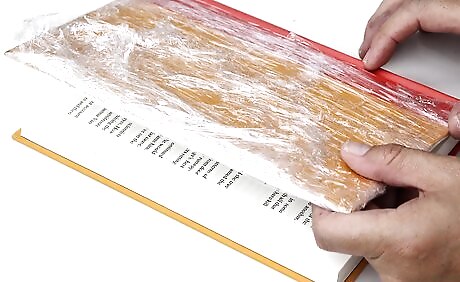
Protect the front and back covers. Make sure the front and back covers are not glued down. You can use plastic bags to protect the front and back. When wrapping the front cover with a plastic bag, make sure to include the first few pages as well.
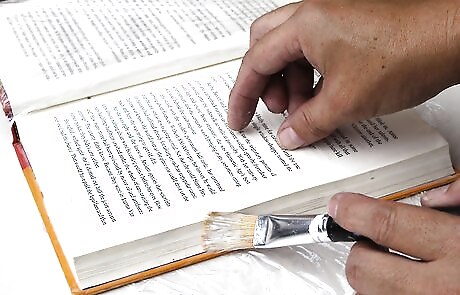
Brush glue on the outside of the pages. Now that your covers and first few pages are protected, close the book firmly and glue the outside pages. Using a paint brush, spread the glue evenly on the outside pages around the book. Try to spread out any globs that may arise, since these will dry white if left. To make a glue mixture, mix together regular glue and water. Try to make the mixture 80% glue and 20% water. Too much water in the mixture will warp the pages.
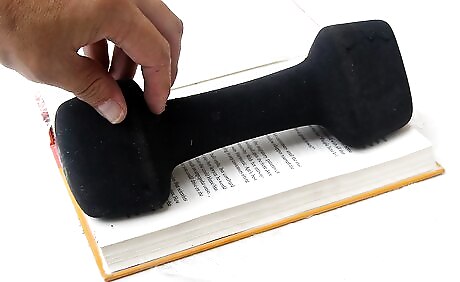
Place a weight on the book. To keep the pages from warping, place a large weight on top of the book. Use free weights, or a pile of other books. Let the book dry for an hour with the weight on top.
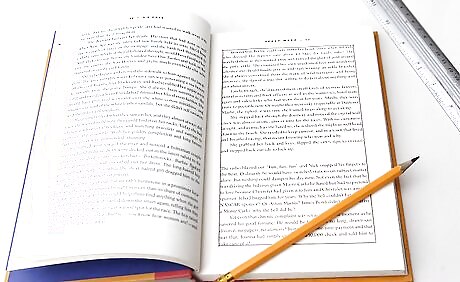
Draw an outline of your secret compartment. Check to make sure the glued pages have completely dried. Remove the plastic bags protecting the covers and the rubber band from the first few pages. Decide how big you want your compartment. Using a ruler and a pencil, draw an outline for where you are going to cut a hole in the book. It can be any shape and any size you want, but try to make sure to leave at least a half an inch border all around the outline.

Cut out the compartment. Using a box cutter, carefully start cutting your outline. You should take your time for safety reasons and to make sure your edges do not come out too rough. Depending on how thick of a book you chose, this may take some time. Try cutting away layer by layer, going back now and again to clean up the corners.
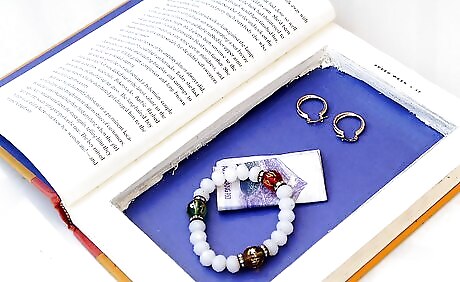
Keep your secrets safe! Place your secrets in the book compartment, then store your book on a shelf or desk. Either way, its inconspicuous design will keep everyone at bay. To add some color to your book compartment, glue some colored felt or fabric inside.
Using Wood
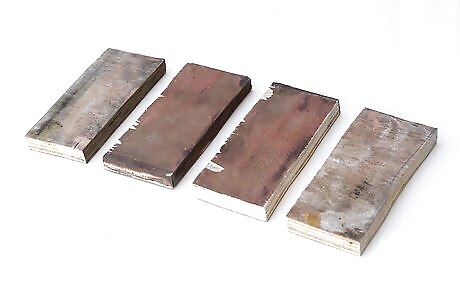
Find any kind of scrap wood. Look around your house, backyard, or garage to find any kind of scrap wood for this project. Go to your nearest hardware store and ask if you can have some of their scraps. You can use particleboard, medium-density fibreboard (MDF), or plywood. Just make sure you have enough wood to make a decent size box. You will be making an open wooden container for small objects, with a hidden compartment toward the bottom of the box.
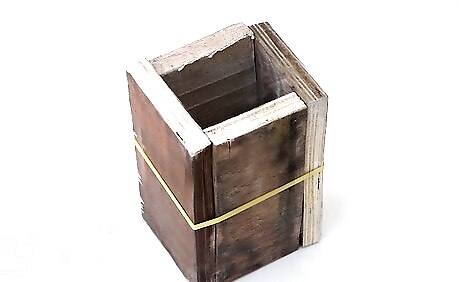
Cut the wood into strips. You can use a hand saw, jigsaw, bandsaw, or a table saw to cut these strips. Make sure to cut four strips. All four strips should be the same length. Use a ruler to measure out two strips of one width and two strips of another width. This will guarantee that when you put the four strips together, you will have a square opening. Measure two strips 2 ¾” wide and two separate strips 2 ¼” wide. Measure the inside square opening. It should read 2 ¼” for width and length. Hold these four pieces together with a rubber band for now, to keep them in place.
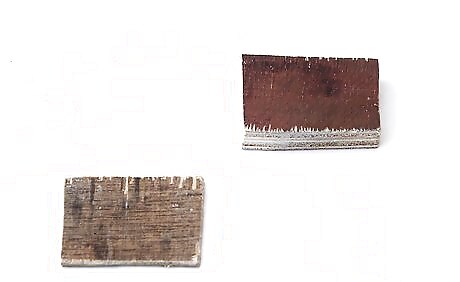
Cut out two more square pieces. One square piece is going to be the false bottom everyone else sees, and the other will be the top of the secret compartment. Measure these pieces to match the square opening you have created from the four strips of wood. One square should be thick enough to hold some screws, ex. ½” thick. This will be the top of the secret compartment. One square could be thin, ex. ⅛” thick. This will be the false bottom.
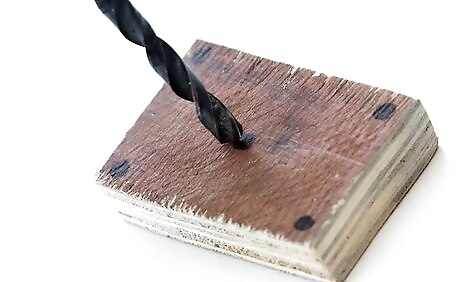
Drill holes into the thicker square. First, drill a hole all the way through the center of the thicker square. This hole will be used to open the secret compartment. Next, drill 4 holes, one in each corner, for screws. To find the center point on the thicker square, connect the corners using a ruler and a pencil. Drill an ⅛” hole all the way through the center. Before drilling the corner ⅛” holes, check to make sure the hole is inset enough from the corners so that the head of each screw will not hang over the edge of the square. Do not drill the corner holes all the way through to the other side of the square. You want the screws to be sticking out of this thicker piece to create space for the secret compartment. Screw in 1” wood screws into the four corner holes, but only enough for them to be sturdily in place.
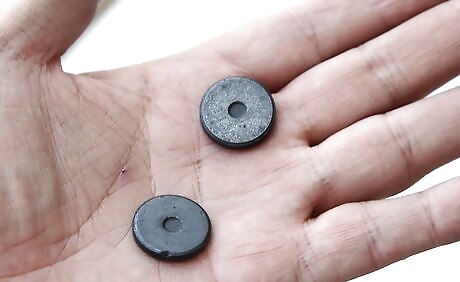
Get two rare earth magnets. These magnets are circular in shape and are very strong. You can find these magnets at most hardware stores.
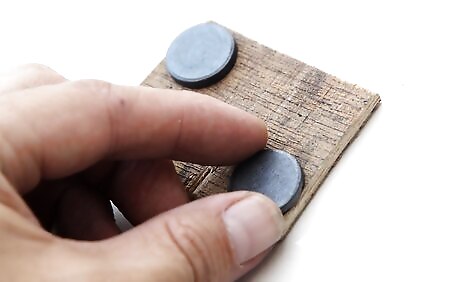
Use epoxy to glue the magnets to the thinner square. Epoxy is the best way to glue metal to wood. It is a two part formula that only hardens when each are mixed together. Mix the two parts together with a thinner piece of scrap wood on wax paper or any other hard surface that is disposable. Do not mix epoxy with your fingers! With the piece of scrap wood that you used to mix the epoxy, put the mixture on each rare earth magnet and glue one magnet on opposite corners.
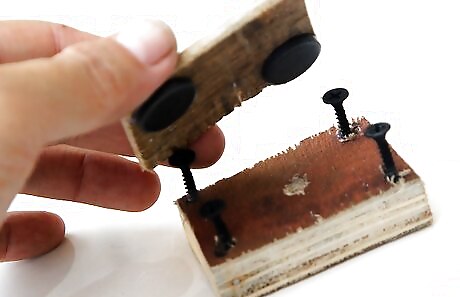
Attach the two squares. The magnets will allow you to attach the thinner square to the screws sticking out from the thicker square. Line up the heights of each screw so that the two square pieces are level with each other. Here, you have your secret compartment.
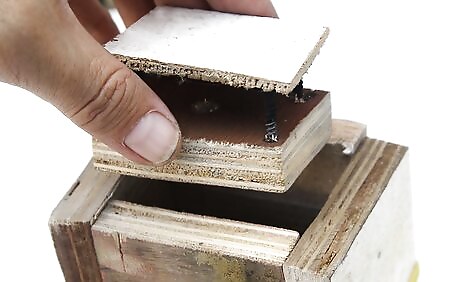
Position the secret compartment. Using the strips you made earlier as reference, take the compartment and decide where you want them to be inset from the bottom of the four walls of the box. The thicker piece with the screws will be hidden inside from view.
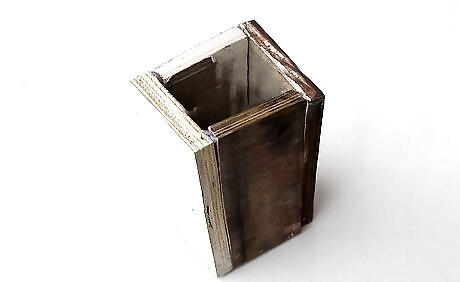
Glue the box together. Using yellow wood glue, glue the four strips you cut out earlier to the outside of the thicker square making sure the screws are facing downwards. Make sure to apply glue to the edges of each wall as well. Hold everything together to dry by wrapping up the box with rubber bands. Do not glue the thinner square with magnets to anything. Once the box dries, you can sand the sides with sandpaper for a smoother finish.
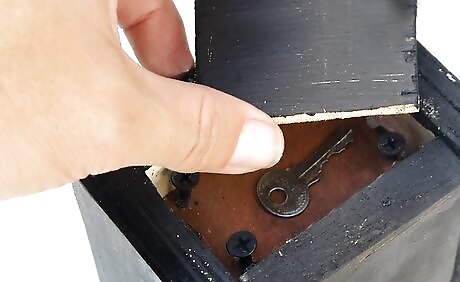
Fill your secret compartment. Place your secrets in the compartment at the bottom, then connect the false bottom. Attach the thinner square with the magnet to the screws. This false bottom will stop people from thinking there is a secret compartment. Place pens, markers, pencils, rulers, flowers, etc. into the top space of the box. It will look like a holder to everyone else. To open the secret compartment, you need a long, thin object that is able to fit through the center hole you drilled in the thicker square. Unscrew a pen, and take out the thin ink tube. Dump everything from the top space of your box. Stick the ink tube through the hole in the thicker square and push the square with the magnets away from the screws of the thicker square. It will pop off.
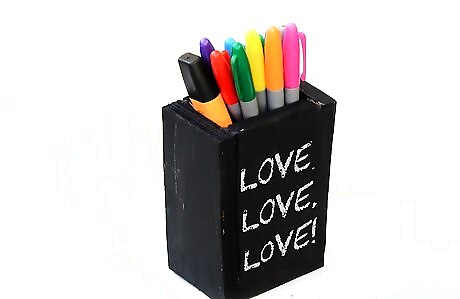
Decorate! Feel free to decorate your secret box/holder however way you’d like. To help the illusion of the false bottom, paint the inside and bottom of the box black.






Comments
0 comment