views
Sanitizing the Oyster Shells
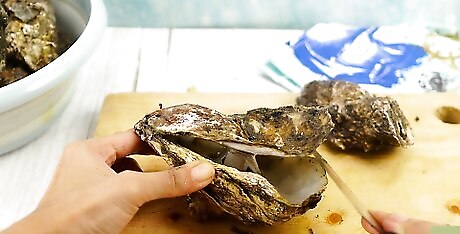
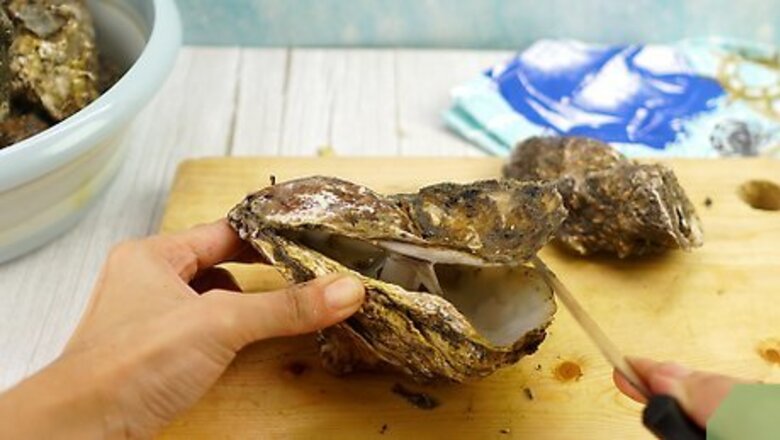
Shuck the oysters if they’re fresh with the oyster still inside. If the oyster is still closed, place it on a nonslip surface and press down on the top. With your other hand, wedge the end of a shucking knife into the space where the top and bottom shells meet. Twist the knife to pop the shells apart, then use the sharp edge of the knife to cut under the meaty part of the oyster to separate it from the shell. The meaty part of the oyster is attached to the shell by its membrane. Cutting under the oyster with a sharp knife will cut through the membrane, allowing the oyster to slide out of the shell. You can discard the oyster in the trash or eat it raw immediately after opening the shell. You may want to wear protective gloves to protect your hands from the knife and the shell’s sharp edges.
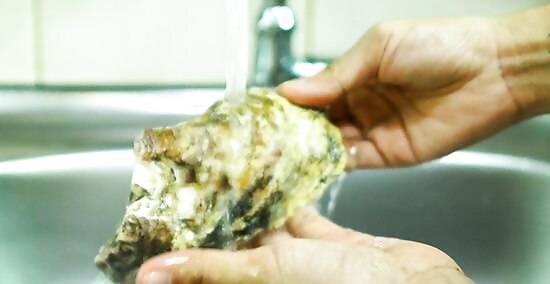
Rinse the shells with water to remove any surface muck or sand. Rinse the oyster shells under running water in your sink or, preferably, outside with a hose. This removes some of the loose sand and mud, allowing the bleach to sanitize the shells more effectively. Rinsing the oyster shells in the sink may leave a lingering smell. To avoid this, rinse them outside with a hose.
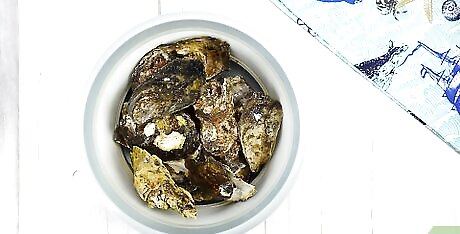
Place the rinsed shells in a large bucket. Transfer each of the shells into the bucket one by one as you finish rinsing them off. Stack them in the bottom of the bucket carefully so you don’t crack the shells. While you can use your sink or tub instead of a bucket, the oyster shells may leave a lingering odor. In addition, any residue that comes off the shells will go into your drain pipes and could be harmful to the plumbing.
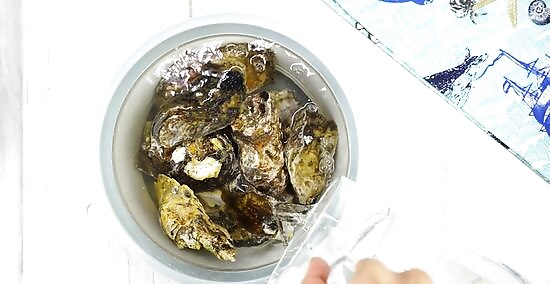
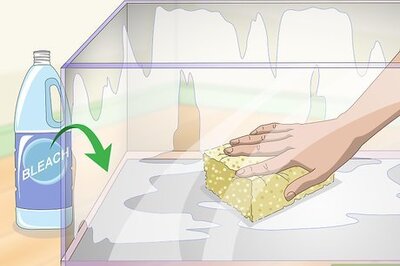
Fill the bucket with equal parts bleach and water. First, pour enough bleach to cover all the shells into a clean bucket. Then, add the same amount of water to the bucket to dilute the bleach. Diluting the bleach allows you to sanitize the oyster shells without damaging them. The amount of bleach and water you’ll need will vary depending on how many shells you’re cleaning. If you’re sensitive to bleach or prefer not to use it, you can use the same amount of white vinegar instead.
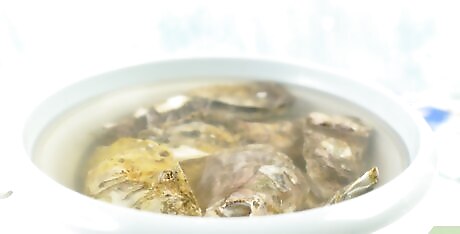
Soak the oyster shells in the bleach solution for at least 1 hour. This gives the bleach enough time to sanitize the shells and loosen the particles and residue. You can safely leave them in the solution for up to 24 hours if you aren’t using them immediately. Leaving them in the bleach for too long could cause the shells to start to degrade.
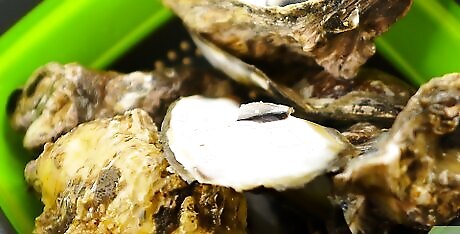
Drain the bleach solution, leaving the oysters inside the bucket. Carefully pour the bleach solution out of the bucket. You can use a colander to keep the oysters inside, or pour them out with the solution and place them back in after the bucket is empty. If you’re handling the oysters, you may want to wear gloves to protect your hands from the bleach and sharp edges.
Scrubbing and Drying the Oyster Shells
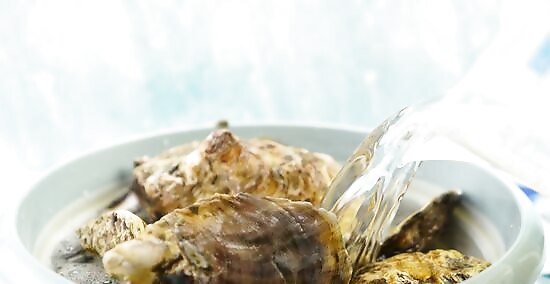
Refill the bucket to the brim with dish soap and warm water. First, squirt a quarter-sized amount of dish soap into the bucket with the shells. Then, refill the bucket with just enough water to cover the shells. The water should get sudsy as you fill it up. If it doesn’t, swish it around a bit to mix up the soap. The dish soap will help loosen more of the stuck-on particles and make it easier for you to clean and polish the shells so they’re ready for crafting. You can also clean your shells with a little bit of vinegar.
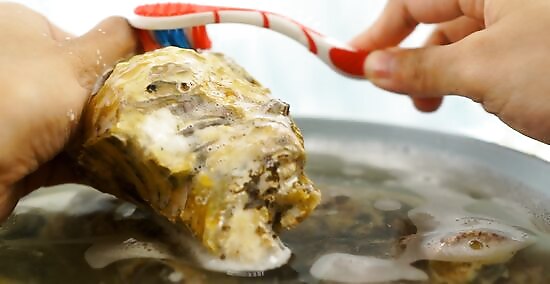
Scrub the insides and outsides of the shells with a hard-bristle brush. First, dip a hard-bristle nylon brush or toothbrush into the soapy water. Then, scrub both the inside and outside of the shells one at a time to remove any stuck-on dirt, membranes, or barnacles. Repeat this process until you’ve scrubbed the inside and outside of all of the shells. If any of the stuck-on particles are particularly stubborn, you can use a craft knife or shucking knife to scrape them off. You may want to wear a pair of rubber gloves to protect your hands from the oyster shell’s sharp particles and edges.
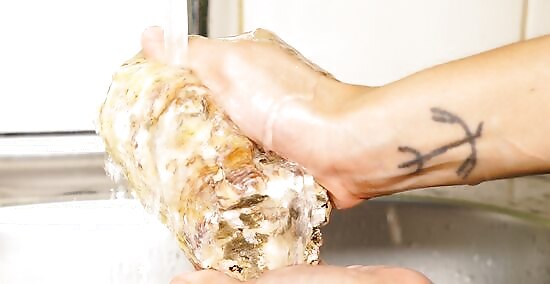
Rinse the oyster shells with clean water. Once you’ve scrubbed all the shells, remove them one by one from the bucket and rinse them with clean water. As you work your way through the bucket, place each of the oyster shells on a towel to dry. Instead of rinsing the shells under running water, you can also transfer them into a bucket with clean water and let them soak for a few hours.
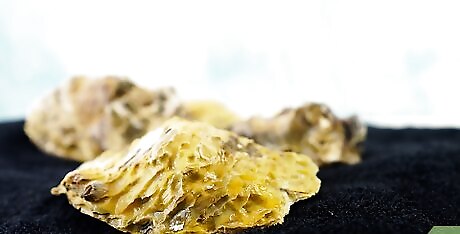
Leave the shells on a towel to dry completely in the sun. Spread the oyster shells out on the towel with the insides facing down. Then, leave them out to dry completely, preferably in the sun so they’ll dry quicker. While you can also let the shells dry indoors, the sun will help brighten and whiten the shells.
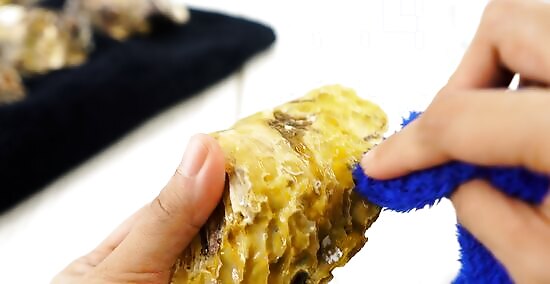
Rub the oysters shells with baby oil to give them a shiny finish. If you want to give your sanitized and polished oyster shells a bit of a sheen, use a cloth to rub over the inside and outside with a thin layer of baby oil. A little oil will go a long way, so you’ll likely only need a dime-sized drop for every 1 or 2 shells. You can also use mineral oil to give the shells a shiny coating. Let the oil dry completely before you start crafting with your oyster shells.






Comments
0 comment