views
Building a Love Fort Out of Sheets
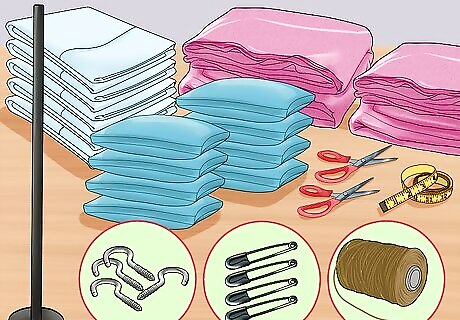
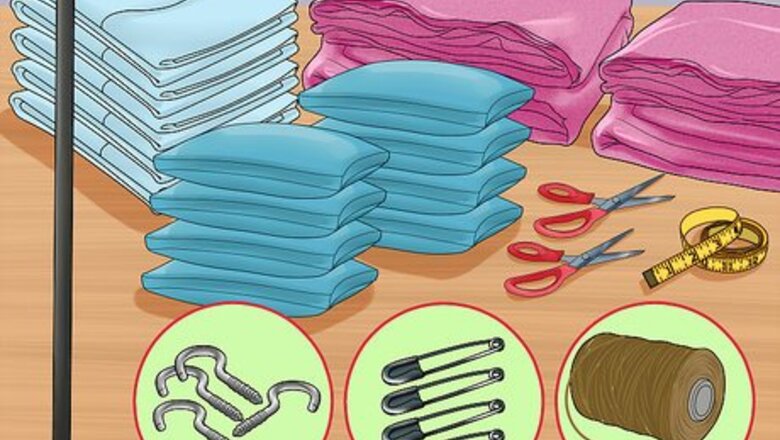
Assemble the materials. To build this love fort, you will need the following items: 5 sheets, a few blankets, one pole, 4 screw hooks, 1 spool of twine, 4 large safety pins, lots of pillows, a tape measure and scissors. If you don't have a pole, substitute an old shower rod or broom stick. You can also substitute large pieces of fabric or sarongs in place of your sheets.
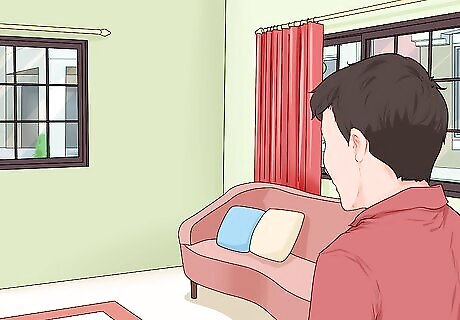
Choose the location of your fort. Pick an area that is fairly large and clear of furniture (you may have to rearrange your furniture to make this work). If you want people to see your fort, pick a high traffic area, like your living room. If you prefer to make your fort more private, you may choose to build it in your bedroom. This fort does not lend itself well to being built outside.
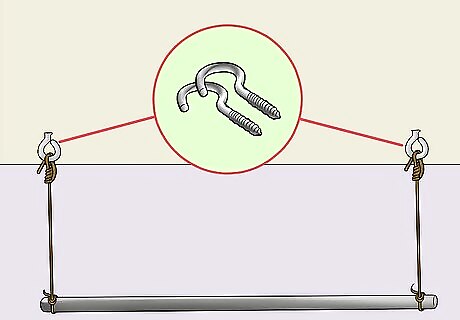
Hang the pole. Measure the pole. Screw two of the hooks into the ceiling so they are the same distance apart as the length of the pole. Cut two 3-foot long pieces of twine and use this twine to hang the pole from the screw hooks. Use the twine to tie a knot around one of the screw hooks. Then tie the other end of twine around the pole. Repeat this for both sides of the pole.
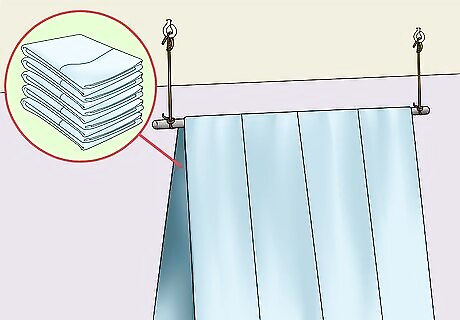
Hang the fabrics. Beginning with the heaviest sheet, layer the sheets and fabrics over the pole, creating a tent-like shape. When all the sheets are layered, measure 2 feet down from the front of the pole and safety pin all the sheets together. Make sure to safety pin the sheets on the other side of the tent as well. If you'd like the fort to be a little more private, add additional sheets and blankets to fill in the walls.
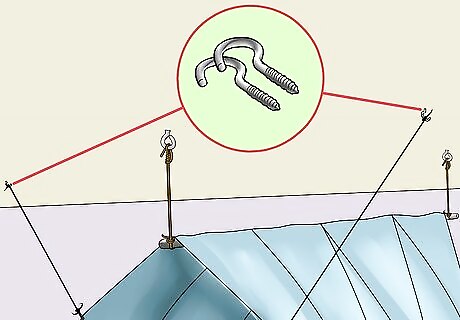
Hang the other hooks. Cut two pieces of 3-foot long twine and tie a piece to each of the two safety pins. Screw the two remaining hooks into the ceiling about 2 feet from either side of the pole. Tie the two pieces of twine attached to the safety pins to the two new screw hooks in the ceiling. This will help redistribute the weight of the fort, plus it will give it some more of its shape.
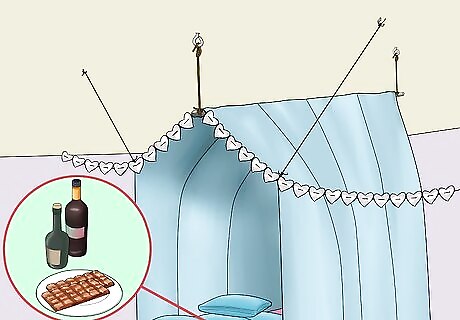
Decorate the fort. Fill your fort with pillows and blankets for coziness. To make your fort more romantic, add chocolates and champagne. Make a heart garland by cutting heart shapes out of newspapers and using a needle and thread to string them together. Hang your garland over the sides of your tent. Try making a pom-pom garland by stringing pom-poms on a fishing wire, using a needle. Layer your pom-pom garland over your newspaper garland. For added luxury and playfulness, you could also put carpet tiles on the floor before adding the pillows and blankets. This will help protect carpet from chocolate and wine spills too!
Building a Love Fort in Your Own Bed
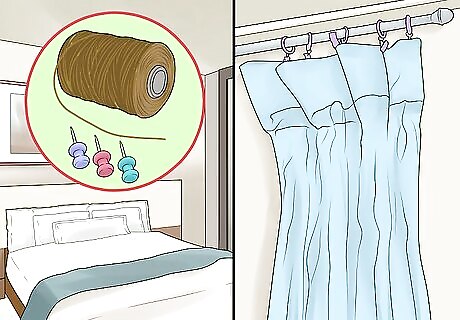
Assemble the supplies. For this love fort, the basic items you will need include: a bed, old curtains, twine and thumbtacks. You can also supplement your fort with additional decorations, like twinkle lights or candles. You can build this love fort alone to surprise your significant other. You can also build your fort together as part of a romantic date night.
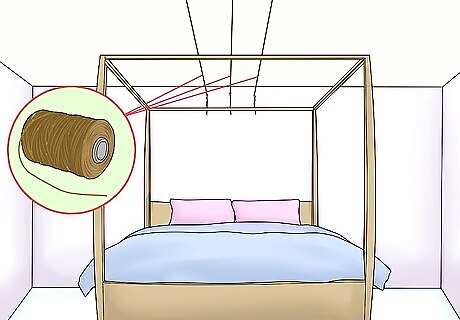
Hang the twine. Measure out your twine: each piece should be long enough to string over your bed and attach to both walls. Secure your twine to both walls using thumbtacks. If you have a four poster bed, the twine should hang just inches above the top of each post. If your bed does not have a headboard or posts, the twine should be high enough that both people could sit upright in bed.
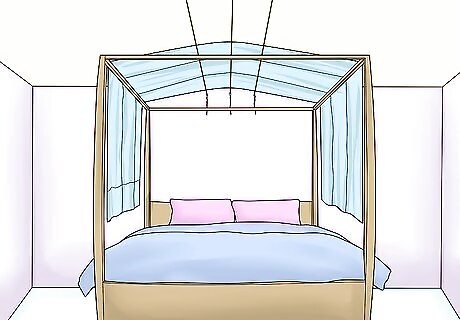
Hang the roof. Drape the curtains over the top of the twine. The curtains should be pulled taut, so the fabric creates a canopy over the top of the bed. It's fine if the curtains drape a little, but if they drape too much, you may want to add additional twine to support them. If you have extra blankets and sheets lying around, throw them on the bed to make a cozy love nest. If you don't have curtains, you can also make this fort using a sheet.
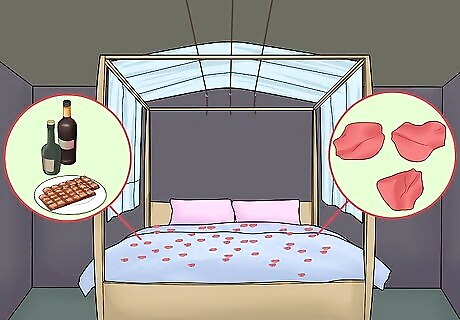
Decorate the fort. Sprinkle rose petals on the bed and create a trail of rose petals leading from the front door. Add a tray of champagne or wine and a plate of your favorite treats to eat in bed. Dim the lights and scatter lit candles around the room to create some added ambiance. If you have a television in your bedroom, pop in your favorite romantic movie and cuddle up for a night of love.
Building a Love Fort Using a Sofa
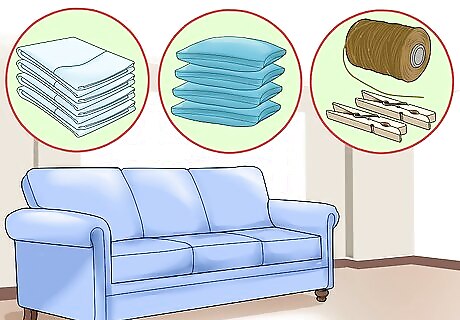
Assemble the supplies. For this love fort, you will need the following items: a sofa, blankets, sheets, pillows, chairs, clothespins and twine. You will also need a lot of floor space on and around the sofa, in order to build the fort. Clear out any valuable items, just in case. Move any small tables or other small pieces of furniture out of the way.
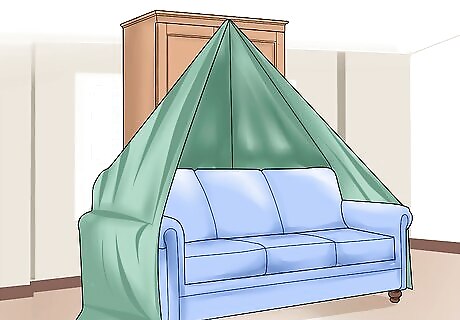
Build the roof. Drape a fitted sheet over the back of the sofa. Then pull the sheet taut and prop it up with one of the chairs. The roof of the fort should be high enough for two people to comfortably sit inside. You can create a higher roof by tying twine to the side of your sheet not affixed to the sofa and attaching that twine to something tall, like an armoire. Make sure the roof is secure before moving on. Add more twine or tuck the sheet in tighter until you feel comfortable that the roof will not collapse on you.
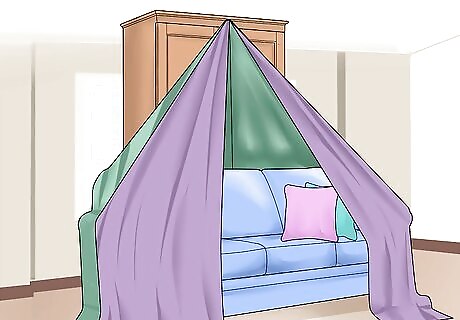
Drape the remaining fabrics. Use the rest of the blankets and sheets to fill in the sides of your fort. Layer the fabrics over the roof of the tent until the entire space is cozy and covered. If you feel you need some additional support for the roof after adding the blankets, place a chair in the middle of the fort to help prop the roof up. Place any remaining bedding inside the fort to create a nest on the floor. Add as many blankets and pillows as it takes to make the fort truly comfy.
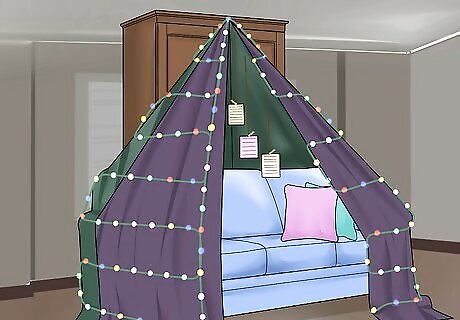
Decorate the love fort. If you have twinkle lights on hand, string these around the exterior of the fort to add some ambiance. Hang a piece of twine inside the fort and using clothespins, attach handwritten love notes for your sweetheart. Create a trail of candles leading up to the fort (do not place lit candles inside the fort; it may create a fire hazard). Make a tray of your significant other's favorite snacks and have it waiting for them inside the fort.


Comments
0 comment