views
Compost Pit Tutorial
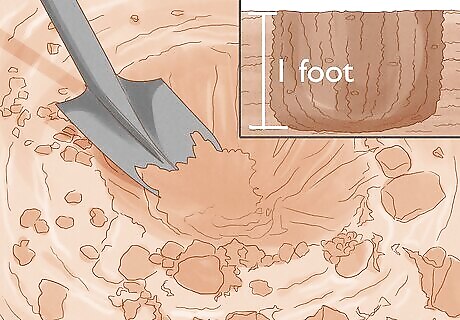
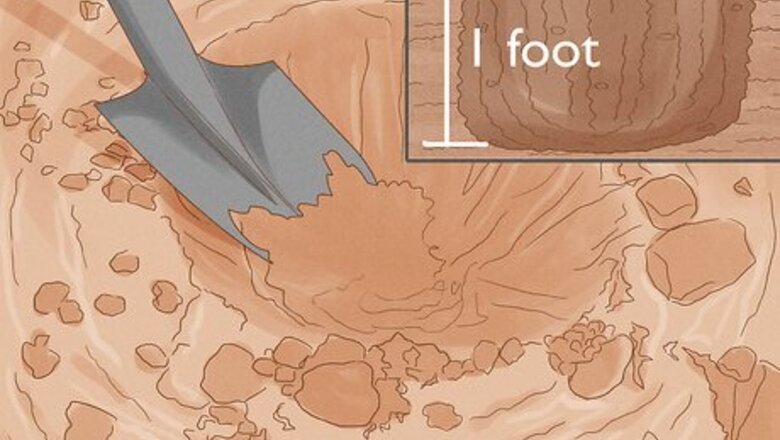
Dig a hole or trench for the compost pit. Find an open space where you can comfortably dig a hole or trench—someplace near an existing (or future) flower/vegetable garden is a great option. Make your pit between 12 and 15 in (30.5 to 38 cm) deep and 8 to 10 in (20 to 25 cm) wide. Depending on your yard space, you can make the pit a singular hole or a longer trench. Feel free to make more than one hole or trench, depending on the amount of space you have to work with. Digging holes rather than trenches may be more manageable if you don’t have a lot of compost material to discard. If you have fruit trees in your yard, consider digging compost pits beneath the outer edge of the branches. This placement allows the compost to nourish the tree’s roots more efficiently. Pro tip: To maximize your efficiency, set up your compost pit in the autumn months so it has plenty of time to decompose before the planting season.
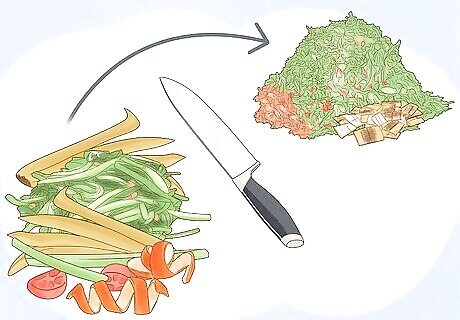
Chop your compost materials finely. Slice or physically break down larger pieces of compost, like leftover chunks of vegetables. The more fine your compost is, the more efficiently it will decompose. Kitchen scraps can be ripped apart by hand, chopped with a knife, or even pulverized in a blender or food processor. Yard scraps can be broken down using a lawn mower. Aim for pieces no bigger than 2 to 3 in (5 to 8 cm) long, wide, and thick.
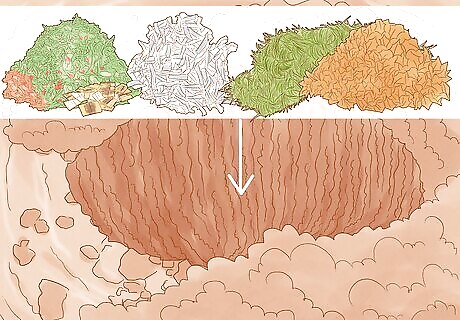
Fill the bottom 4 in (10 cm) of the pit with compost. Don’t fill it up all the way—the majority of the compost pit will be filled with soil. If you end up having more compost than you expected, feel free to dig another hole or trench. Use a shovel to mix the materials together so that they decompose as evenly as possible. It’s especially important to make sure your carbon-rich materials (such as paper and dried leaves) are mixed thoroughly with your nitrogen-rich materials (like vegetable scraps and fresh grass clippings). Well-mixed compost materials are important from the outset, as you generally do not turn the materials like you would with other kinds of compost setups.
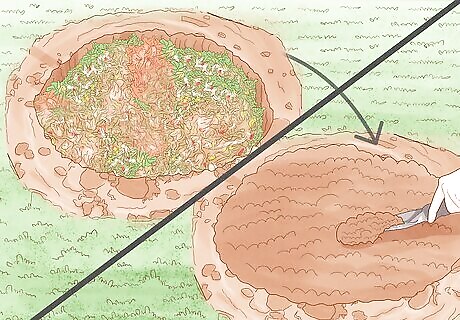
Cover up the compost with soil and mulch. Fill the pit until it is level with the surrounding soil. For a little extra protection, spread out some straw or other mulch over the pit. Seeding the area with grass or similar vegetation can also work well for this. Do the food scraps look dry? Drizzle over them with a hose before shoveling the soil overtop.
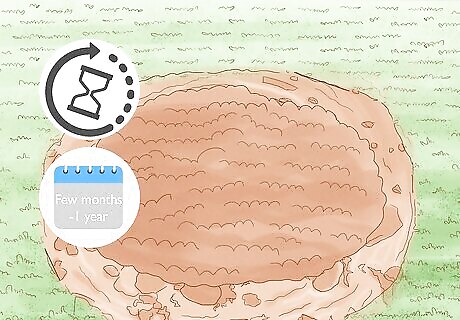
Wait a few months to 1 year for your pit to finish decomposing. Unlike other composting methods (like “hot” composting), a compost trench requires several months (or even a year) to finish decomposing. In well-nourished, well-draining soil, your compost can be ready in as little as 2-3 months, but this isn’t always the case. If your soil is mineral-based and lacks good drainage, you might have to wait much longer for your compost to ready.
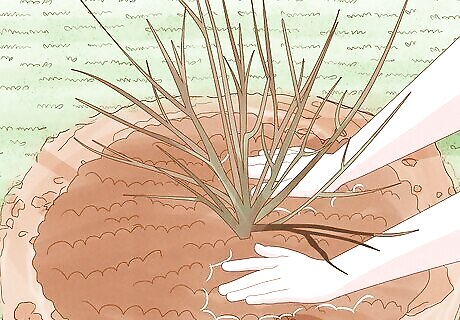
Grow plants above the compost pit when it has decomposed. Your soil is now deeply enriched beneath the surface, which makes it perfect for your future landscaping and gardening needs. Plant your desired seeds and sprouts into the soil with the confidence that they’ll be well-nourished.
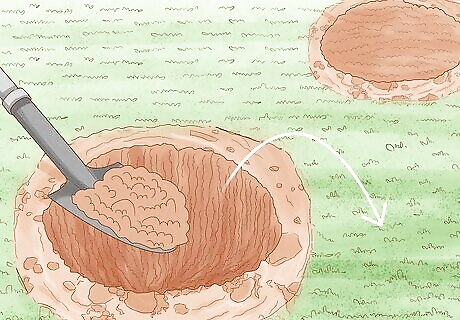
Dig a new trench to prepare a new compost pit. If you have plenty of other food scraps, dead leaves, and other materials ready to go, feel free to repeat the process all over again! Dig another hole or trench, fill it up, cover it with soil and mulch, and wait for the compost to decompose.
Compost Bin
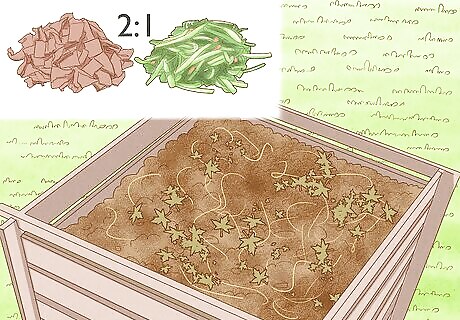
Use a compost bin if you’d like to continuously compost. Place your compost bin in a shady spot outside to prevent it from getting too warm or too moist. Fill the bottom 4 to 6 in (10 to 15 cm) of the bin with composting “browns,” or materials like twigs, dead leaves, clean cardboard strips, ripped-up brown bags, and the like. Then, build up the compost pile with layers of “greens” (e.g., cut grass, produce waste, eggshells, coffee grounds, etc.). If your compost seems too dry, drizzle with water until its moisture level resembles a slightly damp sponge. Turn the compost pile occasionally with a pitchfork to improve airflow and decomposition around your pile. Try to layer your “browns” and “greens” at a 2:1 ratio (or even 3:1). Once your compost pile lacks any food scraps and doesn’t warm up, leave it alone for 4 weeks so it can completely cure. At this point, your compost pile will be about 66% smaller than it originally was. Cured compost resembles soil. If you’re constantly adding to your compost pile, the bottom portion of compost might be ready to harvest before the upper portions. Warning: Don’t compost things like meat, bones, cheese/milk/yogurt, leftover oil, and cooked leftovers, as they can bring unwanted pests to your compost pile. Try not to compost materials like pet waste, treated grass trimmings, sick plants, or dryer lint, either.
Worm Composting (Vermicomposting)
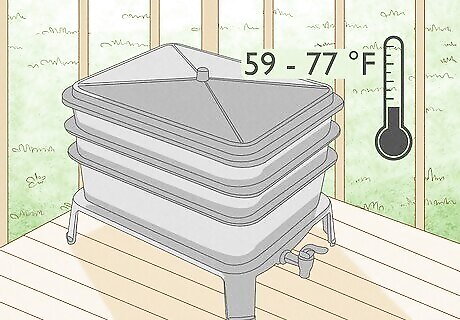
Choose worm composting for fast-paced results both inside and outside. Place your worm bin in a warm, 59 to 77 °F (15 to 25 °C) area around your home (e.g., beneath the sink, on your deck, in your garage, etc.). Fill the worm bin with a mixture of damp bedding (e.g., shredded newspaper, dead leaves, etc.) and soil, along with red wriggler worms. Feed these worms by setting food scraps on top of the worm bin, draped with 2 in (5.1 cm) of fresh bedding. Repeat this feeding process for 3 to 6 months, after which you’ll be able to get your compost (worm casings) from the bottom of the bin. Stick with natural food scraps, like fruits, veggies, eggshells, coffee filters, coffee grounds, and staple-free/plastic-free tea bags. Try to break down the scraps as much as possible beforehand so the worms can easily eat them. Feel free to use your worm compost in your lawn or garden as soon as you’d like. You can keep your worms in a warmer or cooler area as long as you give them a good cushion of bedding (at least 4 in (10 cm)).
Sheet Composting
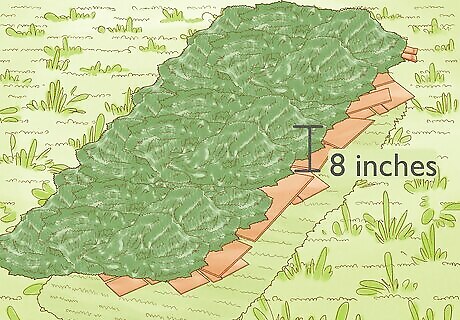
Opt for sheeting composting if you garden or do a lot of landscaping. Toward the end of summer, trim your grass and remove all the weeds from a large section of your lawn. Cover this mowed portion of land with sheets of wax-free cardboard or newspaper, followed by 8 in (20 cm) of grass clippings, manure, or dead/shredded leaves. Leave this composted area alone until spring arrives the following year, and then plant in this composted area as if it were regular soil. Don’t use any chemically-treated clippings in your compost.
Compost Tumbler
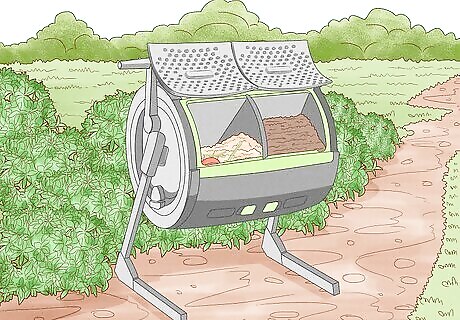
Use a compost tumbler as a fast-paced solution if you have spare yard space. Set your compost tumbler in a place that gets plenty of direct sunlight. Then, fill it with a mixture of both “brown” compost (e.g., clean cardboard strips, dead leaves, twigs, etc.) and “green” compost (e.g., fruit and veggie scraps, egg shells, coffee grounds, etc.), turning the material once every few days. In around 6-8 weeks, the compost will be processed and ready to use! Check the moisture of your compost as you fill the tumbler. If it seems a bit dry, drizzle it with water. Don’t fill up your compost tumbler more than 75% of the way full. You can make your own compost tumbler if you don’t already have on.


Comments
0 comment