
Understand how this works. In theory, placing a sheet of aluminum behind your router will help focus your Wi-Fi toward your preferred source with increased power, thus increasing the range. This can help you stay connected to the Internet on items like consoles or desktop computers that are just outside of your Wi-Fi's range. This is unlikely to work if your preferred item is more than a few feet outside of your router's Wi-Fi range.
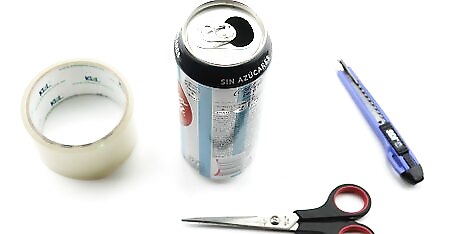
Gather the necessary tools. In order to create your Wi-Fi booster, you will need the following items: An empty, clean 500ml (16.9 fl oz) beer, soda, or otherwise aluminium can A Stanley knife or similar safety knife A pair of scissors strong enough to cut through thin metal, or a hacksaw A small piece of poster tack or similar adhesive
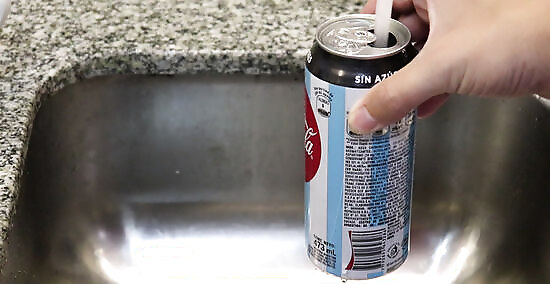
Wash out the can. Fill up the can with warm water, let it sit for a few seconds, then dump it out and repeat a few more times. Doing this ensures that your can's inside is as clean as possible. This is easiest to do when your can is freshly empty rather than several hours (or days) old. You may want to leave the can upside-down on a paper towel to allow it to dry before you cut into it.
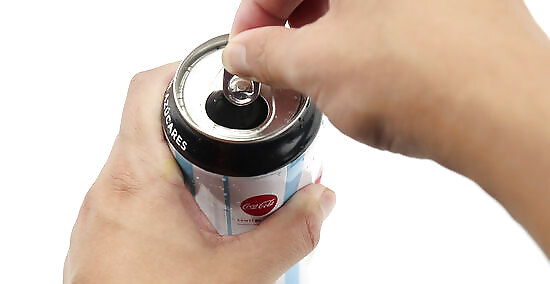
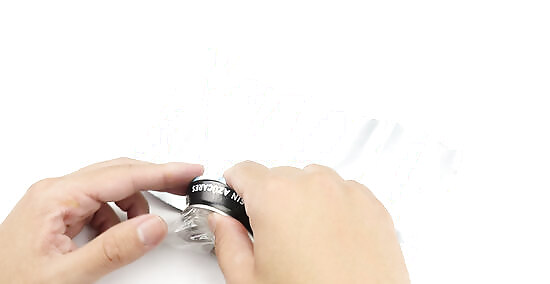
Remove the tab from the top of the can. This is most easily accomplished by pulling up on the tab, rotating it 180 degrees, and prying it up until it snaps off.
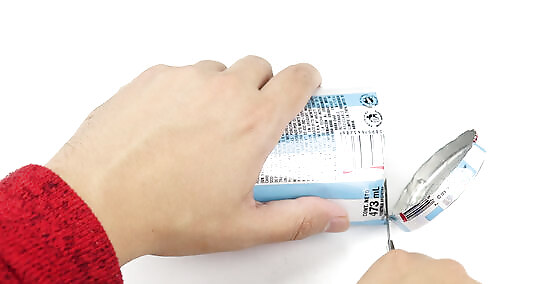
Cut the bottom off of the can. Using a hacksaw or your Stanley knife, remove entirely the bottom of the can. Be sure to cut as close to the bottom of the can as is possible.
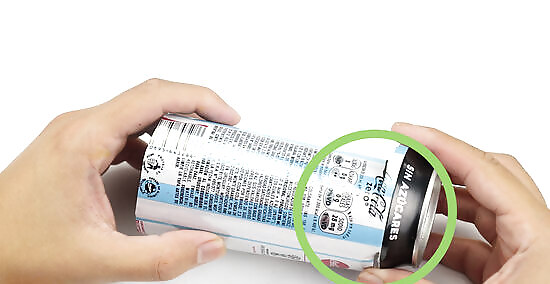
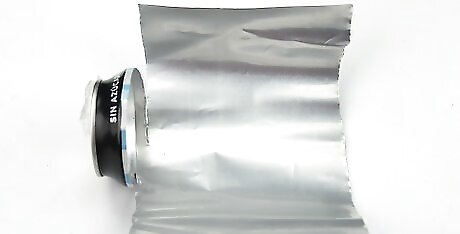
Create the base of the Wi-Fi booster. Cut almost all the way around what used to be the top of the can, making sure to leave around half an inch of the can attaching the top to the rest of the can. At this point, you can flip over the can; the former top will now serve as the can's base.
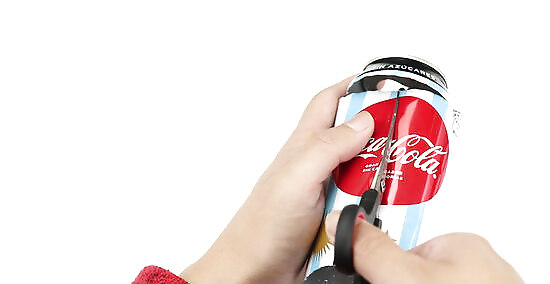
Make a vertical cut all the way down the can. Using your Stanley knife, cut down the side opposite of the section of the can that's attaching the base to the rest of the can. The cut should be positioned so that when you spread out the can's sides, the base of the can is centered.
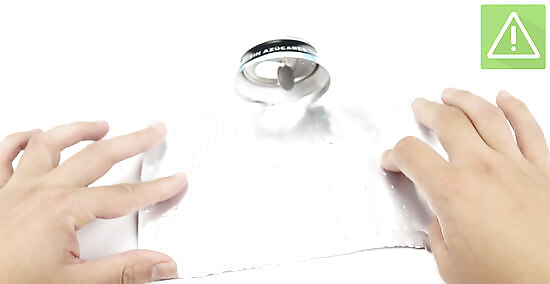
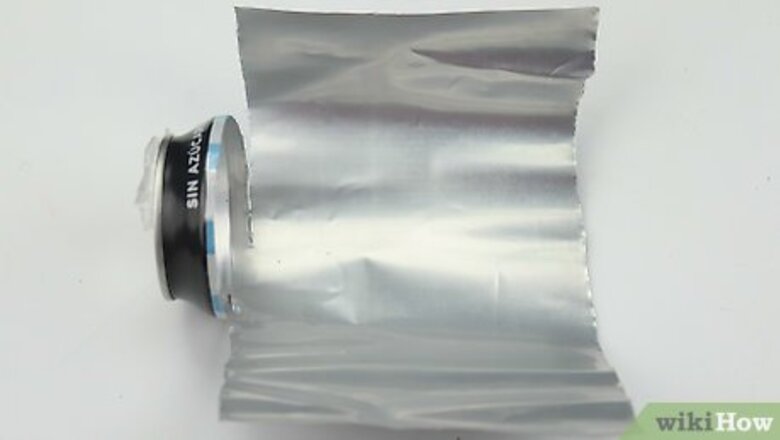
Peel out the sides of the can. Now that the sides of the can aren't attached to each other, you should be able to pry them apart to form a radar dish-shaped item. Be careful when doing this—the edges of the can are sharp. If you notice any remaining residue inside of the can, scrub it out and then dry off the can before proceeding.
Place adhesive on the bottom of the Wi-Fi booster's base. Place a small amount of poster tack on what used to be the top of the can. This will help hold the can in place. Double-sided tape is another viable option here.
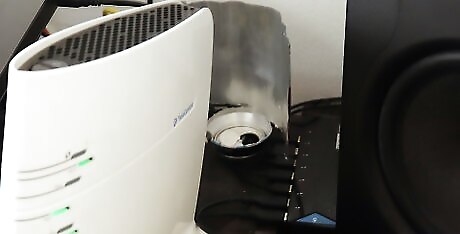
Place the booster behind the router. The booster's "dish" should be facing in the direction toward which you want to boost the signal. Depending on how your router is designed, the way that you place the booster may vary: If your router has an antenna, you should be able to thread the antenna through the drinking hole in the bottom of the base. If your router has no antenna, make sure that the can is behind the router, and that the router's front (e.g., the part with the lights) is facing in the direction toward which you want to boost the signal.
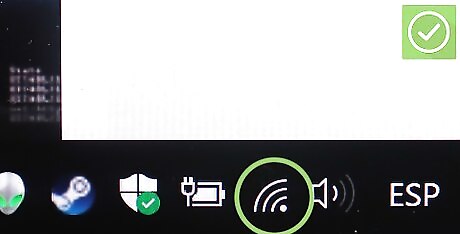
Enjoy your boosted Wi-Fi. While the boost to your Wi-Fi will be fairly minimal, you may still notice a change in your Internet speed or consistency where you previously struggled.


Comments
0 comment