views
X
Research source
Binding a hoop is fast and easy, and you only need a few items to do it. If you are having issues with damaged fabric or slippage while doing your needlecrafts, then try binding your hoop for better results.
Doing a Basic Hoop Binding
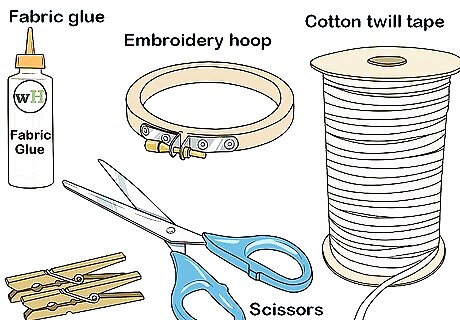
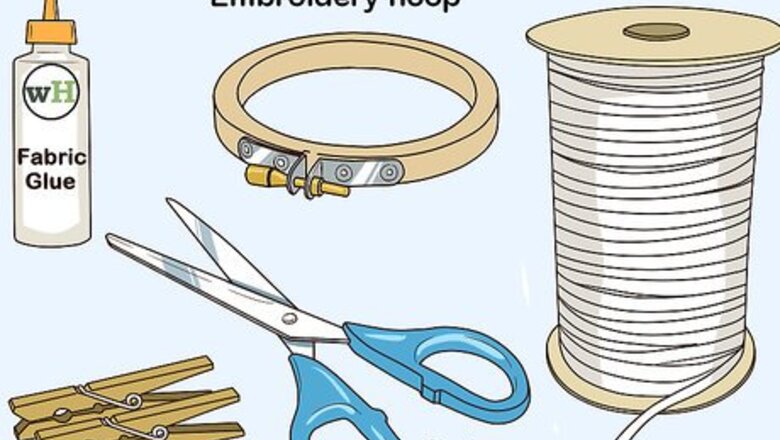
Gather your materials. Wrapping a hoop with fabric is easy, but you will need to have a few items ready before you begin. You will need: Embroidery hoop that you want to wrap 1” cotton twill tape or bias tape. Get more than you think you will need to wrap around the outside of your hoop. It is usually sold in packages of 2 yards (1.8 m), which should be plenty. Scissors Needle and thread OR fabric glue Clothespins
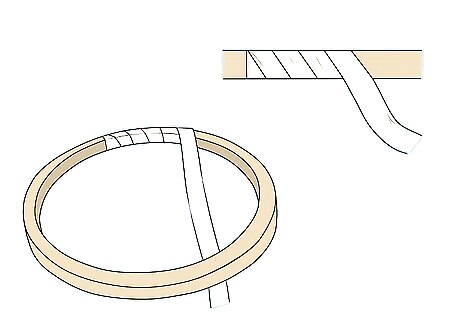
Begin wrapping the fabric around the hoop. Choose a starting point to begin wrapping your hoop and pinch the end of your fabric against the inside of the hoop with your thumb and forefinger. Tilt the fabric so that it is at a 45 degree angle and then begin wrapping the hoop. Each rotation should cover half of the fabric from the previous rotation. If you are wrapping a solid hoop, then you can begin wrapping it anywhere. If you are wrapping a hoop with a gap between two sides of the hoop, then start wrapping near the edge of the gap and wrap around to the end of the gap. If after a few rotations the fabric is not covering enough of the previous rotation or if it is covering too much, then adjust the angle of the fabric and try again.
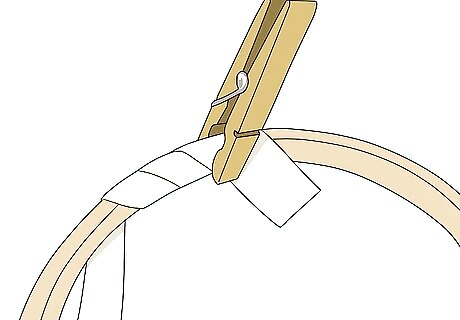
Place clothespins as needed. You can hold the fabric with your fingers to get it started, but after a few rotations of the fabric, you may want to place a clothespin around the fabric. Then, you can place another clothespin or two as you work around the hoop. This will help to keep the fabric tight as you continue wrapping the hoop.
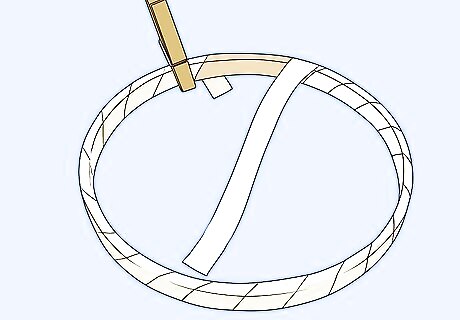
Continue to wrap until the whole hoop is covered. Keep wrapping the fabric around the hoop until you have covered the entire hoop with the fabric. When you reach the other side of the hoop, overlap the starting fabric by about 1 inch (2.5 cm) and then cut the fabric so that the end piece is on the inside of the hoop. Hold the end of the fabric in place with your fingers or secure it with a clothespin until you can sew it into place.
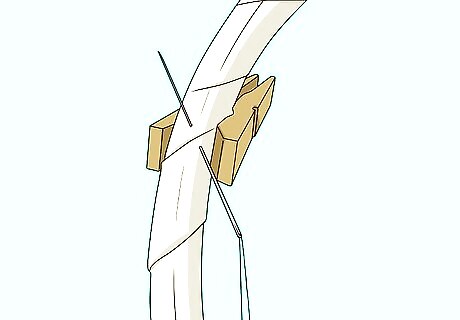
Sew the ends of the fabric in place to secure them. The fastest way to secure your fabric around the hoop is to use a needle and thread to sew it. Insert the tip of a threaded needle into the edge of the end piece of fabric. Go all the way through the fabric underneath the end piece on the hoop. Keep sewing until you have made two passes across the edge of the end piece of fabric. Then, tie the thread in a knot and cut the excess. Gluing the fabric in place is also an option, but you will need to leave the hoop to dry overnight before using it. If you’d rather use glue to secure the fabric, then place a generous dot of fabric glue under the end of the fabric and press it down. Then, place a clothespin over the end to hold it while it dries.
Improving Your Results
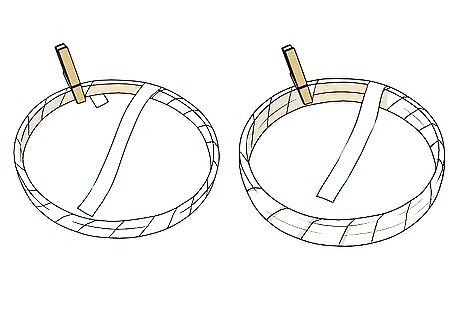
Decide if you want to wrap one or both hoops. Binding even one of your hoops can help to ensure that your fabric will not slip when you have it between the hoops. However, you may want to bind both hoops if you are working with delicate fabric or if the fabric you use still feels loose with only one bound hoop. If you are unsure, then start by just binding the inner hoop and see if that helps to secure your fabric. If your fabric still feels loose between the hoops, then wrap the outer hoop as well.
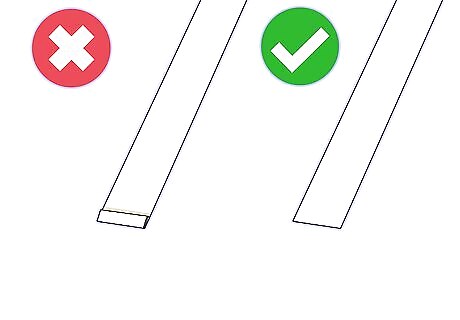
Choose a binding fabric that does not have a seam on the edge. A twill or bias tape that has a seam on the edge may result in an uneven texture when you finish wrapping the hoop. Try to find a twill or bias tape that does not have a seam on the edge or any other details that might result in uneven wrapping.
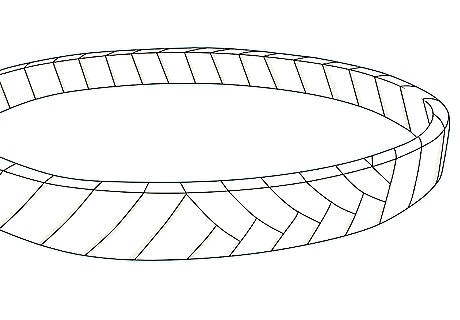
Work around joints and open ends. Embroidery hoops often have some open edge and joints that could be a challenge to work around. However, it is important to avoid wrapping these areas with the fabric or it may affect the functionality of your hoop. Start and finish wrapping your hoop at the edges of opening to avoid this obstacle. Do a large figure eight to work around joints. Don’t try to wrap the entire joint with the fabric.


Comments
0 comment