views
Adding a Border to an Object
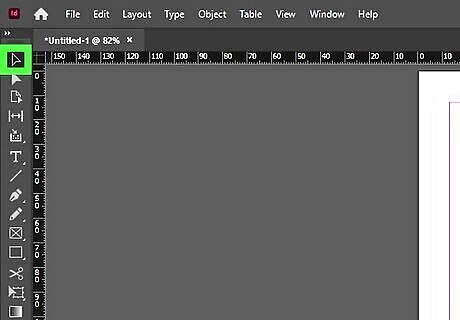
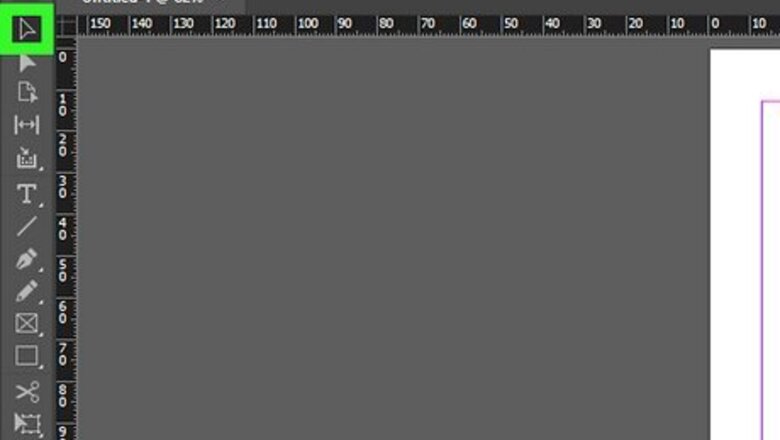
Select an object you want to put a border around. Click the Selection tool in the toolbar. It's the icon that resembles a black mouse cursor. Then click the object you want to apply a border to. The object you select can be a text frame, an image frame, or a shape. If you cannot select an object, open the "Pages" tab in the panel in the upper-right corner. Select the master pages and see if the object is on a master page.
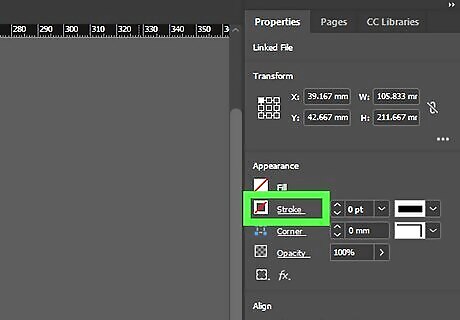
Click Stroke. This tap is in the panel on the top-right side. This will display a window allowing you to customize the stroke around your selected object. If you don't see this tab, click Window in the menu bar at the top, followed by Stroke.
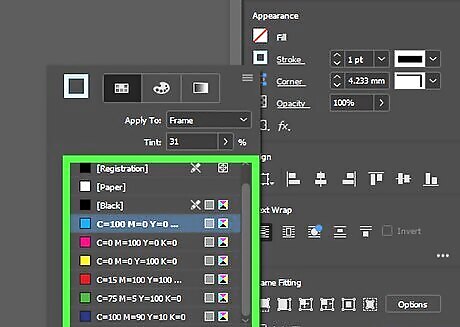
Select a color for the stroke. To change the stroke color, go to the Stroke panel and click the Color tab. Then, choose a color and adjust its values using the CMYK or RGB slider bars.

Edit your border. To do so, click the Stroke tab at the top of the panel. Then use the following options to edit your border: Weight: This changes the border's thickness. You can click the up or down arrows to increase or decrease the border thickness or enter however many units thick you want the border to be in the field next to "Weight." Cap: This specifies how you want the borderline to end. This will only be visible if it is an open line. If it is a closed line (i.e., a rectangle or a circle), the cap will not be visible Miter Limit: This specifies how thick the border must be before a corner goes from a sharp to a beveled corner. Join: This allows you to select the shape of the corners. You can select a sharp corner, a beveled corner, or a round corner. Align Stroke: This allows you to select how the stroke is aligned relative to the path. You can have it centered on the path, inside the path, or outside the path. Type: This allows you to select the line type you want the border to have. Click this option to see a list of line types you can select. Start/End: These drop-down menus allow you to select a stylized shape for the start and stopping points of the borderline. These are only visible if it is an open line. Gap color: If you choose a border type with a line with gaps, you can select a color for the spaces between the gaps. Gap Tint: If a gap color is specified, this option allows you to select a tint for the color.
Adding a Paragraph Border
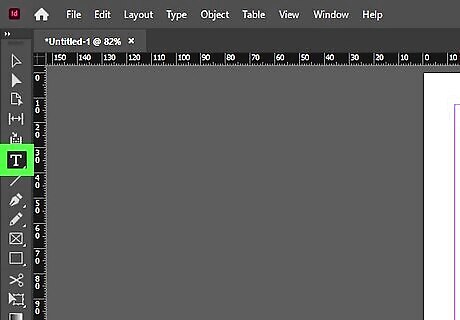
Select the Text tool. The icon resembles a "T" in the toolbar to the left.

Click the paragraph you want to add a border to. Click the text to place a text cursor within any text box in your document.
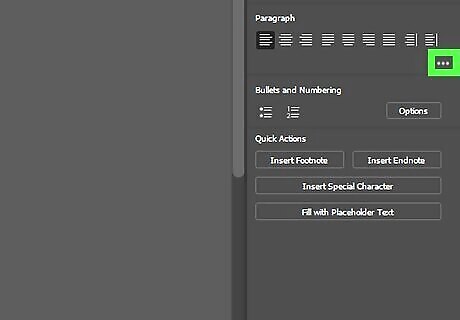
Click ☰. It's the icon with three lines in the upper-right corner of InDesign. This displays a drop-down menu.
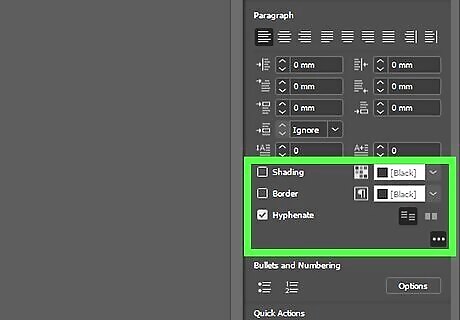
Click Paragraph Borders and Shading. It's towards the bottom of the drop-down menu that appears when you click the icon with three lines.
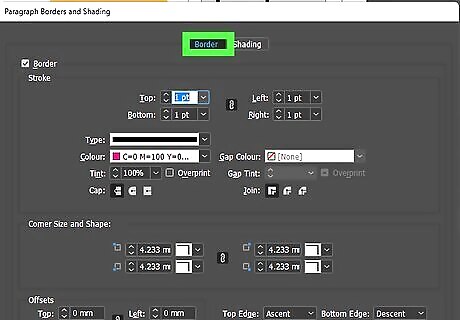
Click the Border tab. It's the first tab at the top. This displays a menu that allows you to add and edit a border around a paragraph.
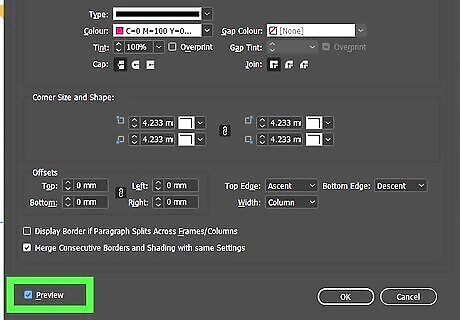
Check the "Preview" box. It's in the lower-left corner. Check this box to preview how the border looks around your paragraph in real time.
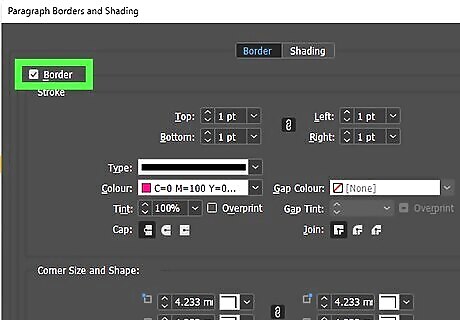
Check the "Border" option. It's at the top of the menu. This adds a border around the paragraph.
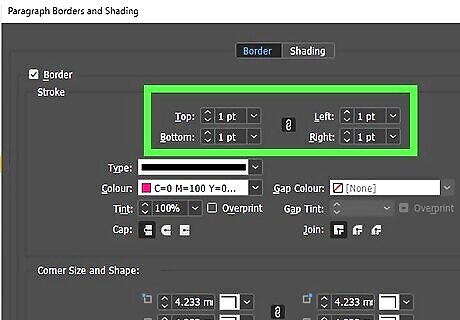
Adjust the border thickness. You can adjust border thickness independently on the top, bottom, right, or left side of the border. Enter a pixel thickness in the boxes labeled "Top," "Bottom," "Left," or "Right," or click the up or down arrows next to one of these boxes to adjust the line thickness.

Select the border type. Use the drop-down menu next to "Type" to select the line style you want for your border.
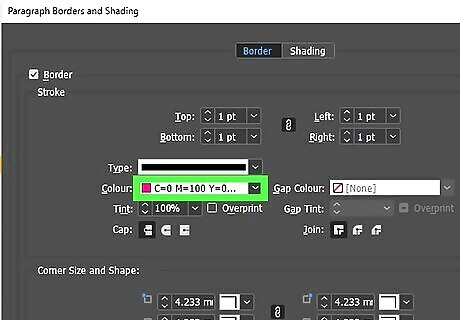
Select the border color. Use the drop-down menu next to "Color" to select a color swatch you want to use as your border color. Use the slider bar next to "Tint" to select a tint for the color. If you select a border type with gaps, you can use the drop-down menu next to "Gap color" to select a separate color for the gaps. You can also adjust the tint of the cap color.
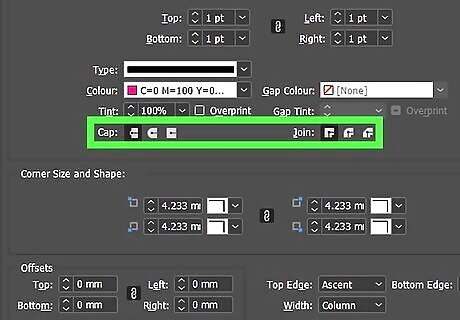
Select the cap and join type. Use the icons next to "Cap" and "Join" to select how the lines in your border end and how they join together. Cap: This specifies how you want the borderline to end. This will only be visible if it is an open line. If it is a closed line (i.e., a rectangle or a circle), the cap will not be visible Join: This allows you to select the shape of the corners. You can select a sharp corner, a beveled corner, or a round corner.
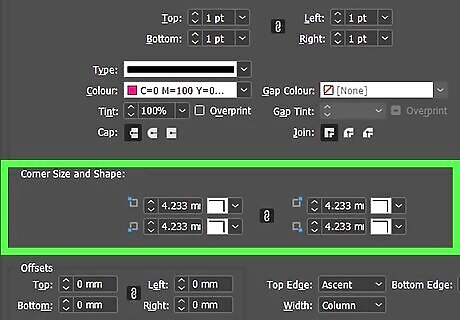
Select the corner sizes and shapes. Use the drop-down menus below "Corners and Shapes" to select the shape of your border corners. You can select a different shape for each corner. Click the up or down arrows next to each corner to adjust the size of the corner, or enter the number of units thick you want the corner to be next to each corner. Click the chainlink icon in the middle of all corner options to link all corners together and use the same size and shape for each corner.

Adjust the text offset. This determines how far away you want the border edges from the text. Click the up or down arrows next to "Top," "Bottom," "Left," or "Right" to adjust the offset for each border side. Alternatively, you can enter the number of units wide you want the border offset to be in each field.
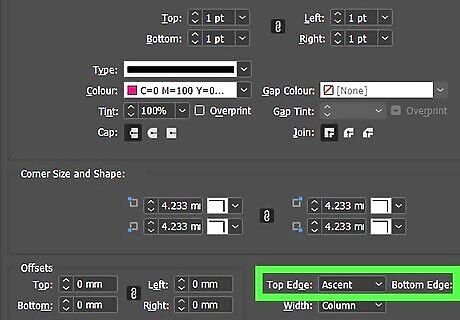
Select the position of the top and bottom edges. Use the drop-down menus next to "Top Edge" and "Bottom Edge" to select the exact position of the top and bottom edges of the border.

Select the width of the border. Use the drop-down menu next to "Width" to select the width of the border. The options are as follows: Column: This extends the border across the text frame. Text: This extends the border across the text.
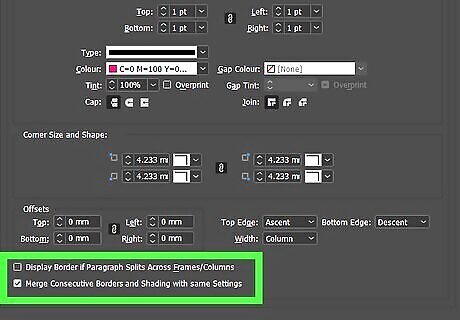
Check or uncheck the merging and display options. These options are at the bottom of the menu. They are as follows: "Display border if text splits across multiple frames or columns." This will display a border, even across multiple columns or text boxes. "Merge Consecutive Borders And Shading With Same Settings." This option will merge borders if there are two paragraphs next to each other that have the same border settings.
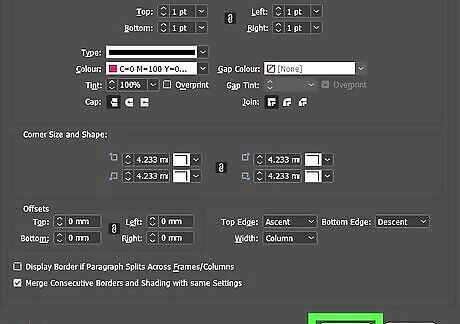
Click Ok. It's in the lower-right corner. This will apply your border settings to the paragraph.
Applying a Page Border
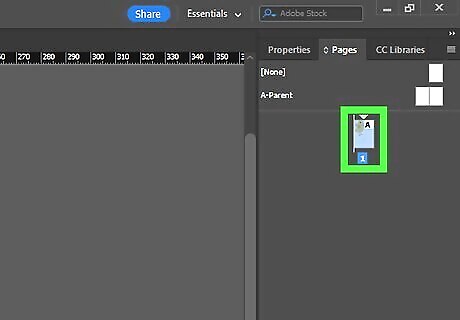
Select a master page. To do so, click Pages in the panel in the upper-right corner. Then, double-click a master page. Applying a border to a master page will allow you to apply it to multiple pages in your project easily. If you don't see the "Pages" tab in the panel in the upper-right corner, click Window in the menu bar, followed by Pages. You can add more than one master page. To do so, select a master page, then click the icon resembling a blank page at the bottom of the Pages panel. Alternatively, if you only want to apply a border to a single page, you can apply it in a separate layer. To do so, click the Layers tab in the panel to the left. Click the icon that resembles a blank page at the bottom of the Layers panel to add a new layer. Click and drag the new layer to the bottom of the layers. Then click the layer to select it.

Select the rectangle tool. It has an icon that resembles a rectangle in the toolbar to the left. Alternatively, you can design a border in a separate program, such as Illustrator or Photoshop and use it as a background image. Make sure that the document is the same size as the pages in your InDesign project. Save the document and place it in InDesign by clicking File followed by Place. Select your border document and click open. Click and drag to make sure it is placed correctly.

Click and drag to create borders around your whole page. This will create a rectangle. It should be nearly the size of your entire page. You can use your document margins as a guide for where to place your border.
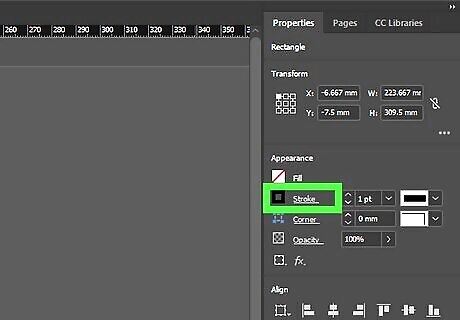
Click Stroke. This tap is in the panel on the top-right side. This will display a window allowing you to customize the stroke around your selected object. If you don't see this tab, click Window in the menu bar at the top, followed by Stroke.
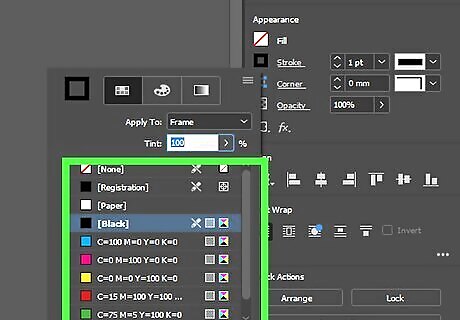
Select a color for the stroke. To do so, click the Color tab at the top of the "Stroke" panel in the upper-right corner. Then, click a color in the color field and use the CMYK or RBB slider bars to adjust the color values.

Edit your border. To do so, click the Stroke tab at the top of the panel. Then use the following options to edit your border: Weight: This changes the border's thickness. You can click the up or down arrows to increase or decrease the border thickness or enter however many units thick you want the border to be in the field next to "Weight." Cap: This specifies how you want the borderline to end. This will only be visible if it is an open line. If it is a closed line (i.e., a rectangle or a circle), the cap will not be visible Miter Limit: This specifies how thick the border must be before a corner goes from a sharp to a beveled corner. Join: This allows you to select the shape of the corners. You can select a sharp corner, a beveled corner, or a round corner. Align Stroke: This allows you to select how the stroke is aligned relative to the path. You can have it centered on the path, inside the path, or outside the path. Type: This allows you to select what type of line you want the border to have. Click this option to see a list of line types you can select. Start/End: These drop-down menus allow you to select a stylized shape for the start and stopping points of the borderline. These are only visible if it is an open line. Gap color: If you choose a border type with a line with gaps, you can select a color for the spaces between the gaps. Gap Tint: If a gap color is specified, this option allows you to select a tint for the color.
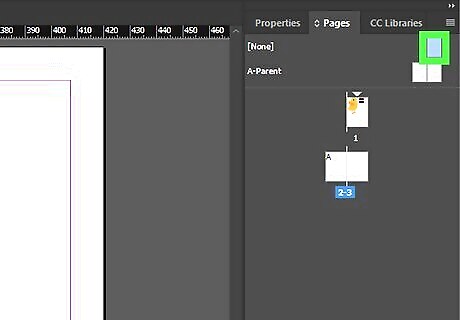
Apply the border to pages in your project. To do so, open the "Pages" tab in the panel in the upper-right corner. Click and drag the master page with the border and place it over any pages you want to apply it to.





Comments
0 comment