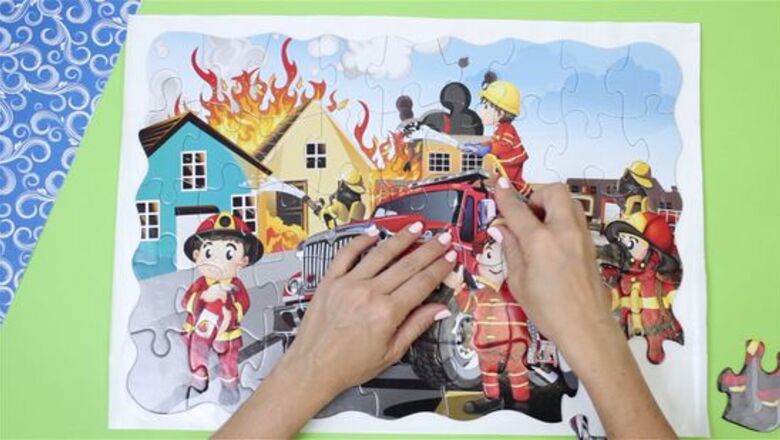
views
- Transfer your puzzle onto a sheet of wax paper and flatten out the pieces with a rolling pin. Wipe dust off of your puzzle with a damp cloth.
- Spread a thin layer of puzzle glue onto the front of the puzzle and let it dry for 4 hours. Then, flip the puzzle over and apply glue to the backside as well.
- Attach foam board backing to your puzzle to make it sturdier. Place your puzzle inside of a jigsaw puzzle frame to display it.
Slide the puzzle onto a piece of wax paper.
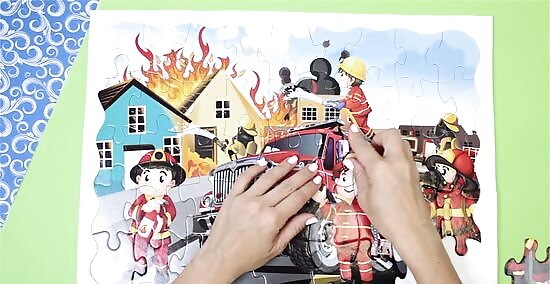
Wax paper prevents the glue from making a mess on your work surface. Tear off a piece of wax paper that’s bigger than your puzzle and lay it flat on your tabletop. Carefully lift the corners of your puzzle and slide the sheet of wax paper underneath it. If your piece of wax paper isn’t wide enough to fit your puzzle, tape multiple pieces of the paper together.
Flatten your puzzle with a rolling pin.
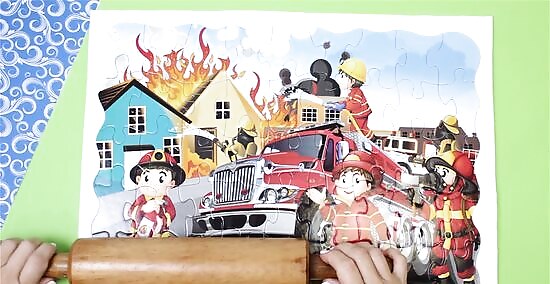
Leveling all the pieces will make the glue adhere easier. If you notice small bumps or raised-up pieces on your puzzle, go over your entire puzzle with a rolling pin. Apply gentle pressure as you work your way across your puzzle so it’s completely evened out before you start gluing. If pieces still pop up or feel loose, keep rolling the spot until they level out.
Wipe the puzzle with a slightly damp cloth.
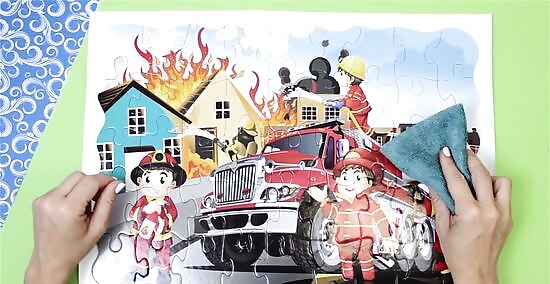
Cleaning your puzzle gives it a dust-free appearance once it’s framed. Wet a clean cloth with water and wring it out completely. Gently wipe the top of your puzzle to pick up any loose dust or debris that’s left on the surface. Otherwise, it may get trapped and be visible after you frame your puzzle. Make sure there's no water dripping from the cloth. If the pieces get wet, they could deform or curl up.
Spread puzzle glue onto the surface and let it dry.
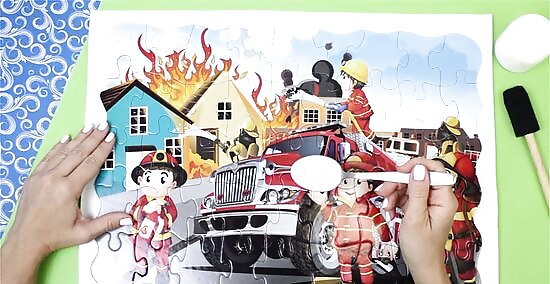
Puzzle glue secures the pieces together so they don’t break apart. Scoop a spoonful of the puzzle glue into the center of the puzzle. Use a foam paintbrush or an old gift card to apply the glue evenly across the entire surface of the puzzle. If you run out of glue, add a small spoonful at a time so you don’t oversaturate the puzzle. Once you coat the entire surface, wipe up any excess with paper towels and let it dry for at least 4 hours. As the glue dries, it will turn clear. Avoid using a brush with bristles to spread the glue because it could leave behind visible brushstrokes on the surface. After you glue your puzzle, the pieces are permanently stuck together, so you won’t be able to take it apart or put it back together again. Don’t have puzzle glue? White school glue works for puzzles in a pinch.
Glue the back of your puzzle and let it dry.
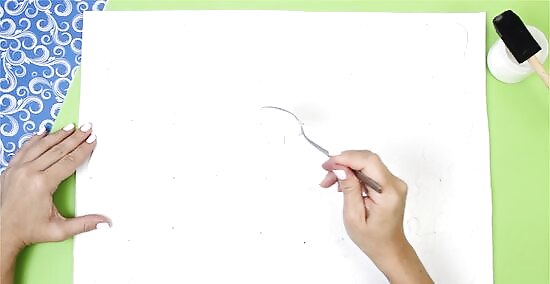
Applying glue to the back prevents your puzzle from curling. After the glue dries on the front of your puzzle, carefully pick up the corners and slowly flip it over to the back. Spread another thin layer of puzzle glue onto the back surface with a foam brush or gift card, just like you did on the front. After you’re done applying it, leave the glue to dry for another 4 hours. If you want to avoid using glue, laminate your puzzle with adhesive sheets on the back side only. Sandwich your puzzle between 2 pieces of poster board, and flip your puzzle over to the back. Press the adhesive sheets onto the back of the puzzle to hold the pieces together.
Mount the puzzle to foam board or wax paper.
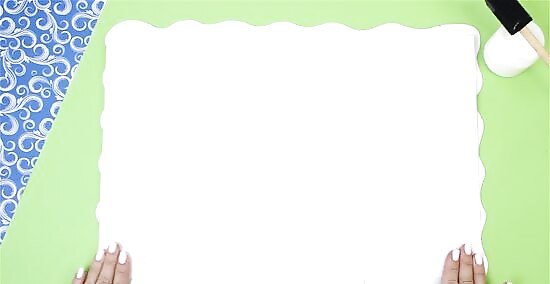
Foam board or wax paper makes your puzzle even sturdier. Cut a piece of foam board or wax paper so it’s about 1 inch (2.5 cm) shorter than your puzzle on each side. With the back side of your puzzle face-up, apply a layer of craft glue onto the piece of backing material. Center the foam board or wax paper on the back of your puzzle and press it down firmly. Stack heavy books or items on top of the backing, and let the glue dry for 1 day. Make sure the backing material doesn’t stick out from any of the edges of the puzzle, or else it will be visible in the frame.
Purchase a frame that fits your puzzle.
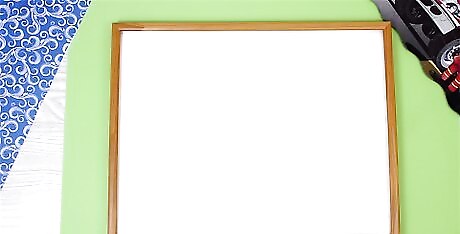
Puzzle frames work best for displaying thicker puzzle pieces. Because your assembled jigsaw puzzle may have slightly different dimensions than what’s listed on the box, use a ruler or tape measure to find its length, width, and thickness. Choose a frame specifically made for puzzles that matches the dimensions you measured to ensure that your finished puzzle fits easily inside. Standard picture frames may work if you’re framing a cardboard jigsaw puzzle, but they aren’t suitable for wooden puzzles. If you can’t find one that matches the size of your puzzle, make a custom frame or visit an art framing store to have one made for you.
Secure your puzzle inside the frame.

The frame will keep your puzzle protected while it’s on display. Set your frame face down on a flat surface and lift the tabs to take off the back. Wipe the inside of the frame with glass cleaner to remove any residual dust or debris. Then, carefully set your puzzle inside of the frame so the front is against the glass. Then, set the frame’s back onto the puzzle and secure it in place. When you’re finished, just hang up your puzzle wherever you want to display it. If you’d rather display your puzzle without a frame, pinch binder clips onto the top edge of the puzzle and nail them into your wall.


Comments
0 comment