views
Inspecting Your Cat's Ears
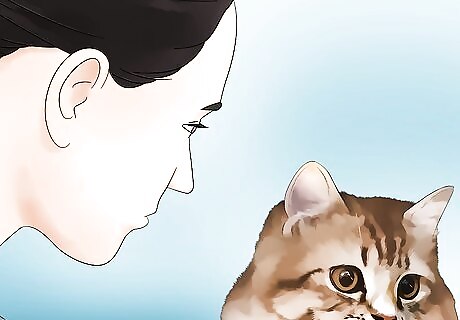
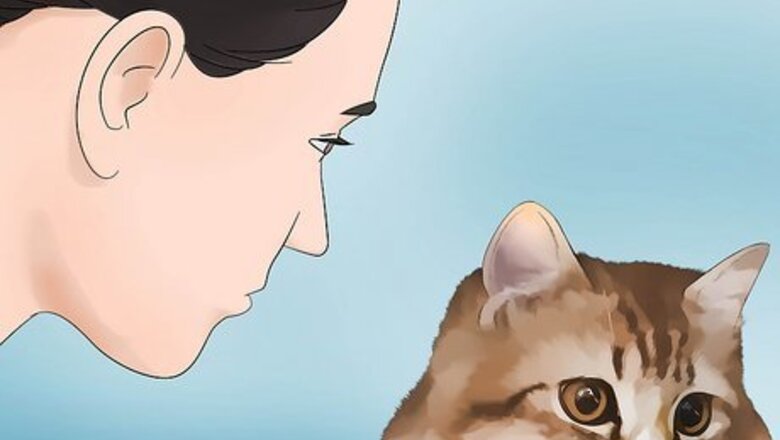
Inspect your cat's ears. Note that you will only be able to see the outer aspects of the ear; you won't be able to see inside the ear canal or eardrum since these turn in horizontally where the ear meets the head. Grooming is the easiest and least traumatic during moments when your cat is looking for attention or feeling sleepy. A cat who is in an energetic or playful mood is more likely to struggle and scratch during grooming.
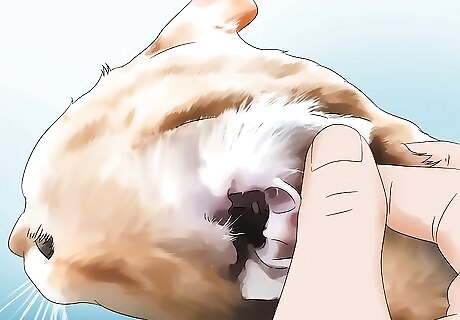
Grip the top of the ear. Gently turn the ear flap inside out until you can clearly see the interior. Look into the cat's ear canal as much as you can. Do this for each ear. Make sure to check the ears in an area with plenty of light, such as near a window or under a bright light in your home.
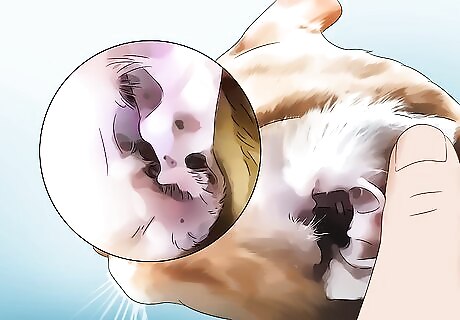
Determine whether you need to clean the ear. You can tell if a cat's ear is clean because it will be pale pink in color, have minimal earwax and dirt and no debris or odor. If the cat has clean ears, this is a good indication that your cat is capable of self-cleaning its own ears. Note that there is no need for you to clean the ears if they appear to be clean.
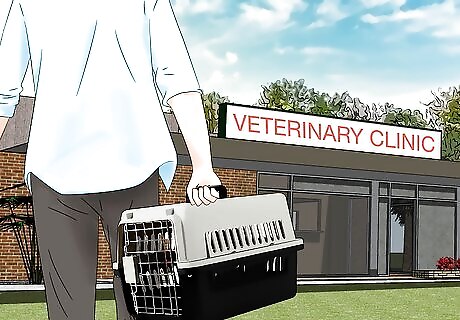
Take your cat to the vet if you spot any abnormalities. It is normal for cats to have earwax and dirt on, in and near their ears. Any other discharge in and around the ears, however, is abnormal. Take your cat to the vet right away if you notice any of the following symptoms: Green or yellow pus or red, dark red or black discharge from the ears. These could be indicative of a bacterial or fungal infection, or a mite infestation. Unusual odors coming from the ears. Redness or swelling in and around the ears. Balance issues or a constant head tilt. If you see nothing more than some dirt or mild waxy buildup, you can clean the cat's ears at home.
Cleaning the Ears
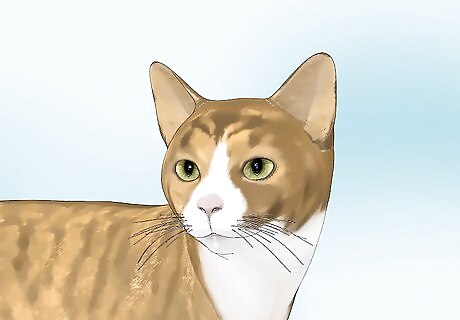
Make sure your cat is relaxed. Some cats do not like having their ears cleaned and can put up a struggle. Bring your cat to a quiet room where there are no other pets. Your may need to have a second person readily available who can help you hold the cat while you clean the ears. The person holding the cat should use minimal restraint. A grip that is too firm will cause the cat to become less cooperative and more likely to claw to escape. If the cat won’t cooperate, you can also try to “burrito” the cat by wrapping her body (including all limbs) securely in a thick towel. If the cat becomes too agitated during any part of the cleaning process, stop. You don't want her to claw or bite you.
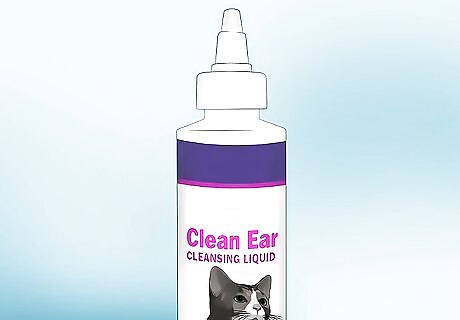
Obtain a liquid ear cleaner. A good ear cleaner is mildly astringent and quick drying. You can purchase an ear cleaner at the veterinarian’s office or a reputable pet supply store. You can also make your own cleaner if you're in a pinch. A mixture of one part white vinegar and one part rubbing alcohol will work if used sparingly. Keep in mind that if your cat has any scratches or infections, using this homemade cleaner may sting. Water should not be used as an ear cleaner because it can sit in the ear and allow yeast to grow. One alternative for cleaning the outer ear is to use a cotton swab moistened with olive oil.
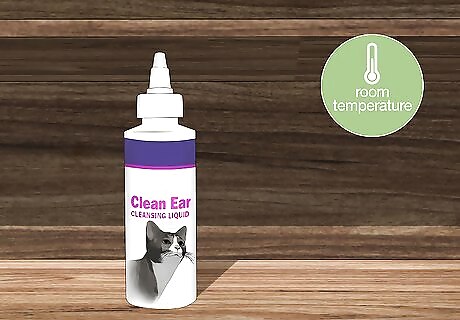
Bring the ear cleaner to room temperature before use. Bringing the ear cleaner to room temperature will make the experience more comfortable for your cat. Most humans wouldn't like cold ear drops going in their ears. The same is true for cats!
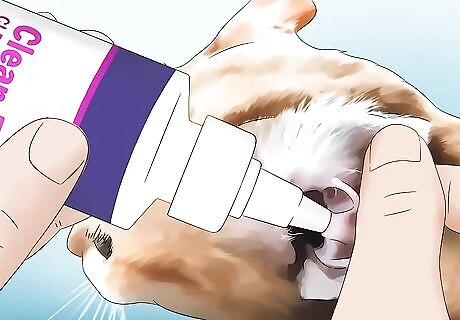
Place a few drops of ear cleaner into the cat's ears. Use the proper dosage as recommended on the label instructions. Do this one ear at a time. Massage the base of the ear for 20 to 45 seconds to "work in" the cleaner. Use a firm but gentle pressure while rubbing the ear base. Do not rub vigorously as this can damage the eardrum. One helpful rule of thumb is that you want to lift away dirt and wax, rather than rub it in. Administer the full dosage as indicated by your vet or the instructions that accompany the cleaner. Failure to do so may prevent the cat's ear(s) from healing properly.
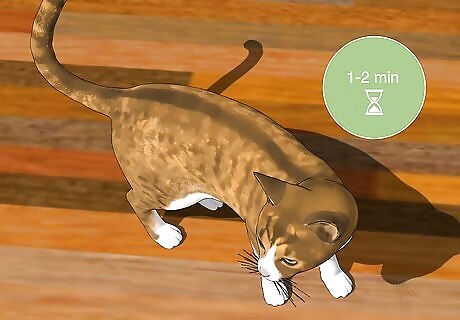
Leave the cat alone for a minute or two. Allow the cat to shake her head to further dislodge any wax or dirt buildup.
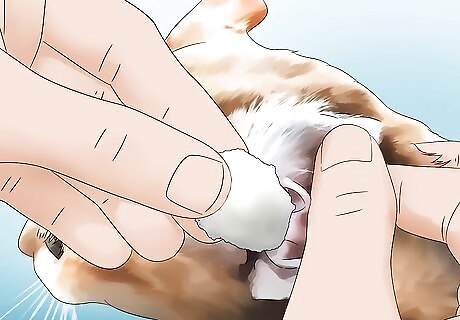
Moisten a cotton ball or gauze pad and gently swab the cat's ears. Make sure to not push the cotton ball or gauze too deep into the horizontal part of the ear canal; this could compact, rather than remove, buildup. Do not use a Q-Tip unless instructed to do so by your vet. Do not clean too deep into the cat's ear canal. Doing so can damage the tissue that lines the ear canal and can even rupture your cat's eardrum. If the eardrum is ruptured, the cat may show signs of pain (pawing at the ear, meowing, etc.), lose her sense of balance or sit with her head tilted to the side. If you notice any of these symptoms, take your cat immediately to the vet's office for examination.
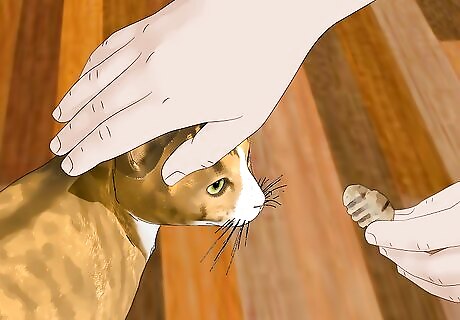
Follow the cleaning with praise, cuddles, and a treat. This will help calm your cat and make her more inclined to cooperate with you the next time she sees you get out the ear drops.




Comments
0 comment