views
- Get your version of macOS from the App Store and create a backup of it on your desktop.
- Right-click the file on your desktop and make a bootable USB drive.
- Go to Package Contents in that file and go to "Disk Utility", then drag the "InstallESD.dmg" file in that package to Disk Utility.
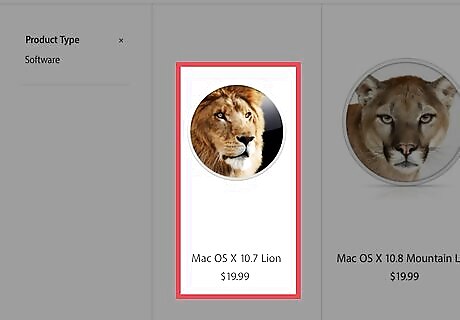
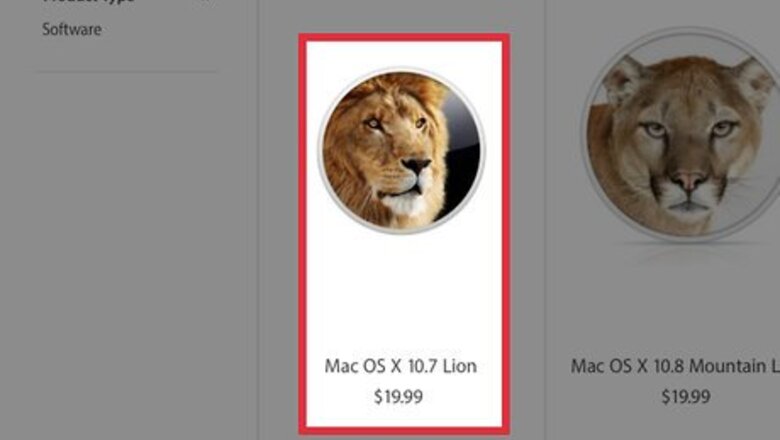
Download the Mac OS X Lion Installer from the App Store. The latest versions of the Mac operating system are only available through the App Store.
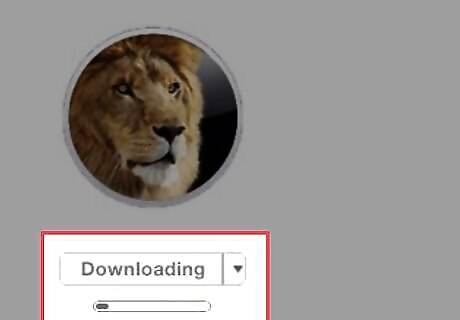
The download can take some time depending on your internet connection. Don't worry if you lose connection halfway through download, it will resume as soon as you are re-connected to the App Store.
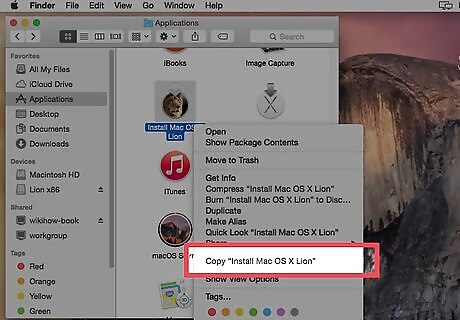
Make a backup of the installer you downloaded from App Store and save it on your desktop. Under no condition should you work on the original installer file.
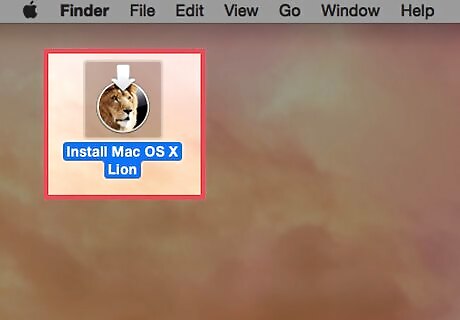
Use the backup file to make a bootable USB drive.
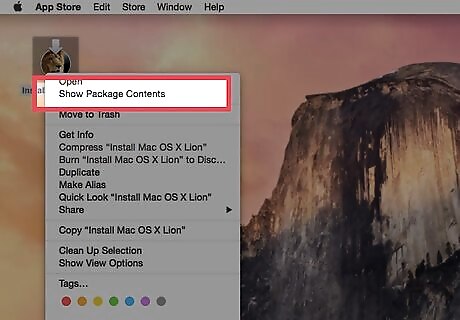
Right-click on the installer file and click on "Show Package Contents".
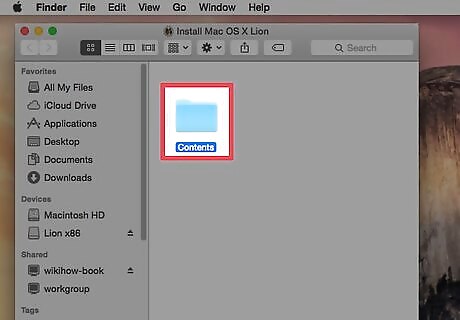
This will open a new window with the contents of the installer file.
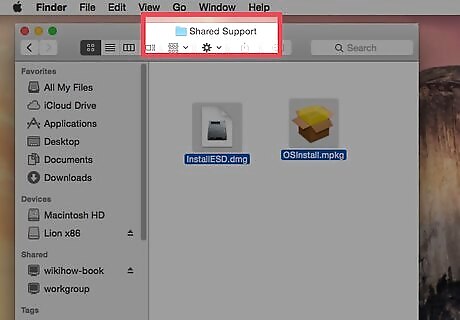
Navigate to Contents » SharedSupport.
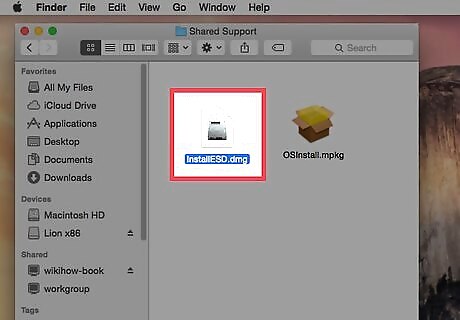
You’ll see a disk image called “InstallESD.dmg.” This is your ticket to creating a bootable copy of OSX Mountain Lion.
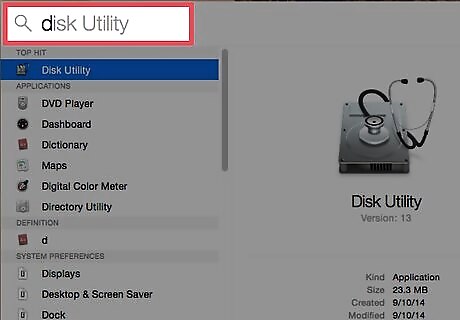
Click on the magnifying glass icon in the menu bar and type "Disk Utility".
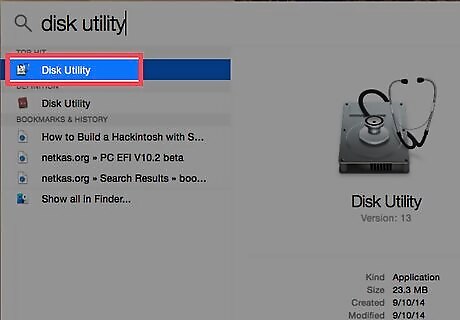
Click on "Disk Utility" Application and wait for it to open.
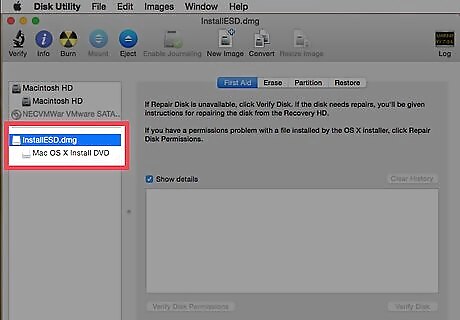
Drag the “InstallESD.dmg” file from installer folder into the white box on the left side of Disk Utility, and the disk image will be added.
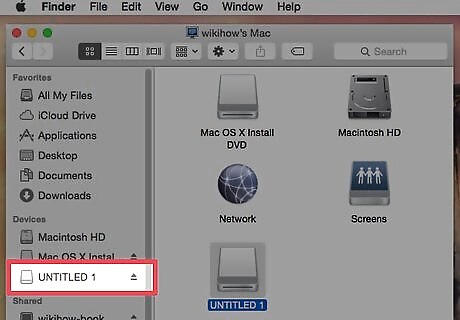
Connect your USB drive to the Mac using the provided USB slots.
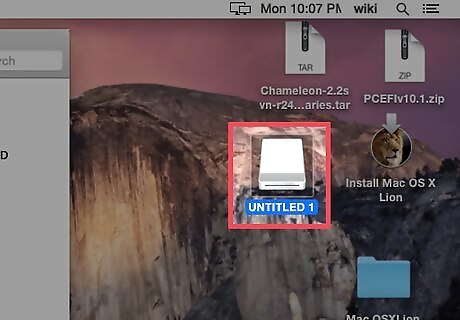
Wait for it to be recognized and displayed on the desktop.
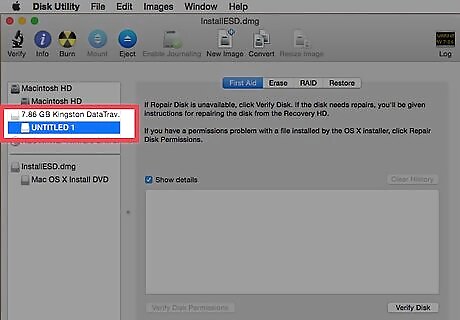
Select the USB drive from the list in Disk Utility.
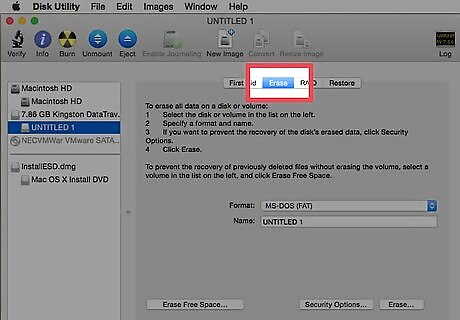
Click on Erase.
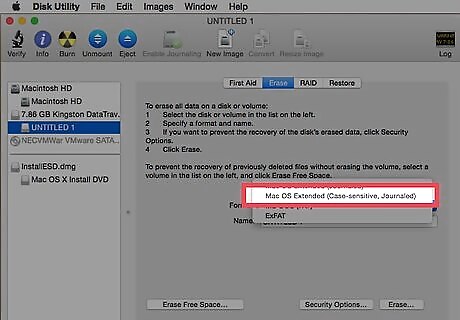
Ensure it’s partitioned as “Mac OS Extended (Journaled)” under the “Partition” section in Disk Utility.
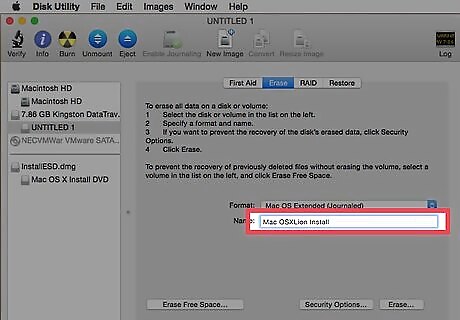
The name will be "Untitled" by default, you are free to change it as per your liking.
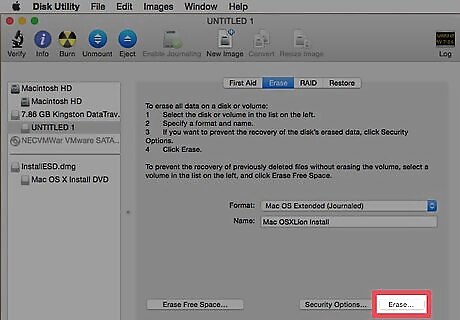
Click on Erase in the bottom right corner.
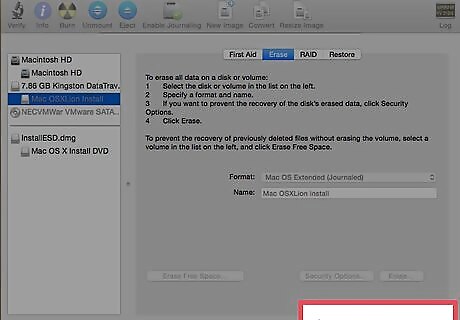
Wait for USB disk to be erased and restored to single clean and usable partition.
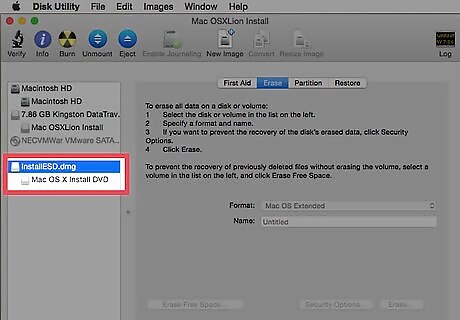
Click on the InstallESD.dmg icon on the left side of Disk Utility app.
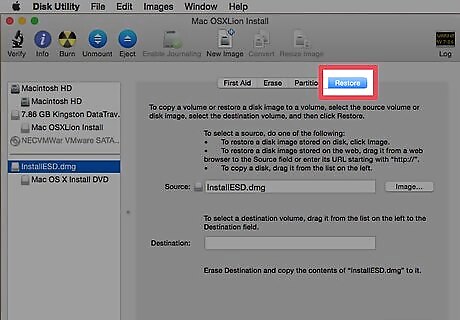
Click on the Restore tab in the center-top part of Disk Utility App. “InstallESD.dmg” should already be present in the source tab.
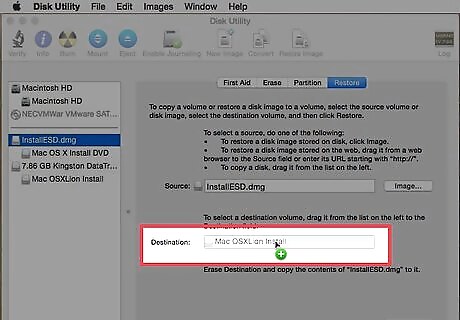
Drag the drive you just added to Disk Utility from the source list in the top left of the app white space to the “Destination” path.
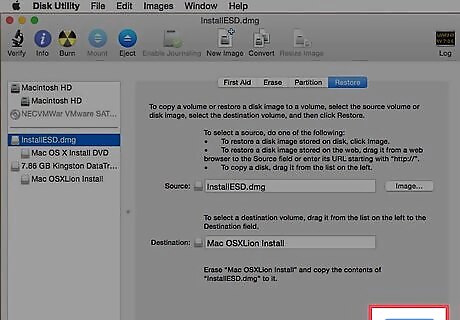
Hit Restore and let Disk Utility work its magic. This can take some time so please be patient.
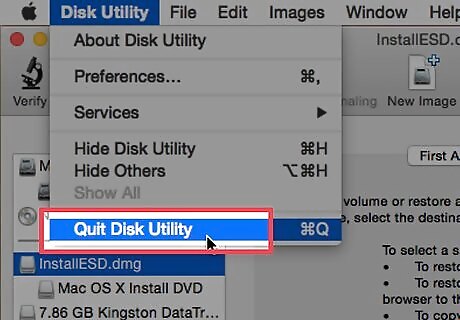
Close Disk Utility. You now have a bootable USB disk drive with Mac OS X Mountain Lion installed and good to go!
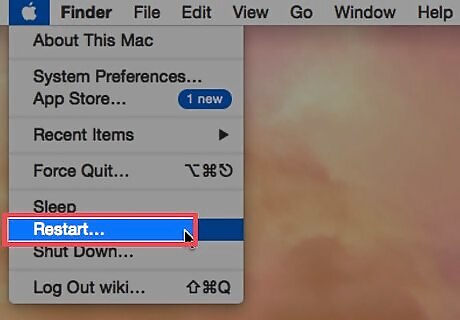
Restart the computer you wish to boot from this disk.
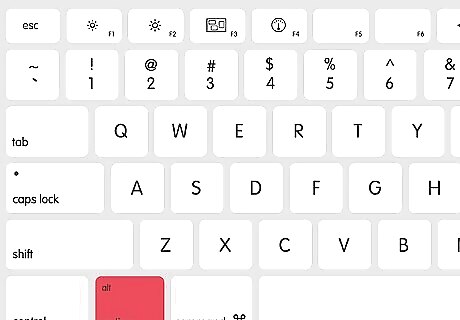
While restarting, hold down the ⌥ Option key.
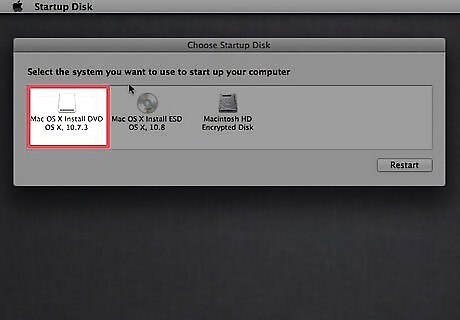
Select the Installer app from the menu and you will be able to boot from it.
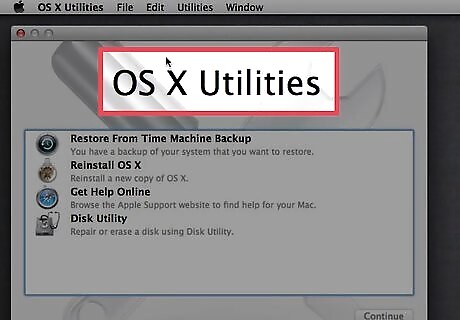
Congratulations! You can now use this disk to verify/repair disk partitions, repair current installed OSX, upgrade to new OSX, or perform a clean install of existing or better OSX.





Comments
0 comment