views
Choosing Your Equipment
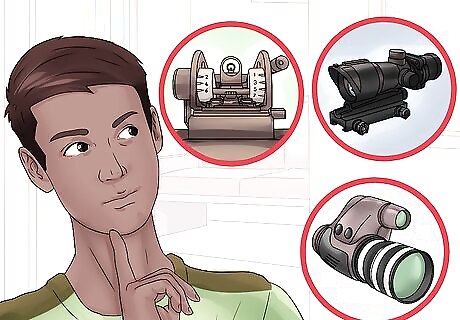
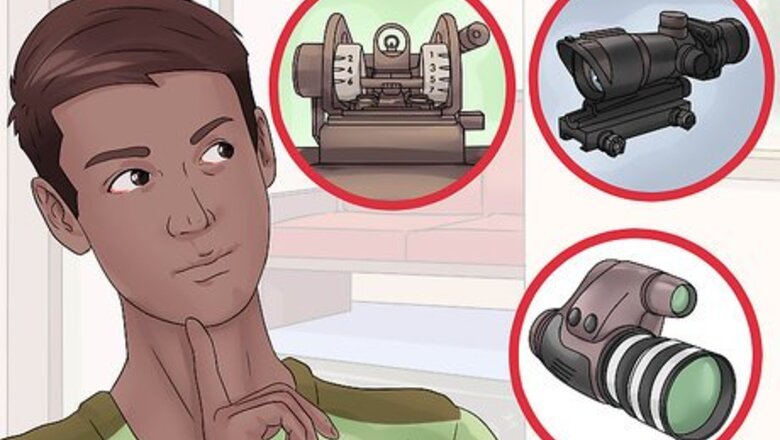
Choose what type of optics or sights to use. There are a number of different options of types of sights to use on your rifle, and even more options within each type. Choosing the correct sight for you requires considering what type of shooting you want to do, at what distance, and what your preferences are. Some people prefer traditional iron sights, while others like to use high magnification scopes, and everything in between. Iron sights are the sights that usually come on the rifle and include a rear sight aperture and a front sight tip. They are used primarily for short distance shooting, but can be accurate at nearly any range. Red dot optics involve projecting a red dot onto a lens in the sights you are using. This red dot, or floating reticle, shows you on the lens where the target should impact. Red dots are used mostly for short to medium range shooting. Magnification optics use a lens to show you a magnified view of the target. They are used for long distance shooting primarily.
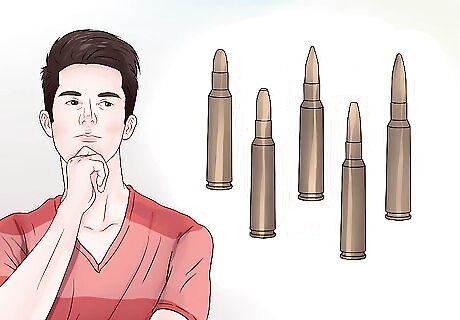
Pick your ammunition. Different types of ammunition will affect the flight path of the round you fire from your rifle, so it’s important that you choose a type of ammunition and stick to it throughout the process of zeroing your rifle. Being consistent with your ammunition choices removes a variable that could affect where the round hits the target, so you can make adjustments more precisely. Different types of ammunition may use different propellants or amounts of propellants, which can make the round travel faster, limiting the arc of the round and affecting its point of impact. When zeroing a rifle, you want to be as consistent as possible with the equipment and methods you use.
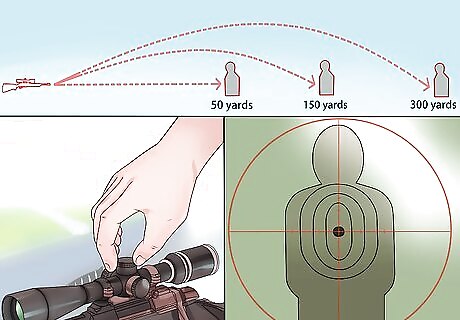
Choose your zero distance. As a round flies downrange, it travels in an arc. Think of the round you fire as a football. It travels upward slightly before arcing and traveling back downward. The distance you choose to zero the rifle at will determine what portion of the arced flight path the round impacts the target on. You can only zero your rifle correctly for one distance, so choose one that approximates the distances you intend to be from your targets in the future. You will still be able to sight in on targets at any distance, but will need to adjust your aiming based on the distance your rifle is zeroed for. Zeroing at a shorter distance like 25 or 50 meters will mean the round is traveling upward at a steeper angle, so it will be sighted high for longer distances. If you will primarily be shooting at short range targets, this is your best option. Zeroing at a longer distance means the round will be on a downward slope when it impacts the target, so you will be aimed low for closer targets. If you will primarily be shooting at long distance targets, this is your best option. Many people choose to zero their rifles for one hundred yards, but you should choose your zero distance based how you intend to be shooting.
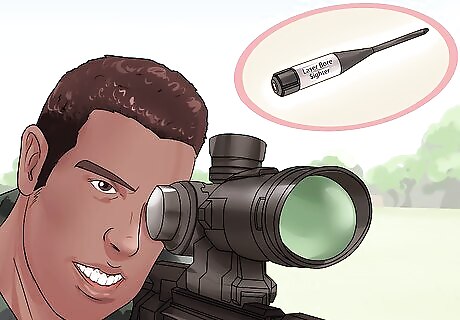
Use a laser bore sighter. In order to zero your rifle, you must first get your rounds “on paper.” Getting on paper means hitting the target anywhere, so you can see where the rounds impact and make adjustments to your sights to bring those rounds closer to the bullseye. A laser bore sighter is a laser pointer that’s designed to be shaped like a round you would load into your rifle. Turn it on and then load the rifle with the bore sighter, the red dot will show exactly where the barrel is pointed on the target. It should provide you with enough accuracy to get on paper with your first rounds. Look through your sights at the red dot, then adjust the sights until the red dot is centered in your scope or sights. Remember that the bullet won’t actually travel in a straight line, so this method will only get your sights close enough to begin the zeroing process.
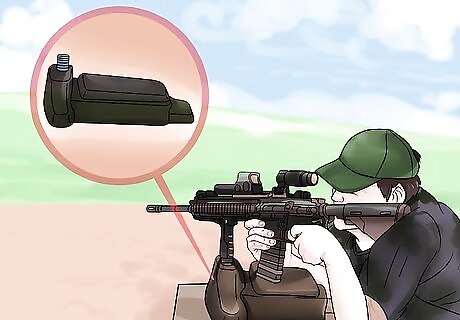
Consider utilizing a shooting rest. Competition shooting rests absorb recoil and keep the rifle exactly in place while you shoot. One of the biggest obstacles shooters must overcome is a moving rifle. When holding a rifle up, or even supporting it with your bone structure, your body will sway slightly with your breathing and heart rate. These small movements can dramatically effect accuracy at a distance. Shooting rests hold the rifle in place for you, so you can be sure you aren’t moving it when firing. Equipment like bore sighters and shooting rests are not required to zero a rifle, but can provide a big help, especially for inexperienced shooters. Some rifle ranges may have shooting rests you can use, so you won’t have to purchase one.
Zeroing the Rifle
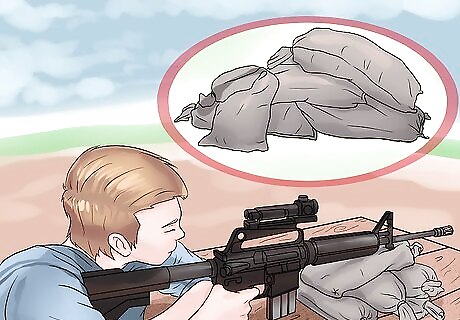
Set up your firing position. Before firing your first round, make sure you set up a good firing position that allows you to remove as many variables as possible as you fire. In order to zero the weapon, you need to try your best to make everything exactly the same each time you fire, except the adjustments you make the to the sights. If possible, try to set up your firing position on a table, using a shooting rest or something like sandbags or a bipod to stabilize the weapon. If using sandbags, try marking the bag where you rest the weapon. That way you can rest the weapon in the same place on the sandbag each time you fire, even if you move your rifle between rounds. Try to find a location with limited wind resistance, as wind can dramatically affect the flight path of your rifle.
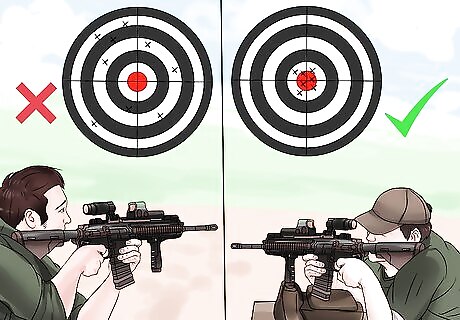
Set up your target and fire your first few rounds. Aim for the center of the target and fire one round. Before repositioning or making any adjustments, slowly fire two or even three more. Firing a few rounds will establish a shot group, which can help you determine if you are firing consistently and get a better sense of where the rounds are impacting based on how your sights are currently set up. If all of the rounds impact the target in tight group, that means that you are firing consistently and can adjust the sights to affect where you hit the target. If the rounds are impacting the target in different areas, it means you are not firing each round in a consistent manner. If the first round hits the top left corner of the target and the second hits the bottom right, it means you are moving the weapon as you fire. Practice good firing fundamentals and keep trying until you can establish a tight group.
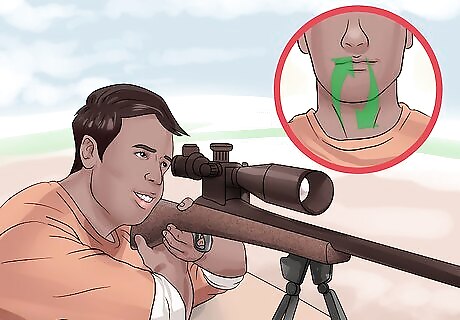
Focus on consistency. Everything you do before and during firing each round should be exactly the same while zeroing your rifle. Eliminate all variables that you can and interact with the weapon only as much as you have to during the zeroing process. While it’s important to practice firing the weapon the way you intend to use it, zeroing is less about your practice than it is about setting up the weapon effectively. Use the same breathing, sight picture and trigger control each time you fire a round to ensure it isn’t you that affects where the round impacts the target, but the sights. Doing something differently could result in impacting your target differently. Then the adjustments you make to your sights will be based on your actions instead of the actual zero of the rifle.

Adjust your sight to move your shot group. Once you are able to fire a tight shot group at your target, you can begin to adjust your sights to bring that group closer to the center of the target. Different sights use different adjustment methods, and it’s best to familiarize yourself with the instructions that came with your weapon or aftermarket sights to be sure you can adjust each properly. If your rounds impact on the right side of the target, adjust your sights to the left. If they impact high, adjust your sights to lower your aiming point. Scopes or magnified sights usually have two knobs. One adjusts your reticle from right to left (windage) and one adjusts it up and down (elevation). Turn the windage knob to adjust your reticle to move your rounds along the horizontal axis, and the elevation to move them along the vertical axis. Red dot sights often adjust in a similar manner to scopes, using small knobs to adjust the reticle on the lens from left to right and from up to down. Iron sights are made up of two components. Adjust the windage by turning the knob on the rear aperture. Elevation is usually adjusted by turning the front sight tip to raise or lower it a small amount on the weapon.
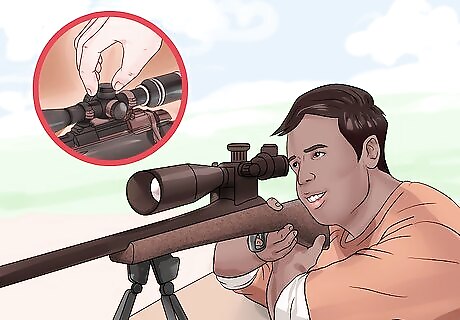
Fire another group after each adjustment. After you make an adjustment to your sights, fire another slow and controlled group at the target. Ensure you fired another tight shot group, then assess how your changes have affected where the rounds are impacting the target. You may have to repeat this process a number of times as you slowly move your shot groups into the center of the target. Remember to practice the fundamentals every time you fire to ensure you don’t affect the accuracy of the weapon by changing your methods.
Firing Accurately and Consistently
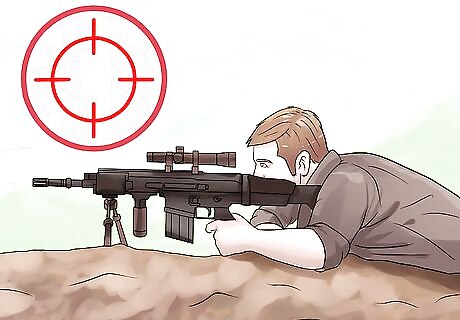
Find your natural point of aim. While holding a rifle properly may seem straight forward, it may require a fair amount of practice to do it well. In order to allow yourself to fire accurately and consistently, don’t adopt a comfortable position and then try to point the rifle at the target, instead focus on finding your natural point of aim. You can find your natural point of aim by first determining the most stable position that you can be in to hold your rifle as still as possible. Use bone structure to support the weapon instead of your muscles. While your natural point of aim may not be comfortable, it should be a position you can remain in for a few minutes at a time. You will have a different natural point of aim for each shooting position, but while zeroing your rifle, you should use either the prone (laying down) or a seated position, preferably with a table to support the weapon. Once you find your natural point of aim, adjust the direction your entire body is pointed instead of just adjusting the weapon. Think of yourself like a life sized green plastic toy soldier. You have to turn the toy to aim downrange, not the weapon.
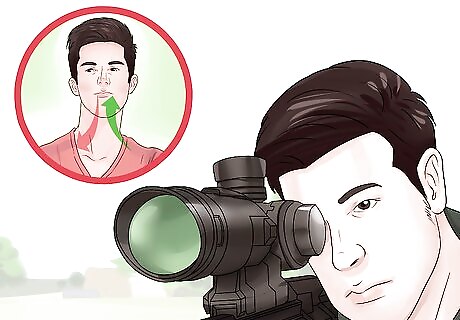
Practice breath control. When firing your rifle downrange, you need to focus on your breathing to ensure you don’t accidentally affect the flight path of the round by shifting the weapon slightly as you breath. Pay attention to your natural breathing cadence, then fire the weapon during your natural respiratory pause. The natural respiratory pause comes at the end of an exhaled breath. After you exhale, pause for a second before inhaling. Fire your weapon during that brief pause between exhaling and inhaling.
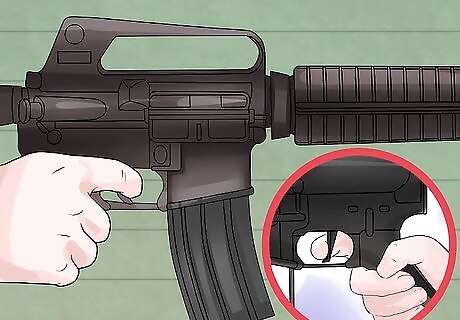
Use proper trigger control. Simply pulling a trigger can actually reduce the accuracy of your weapon. Instead of pulling the trigger when you want to fire, slowly squeeze it. When the weapon fires, do not release the trigger right away, but hold it back for a split second instead. Practicing these habits will prevent you from jerking the weapon slightly when pulling the trigger. Zeroing your rifle requires consistency, so squeezing the trigger the same way each time you fire will help you zero it more quickly and accurately. Use a steady and consistent amount of pressure as you squeeze the trigger to avoid jerking the weapon. Try holding the trigger back for a short one count after you fire each round.
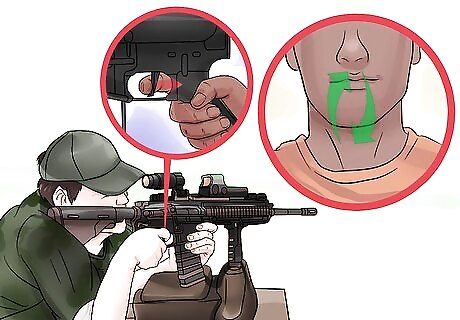
Follow through after firing each round. Follow through coincides with the final portion of trigger control, where you maintain your firing movements for a short time after the round leaves your weapon. Do not pull the trigger and then quickly adjust your positioning. Instead, slowly squeeze the trigger, allow the weapon to fire and remain still with your head in place, looking through your sights and with your finger still in the pull position. Follow through ensures there is no movement in the rifle as you fire the round. Any movement, no matter how slight, can affect the flight path and accuracy of the round. Take a breath before moving after firing each round.
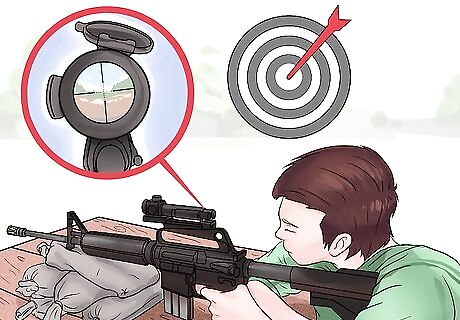
Get good sight picture before firing. Accurately aiming is based entirely on your ability to establish good sight picture, and when using iron sights, establishing front sight alignment. Sight picture is the term used to describe how you see the target through your rifle sights. If you are using sights made up of a front sight tip and rear sight aperture, make sure the front sight tip aligns perfectly with the rear component of your sights. Misalignment means the weapon is not pointed straight at the target. When using red dot or magnification sights, you only need to focus on achieving good sight picture. Proper sight picture involves aligning the sights so you can see the target beyond your sights. Instead of focusing on the target, focus on the front sight tip or reticle on your lens, with the target blurred but visible behind it in your vision. In all firing situations, establishing good sight picture is the most important element in accurate shooting.


Comments
0 comment