views
Writing a Strong Subject Line
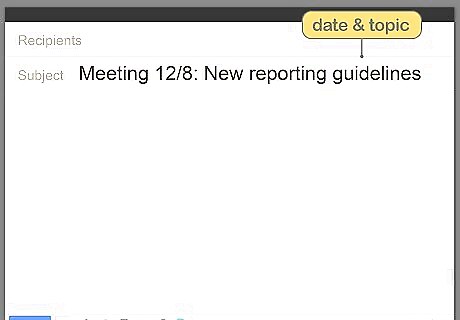
Write a short, relevant subject line with the date and topic of the meeting. Including these details means that people will know when it is and what’s to be discussed without even opening the email. For instance, you might write, “Meeting 12/8: New reporting guidelines.” Warning: Leaving out the topic of the meeting will probably cause people to reply, asking if it’s relevant to their department or if their attendance is mandatory, so be sure to state the topic!
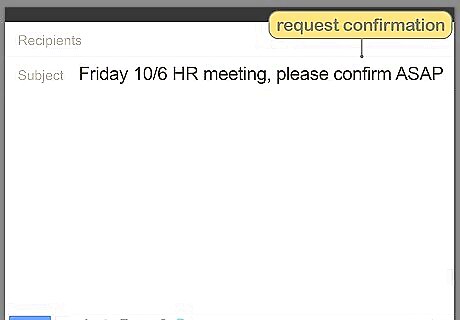
Ask for confirmation of attendance in the subject line. If you need to know who is going to come to the meeting, ask for confirmation in the subject line. That way, they’ll know they need to respond as soon as possible even before they open the email. You might write, “Friday 10/6 HR meeting, please confirm ASAP.” You could also write, “Please RSVP: HR meeting 10/6.”
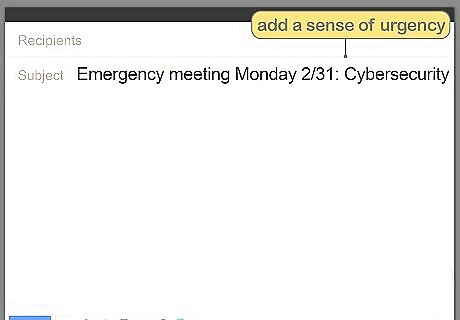
Let them know if it’s an emergency meeting in the subject line. If it’s a pressing or time-sensitive issue that warrants a meeting right away, add a sense of urgency to the subject line. For instance, you could write something along the lines of, “Emergency meeting Monday 2/31: Cybersecurity.” It’s important to note the subject of the meeting as well to give them some idea of what to expect.
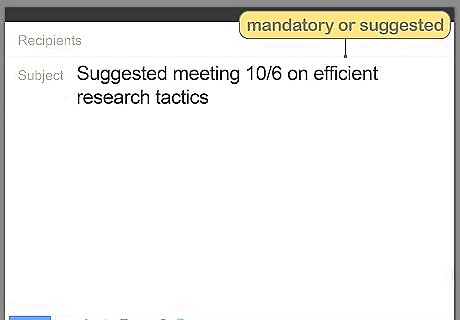
State whether attendance is mandatory or suggested. If you work for a large company, some people’s presence may not be required for every meeting. State the relevant department in the subject line or let recipients know if they must attend. For instance, you could write, “Mandatory marketing meeting 10/6.” If the meeting isn’t required, you could write: “Suggested meeting 10/6 on efficient research tactics.”
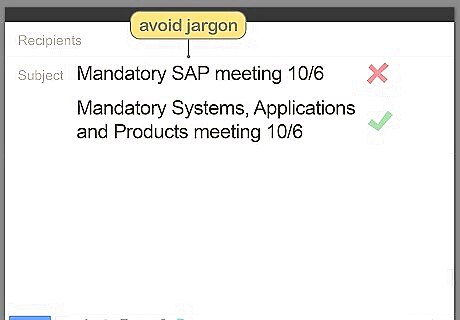
Use full words in your subject line to avoid any confusion. Abbreviations may seem efficient, but they’re not as specific as full words and can cause confusion. For instance, “SAP” could mean “systems and processing” or “sampling and analysis plan” depending on who is and isn’t familiar with your lingo. However, it’s okay to use common abbreviations like “RSVP,” “HR,” and “Wed.”
Crafting the Body of Your Email
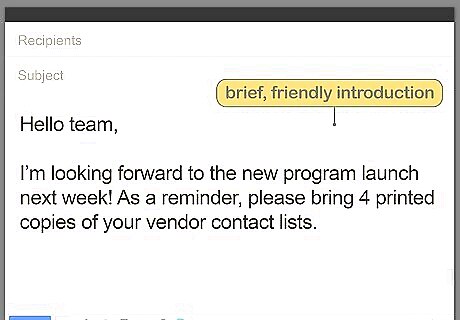
Write a brief, friendly introduction and a short note. Introducing yourself is necessary if you work for a big company or if you don’t know everyone yet. It’s also important to mention in this short intro if any documents or supplies need to be completed and/or brought to the meeting. Tip: Remind the recipients if they need to complete any tasks or bring anything with them to the meeting. For instance, “As a reminder, please bring 4 printed copies of your vendor contact lists.” Make your introduction personable or relevant to the work. For example, “Hello team, I’m looking forward to the new program launch next week!”
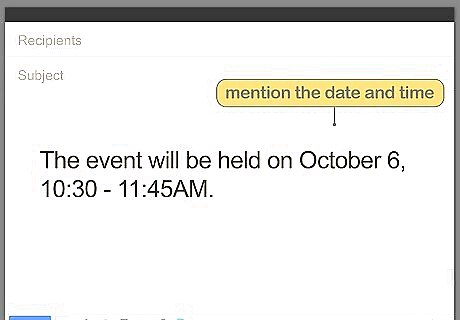
List the meeting date and time on its own line so it stands out. This is essential information for people to attend the meeting, so you want it to be clear and stand out from the rest of the text. Indent 2 lines above and below it and/or put it in bold font. Example: “October 6, 10:30 - 11:45AM” If the meeting is online, list the time zone so people in different time zones won’t miss out due to miscommunication. For instance, you might write: “October 6, 10:30 - 11:45AM (PST)”
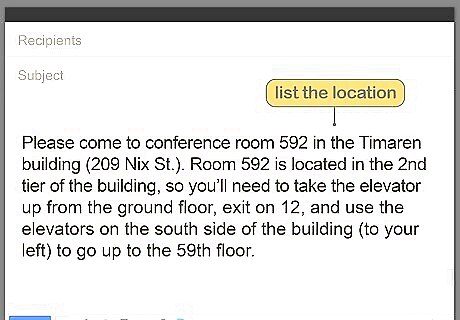
List the location after the date and time. Make the location stand out just as much as the date and time—especially if you’re meeting in a new spot, if it’s tricky to find, or if you know some of the recipients aren’t familiar with the location. For virtual meetings (either through a live forum or video chat), provide a link to the forum or video call for easy access. When giving directions, be as detailed as possible. As an example: “Please come to conference room 592 in the Timaren building (209 Nix St.). Room 592 is located in the 2nd tier of the building, so you’ll need to take the elevator up from the ground floor, exit on 12, and use the elevators on the south side of the building (to your left) to go up to the 59th floor.”
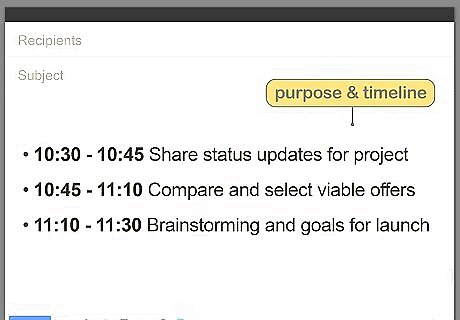
Share the purpose of the meeting. Let the recipients know what the meeting is going to accomplish. Offering a short agenda for the meeting will help them recognize which tasks need to be done beforehand. You can simply state the topic (like “Cybersecurity Update”) or you could provide a timeline: 10:30 - 10:45 Share status updates for project 10:45 - 11:10 Compare and select viable offers 11:10 - 11:30 Brainstorming and goals for launch
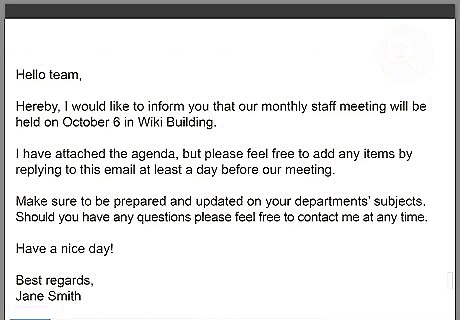
Proofread your email for grammatical and factual errors. The most important things to proofread are the date, time, and location of the meeting, so make sure you have those correct! You can also proofread your introduction, agenda, or other notes that you may have included to make sure you’ve covered all the basics. Read your email aloud to make sure your writing is clear and concise before sending it out.
Using Outlook or an Integrated Calendar Application
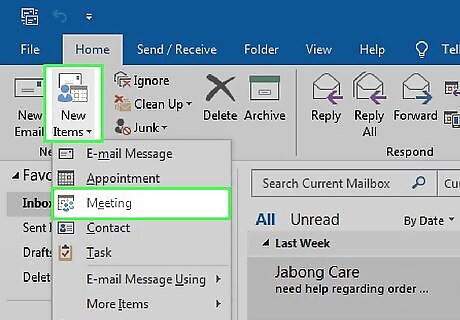
Click on “New Meeting” under the home tab in Outlook. If your company uses a communication database with an integrated calendar, like Outlook, use it to set up your meeting. That’s typically the preferred point of contact for people you work with. If your company doesn’t use Outlook or anything like it, you can use your work-related email to send the invitation.
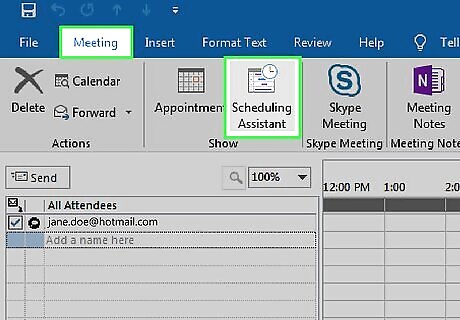
Select a time and date from the “Scheduling Assistant” window. After creating a new meeting, the calendar window will pop up. Click on “Scheduling Assistant” and highlight an available time and date for your meeting. Make sure it’s a time when you and the intended attendees are available. Depending on your company’s application, you might need to adjust your viewing settings to show everyone’s schedule (in addition to your own).
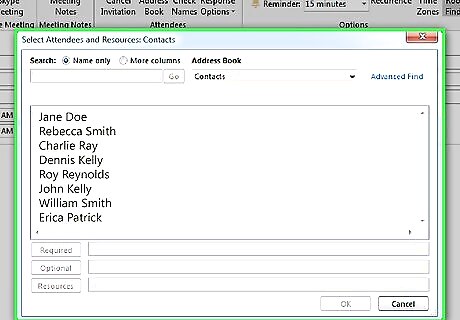
Add attendees by typing in their names or using your address book. Click on the text bar to manually input names or scroll through your address book and select their names from the list. Use the “Scheduling Assistant” function to check other people’s availability. If people aren’t available, their names will appear highlighted. The assistant will even show recommended time slots to suit you and the attendees schedules.
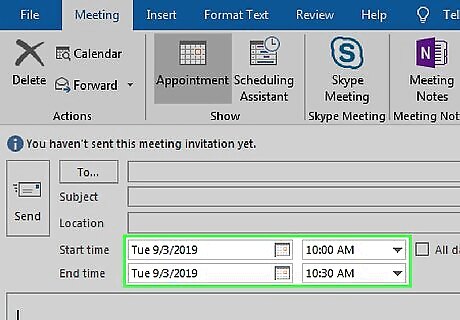
Set the start and end times for the meeting. Make sure the date of the meeting is the date you selected earlier on, and click on the calendar button to make any changes if necessary. Then use the drop down arrows to the right of the time listings to select the correct start and end times. Adding end-times is most respectful of people’s time so they know what to expect and can plan their commute or work around the meeting.
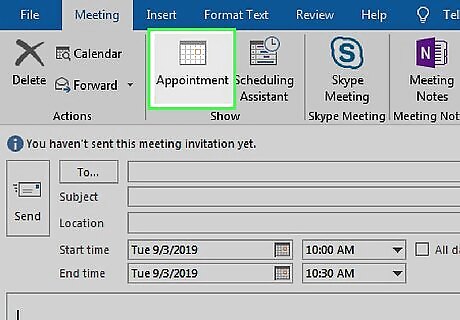
Click “Appointment” under the “Meeting” tab at the top of the screen. Clicking this button will return you to the general appointment screen and you should see your entry scheduled. From here, you’ll be able to add a subject, location, and notes. If you don’t see your entry scheduled on the appointment screen, go back and repeat the process until it shows up.
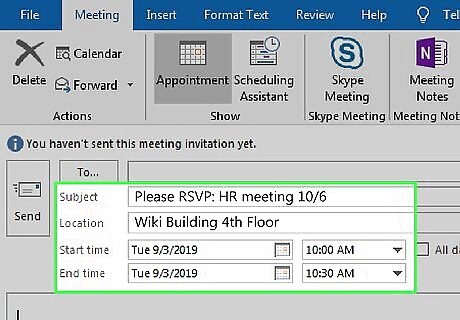
Be specific when entering the subject, location, and notes. Let the recipients know what the meeting is about in a few brief words (e.g., “Upcoming Product Testing”). Be specific about the location, providing directions if it’s not a typical meeting place or if it’s tricky to get to. Add any additional notes (like any prep work) that are relevant to the meeting. Tip: Avoid overly broad subjects like “brainstorming” because that doesn’t tell people much about the purpose of the meeting. Instead, you might say, “brainstorming vendors for new product.” Give the address of the location, even if you think they already know it. Click “send” when you’re finished.


Comments
0 comment