views
X
Research source
With a small makeup brush and a better understanding of your skin tone, a concealer palette can be a useful addition to your makeup routine.
Choosing the Right Color
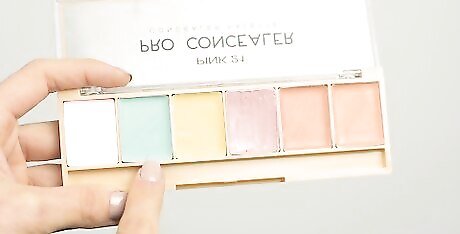
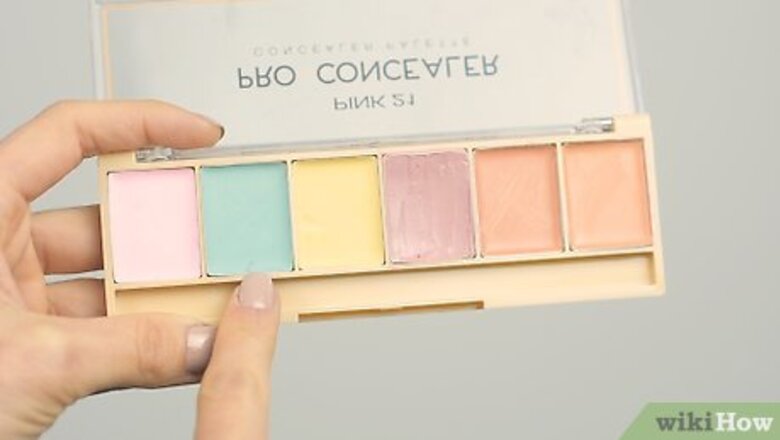
Use light or dark green concealer to hide redness on your skin. Apply green concealer to diminish any red marks or patches on your face. Redness on your skin can appear in many forms, including acne, red circles beneath the eyes, and broken blood vessels. Unlike other colors, such as pink and yellow, green can be used on all skin tones. Colored concealers operate on the basic principle of color theory. If you want to get rid of a color like red, you hide it with its complementary color, green. Green concealer works on all skin tones—just make sure that the shade of green matches your specific skin tone.
Disguise dark circles with pink concealer if you have fair skin. Pink concealer can effectively hide the purple tint of bags beneath the eyes, as well as make your cheeks appear less red. Due to its paler hue, pink concealer works best on people who have pale skin to match. Darker skin tones should use vibrant red concealers to hide visible under-eye bags.
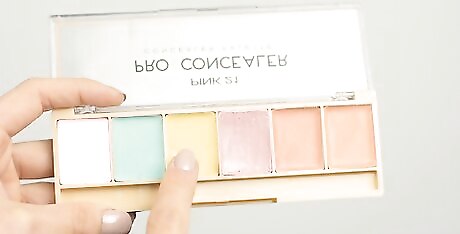
Apply yellow concealer to disguise dark circles if you have lightly tanned skin. Yellow concealer helps hide the purple shadow of under-eye bags on olive-toned skin. It can be used by tanner skin tones to eliminate dark splotches and marks across your face. This concealer can also disguise redness on your skin, like red circles under your eyes. Yellow concealer also aids in blending different skin tones together.
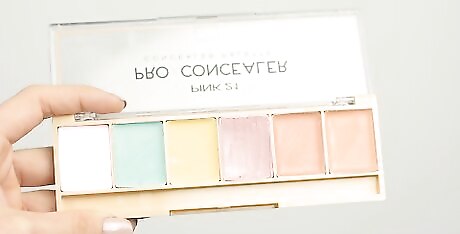
Try lavender concealer to brighten sallow and yellowing skin. Light purple concealer can help hide patches of yellowing skin from view. Skin can turn yellow for a variety of reasons, such as anemia and dehydration. With this in mind, lavender concealer can be useful to individuals of all skin tones and types. Lavender concealer can also help lessen the tones of yellow-tinted foundations.
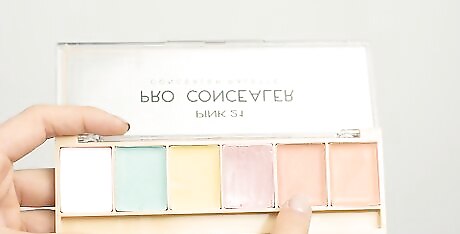
Use orange concealer to hide your under eye bags if you have very tanned skin. Orange concealer also works to remove shades of dark blue from your under-eye circles, and is especially effective on tanner skin tones. It’s also used to eliminate dark spots on the chin and forehead areas. If your skin isn’t that tan, consider using a peach-colored concealer.
Applying the Color-Correcting Concealer
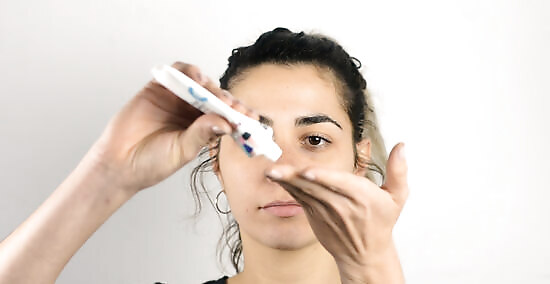
Apply moisturizer and primer to freshen your skin. Squeeze a coin-sized amount of moisturizer onto your fingertips and rub it generously onto your face. Work from the center of your face to the outside to ensure that you get full coverage. Use the same strategy to add the primer following the moisturizer. Only squirt a pea-sized amount of primer onto your fingertips. Since the primer is serving as a base for your concealer and foundation, you only need a thin layer to get the job done. Opt for lotions labeled non-comedogenic, as these won’t clog your pores.

Build your makeup in thin layers. Avoid creases in your concealer and other makeup by applying your product in thin layers. Always start with less product than you need. It’s much easier to add makeup than it is to remove excess.
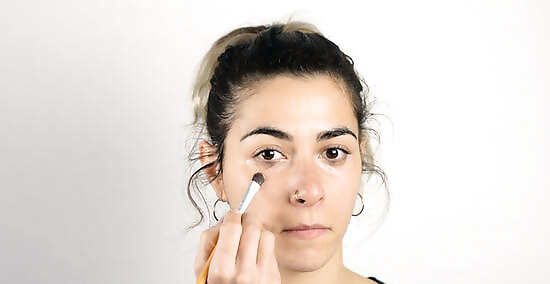
Brush on a triangle with orange concealer to cover your lower lids. Coat the surface of a small, rounded brush with product and form a triangle directly below your lower eyelid. The triangle should point to your chin, and should stop slightly below your nose. Fill in the triangle with 2-3 more swabs of orange concealer. This helps your face to look fresher and more lifted. Don’t swipe the concealer in a straight line over your lower eyelid, as this doesn’t make your face look lifted. If you’re planning on using more than one concealer color, be sure to wash your brushes between uses. Depending on your skin tone, you may want to choose a different color to conceal your under eye bags.
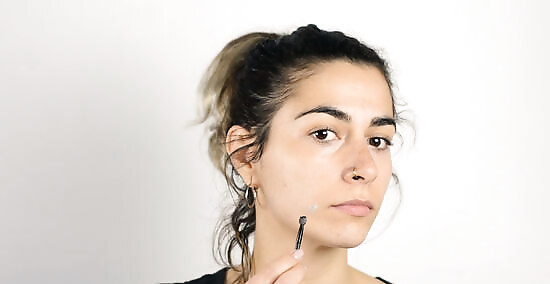
Dab a dot of green in the center of acne. Dip into your palette with a rounded makeup brush to apply enough makeup to cover the surface of the acne. Don’t apply any concealer to the surrounding skin areas, as this can spread more acne-causing bacteria. Use a cotton swab to apply a drop of skin-tone concealer to help the green blend in. For more precise markings, purchase a concealer pen or crayon.
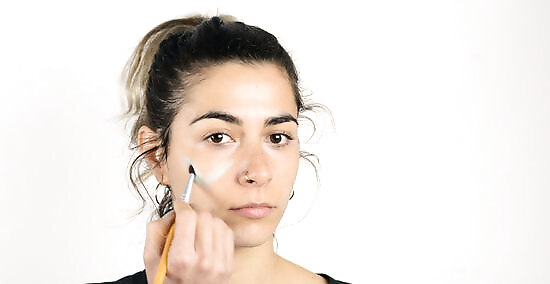
Brush green concealer in a V-shape on your cheeks, forehead, and chin. Eliminate large patches of redness by sketching a V-shape onto prominent areas of your face. Use a rounded makeup brush to dip into your palette. When blended, the sharp bend of the concealer hides redness all over the cheeks, forehead, and chin. Take a small makeup sponge and blend lightly over the green in a circular motion. This will feather (thin out) the concealer. Depending on how red your skin is, brush on 3-4 V-shapes total.
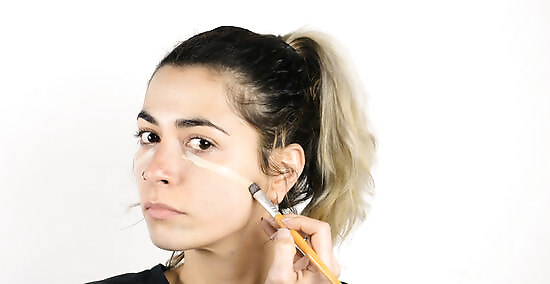
Apply yellow across the cheeks to hide redness. Lightly tap into your palette with a small, rounded makeup brush to add concealer in long, sweeping strokes. Create a diagonal line that starts 1 centimetre (0.39 in) below the corner of your eye and ends next to your earlobe. Take a makeup sponge and blend the concealer into your skin with long, smooth strokes. Do this until the yellow is no longer noticeable on the skin. If your cheeks are especially red, apply a thinner, parallel line of concealer beneath the initial line. Buy a yellow concealer crayon if you don’t want to use a palette and makeup brush.
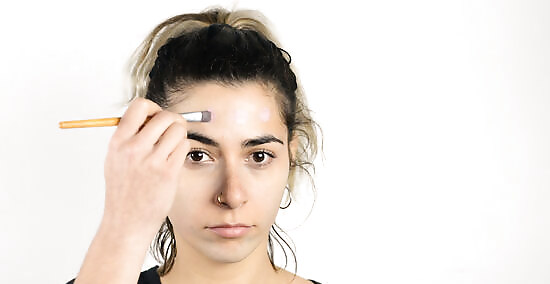
Add lavender in small circles along yellow areas. Use a small, rounded makeup brush to draw small circles along your forehead and the area between your nose and lips. These areas tend to look yellow on medium and darker skin tones. People with lighter skin tones should focus on applying lavender concealer on the edge of their cheeks, directly next to the ears. Buff the concealer with a makeup sponge, using delicate motions to stipple the lavender into your skin.
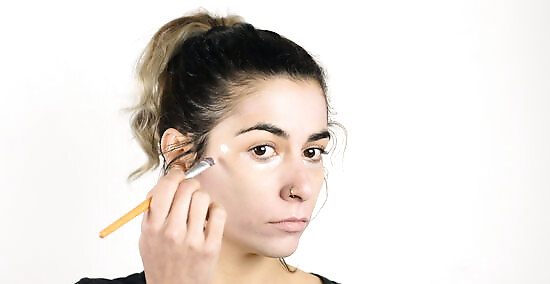
Cover dark spots and obvious veins with pink concealer. Apply tiny, pea-sized dots of concealer over the under-eye bags and visible veins with a small, rounded concealer brush. Pink concealer works best on fair-skinned individuals, since shades like blue are more noticeable through lighter skin. Take a medium-sized makeup sponge and tap at the concealer in small, quick motions to blend it out. Individuals with darker skin tones should opt for yellow, orange, and peach concealer tones.
Adding Foundation, Neutral Concealer, and Powder
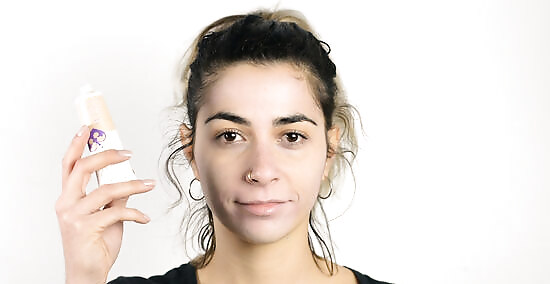
Apply a layer of foundation to your face. Use a makeup sponge to add foundation in small amounts. To avoid disturbing the concealer, use small, careful dabbing motions to pack the foundation onto your skin. If you use long, smooth motions, you might end up smearing or removing your color concealer. Don’t put equal amounts of foundation all over your skin. With the color concealer applied underneath, the foundation won’t be a consistent shade. Apply more or less foundation as you see fit.
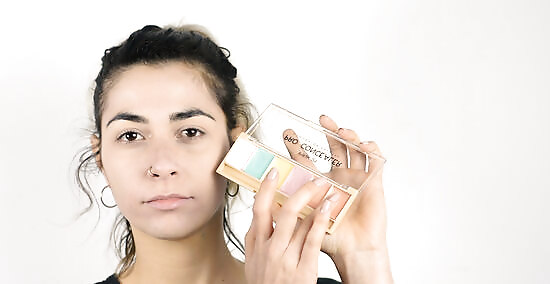
Dab on skin-toned concealer to hide any other blemishes. Use a small makeup brush, a concealer pen, or your finger to apply concealer that matches your skin tone to any other areas of skin that don’t look uniform. Dot small circles beneath your lower eyelids and swipe longer lines across your chin for effective coverage. Some people prefer to add concealer around the corners of the eyes and on the sides of their nose. Some color-correcting palettes might include natural skin tones as well. Apply a light coat of concealer that’s darker than your natural skin color. Once you’ve applied this base layer, buff on a lighter tone to create a shade that best matches your natural skin tone.
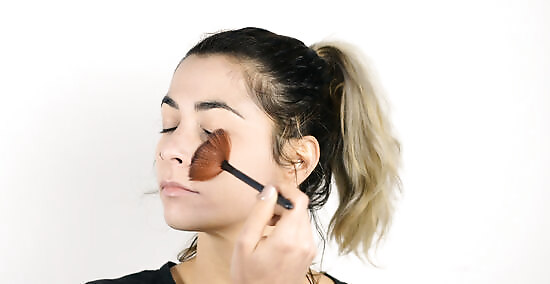
Press on translucent powder and let it sit for 5 minutes. Use an angular makeup sponge to pack translucent powder product on top of where you just put the concealer. This provides your skin with an extra glow. Let the powder sit for at least 5 minutes before brushing off the excess with a soft eyeshadow brush. While brushing off the powder, take an opportunity to blend out any harsh lines formed by the powder.





Comments
0 comment