
views
Windows

Open the Windows search bar. You can usually do this by clicking the circle or magnifying glass at the bottom-left corner of the screen.
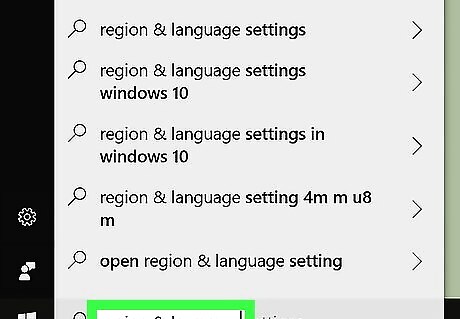
Type region & language. A list of matching search results will appear.
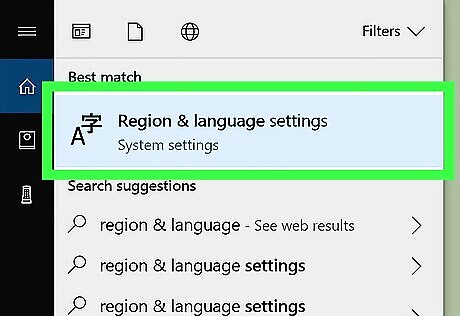
Click Region & language settings.
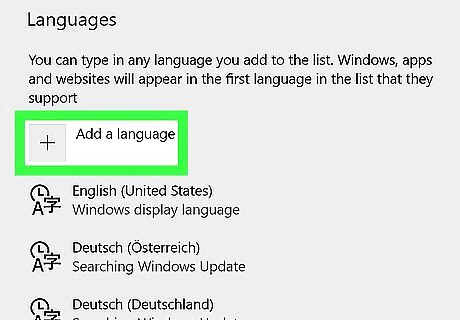
Click + Add a language. It’s under the “Languages” header in the right panel. A list of languages will appear.
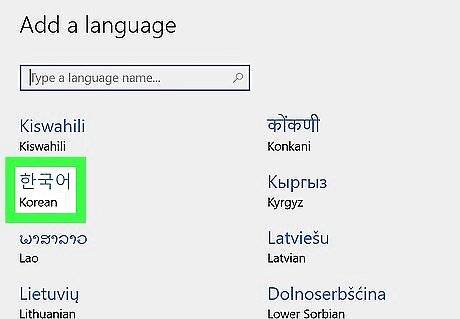
Click the Korean language. This returns you to the previous screen. Korean now appears in the language list.
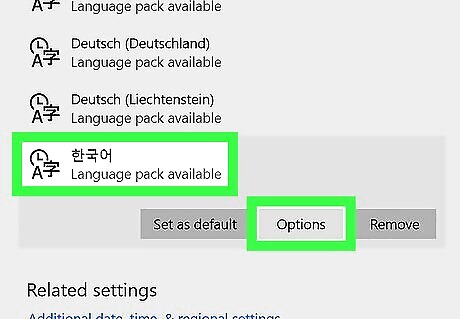
Click the Korean language and select Options.
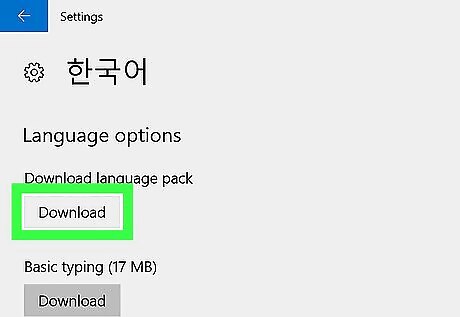
Click Download. This installs the language pack. You’ll be prompted to restart your computer once its installed.
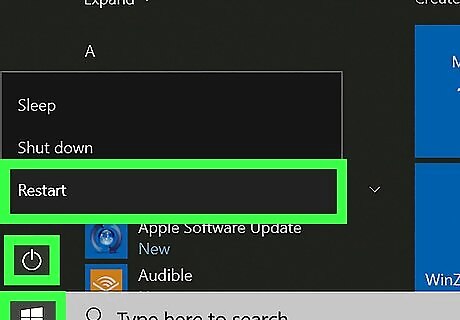
Click Restart the machine to complete the installation. The computer will shut down and restart. Continue to the next step once you’ve returned to the desktop.
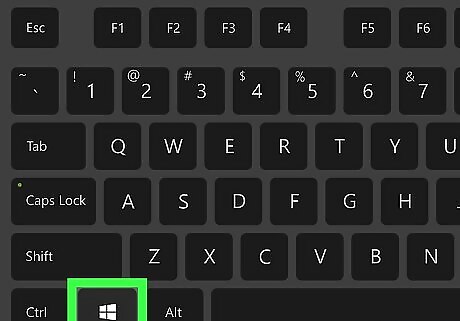
Press and hold the Windows ⊞ Win key and the spacebar. A list of installed languages will appear.
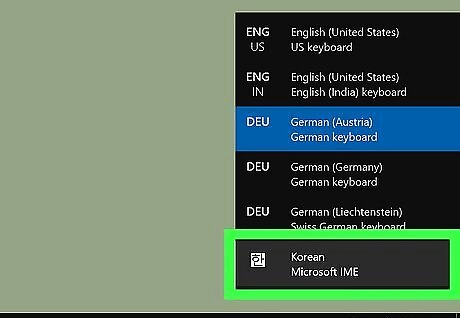
Select the Korean language. To do this, continue holding the Windows key and press the spacebar until the language is selected.

Click the A. It’s at the bottom-right corner of the screen. This switches the keyboard to Hangul (한글).
macOS
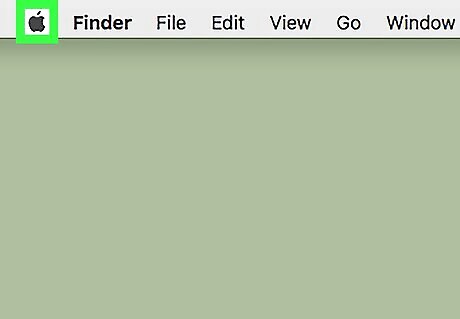
Click the Mac Apple menu. It’s at the top-left corner of the screen.
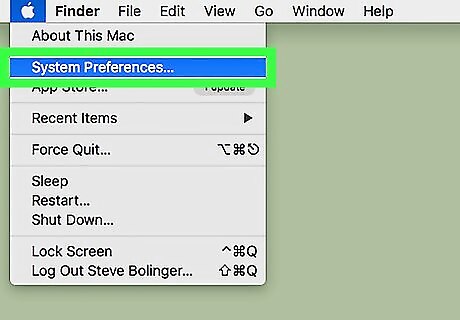
Click System Preferences….
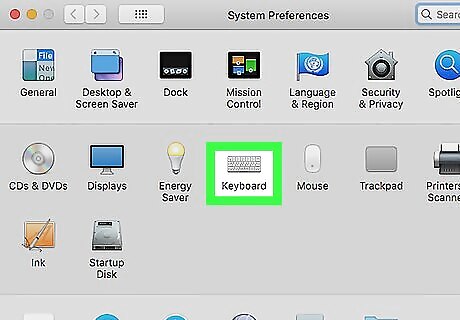
Click International. It’s the blue flag with a white map inside.
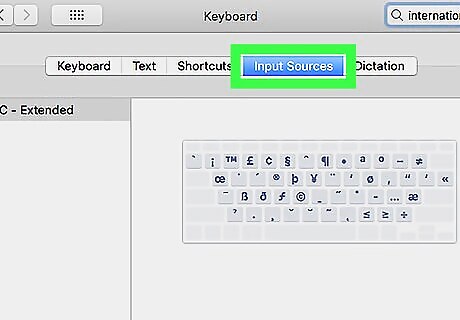
Click the Input Menu tab. It’s at the top of the window. A list of language inputs will appear.
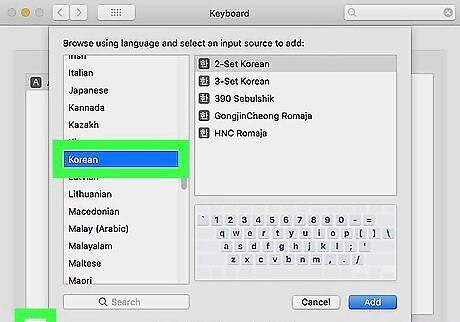
Scroll down and check the box next to “Hangul.” You’ll see several options beneath it.
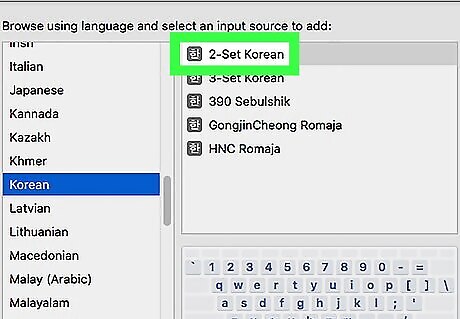
Check the box next to “2-Set Korean.” You won’t need to select the other options to type in Korean.
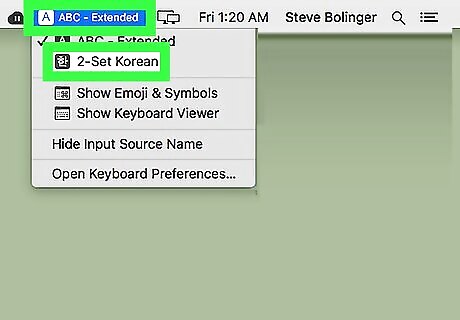
Switch to the Korean keyboard/input. When you’re ready to start typing, click your country’s flag icon at the top-right corner of the screen, then select 2-Set Korean.
Linux
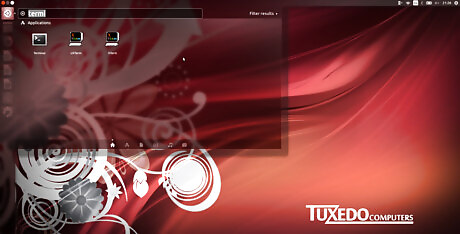
Open the command Line. It is needed to install the ibus-hangul package. On most Linux platforms, the icon of the command line is a black screen icon, labeled Terminal.
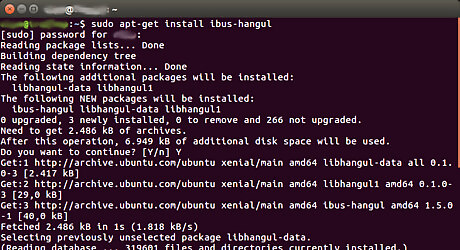
Install the ibus-hangul package. This is done from the package manager, which is apt on Debian and Ubuntu, and yum on some other platforms. On Ubuntu or Debian, type sudo apt-get install ibus-hangul. This will install the package and the necessary dependencies. Type Y (for "Yes") when it asks you whether you want to proceed.
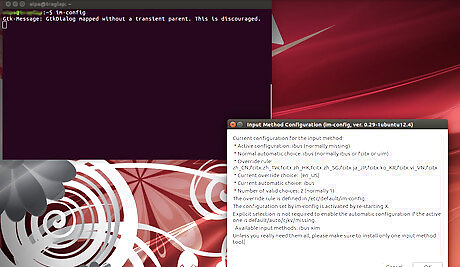
Run im-config. Type im-config into the command line. On the window that opens, always click OK and click Yes when it asks you "Do you explicitly select the user configuration?". This will configure the computer to actually notice that you have a new input method.
Restart the computer. For whatever reason, it won't notice the change if you don't.
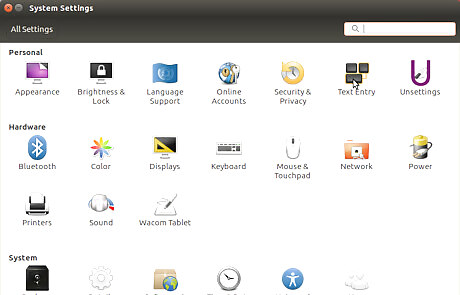
Open the (system) settings (usually has a picture of a gear or wrench or some other tools) and go to the section where you can select input sources. Depending on the platform, it is called something like Text Entry, Language & Input or just Input Sources. On some Linux configurations, you need to open "IBus Parameters" instead of your system's usual settings. Check your menus to see if you have "IBus Parameters" on your system. If you opened the system settings and don't see the Hangul input source in the next step, that also means that you should open the IBus settings instead.
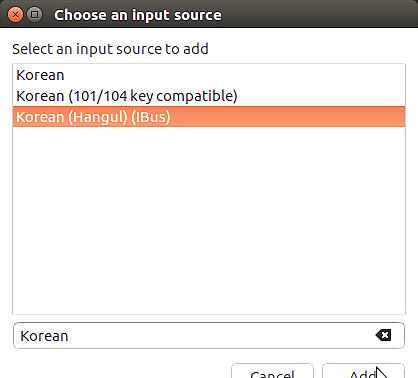
Add the Hangul input source. To do this, click on the + symbol or Add under the list of input sources. A new window which shows all possible input sources will appear. Search for "Korean". Select the Korean (Hangul) option, which was not there before you installed the ibus-hangul package, and add it.
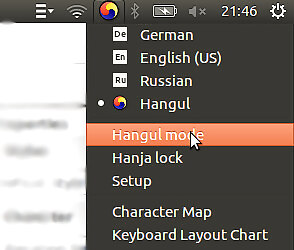
Remember to activate "Hangul mode". When you switch to the Korean keyboard and type something, you will first see Latin letters. To actually type in Hangul, click on the input source selection menu (which you used to switch to the Korean keyboard) and click on Hangul Mode. Now, you can type in Hangul.Enable hangul mode linux.png


Comments
0 comment