
views
Using an App or Software Program
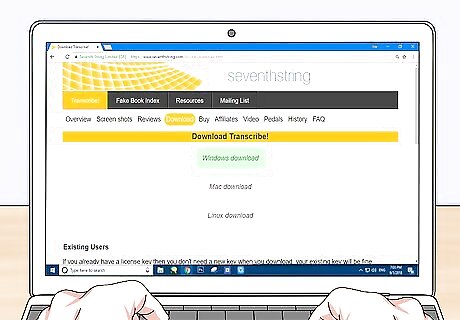
Download a computer program if you transcribe music often. Transcription programs are great for beginners who know they want a permanent tool on their computer for transcribing. Look for one that will let you slow down the music, change the key, and automatically identify notes and chords. Remember that top programs will often require payment, but some offer free trials. Some good programs include: Transcribe!, which allows you to change the speed of music without altering pitch, recognize notes, and store and recall loops. Finale, which provides many of the same features and is considered one of the top notations softwares for musicians. Audacity, which isn’t transcription-specific and has lower sound quality than Transcribe! and Finale, but is free and lets you adjust speed and pitch. Musescore is another free software program to consider. Both Audacity and Musescore are owned by the same Muse group.

Use online software for free but lower-quality transcriptions. Look up “online music transcriber” and choose an option that will work with your music file type, such as mp3 or video. Online transcription services are more likely to be free, but they’ll typically be lower-quality as well. Some online services will transcribe a whole song for you, including notes, chords, and key signature, while others simply offer resources like slowing down a song or transposing it up or down. Services to consider include Chordify, which generates sheet music from a YouTube, SoundCloud, Deezer link, and TuneTranscriber, which allows you to upload an MP3 to transcribe. Top web-based transcription services may still require a fee.

Try a smartphone app for convenient use. If you want to transcribe music on the go, look into getting a smartphone or tablet app. Many offer the same or similar services to computer programs but in a smaller, more convenient package. As with computer programs, more high-quality apps might require a fee. Look at choices like: Anytune, a free app that allows you to slow songs down, adjust pitch, repeat loops, and set marks to aid in the transcription process on your smartphone. AudioStretch (paid) or AudioStretch Lite (free), which offers many of the same features and allows you to import songs from your music library. Notion, considered the best-selling app in the Apple store, offers the same standard features with a user-friendly interface and easy use with other music apps. You can buy it for a fee.

Check that the song is transcribed correctly after using software or an app. If you use an app to transcribe the whole song or assist you with hints for chords and notations, make sure to give the song a once-over afterwards to make sure it looks right. Listen to the song again while reading the transcription and look for things like: Notes that are obviously wrong. Beats or notes that are out of sync. A key signature that seems wrong or confusing.
Transcribing by Ear
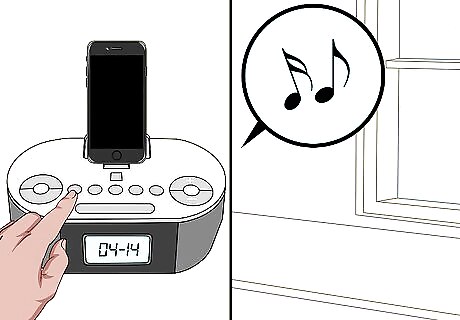
Play a high-quality version of the song in a quiet place. If you’re trying to transcribe by ear, look for the highest-quality version of the song that you can find, like an official mp3 or, even better, a recording from a CD or record. This will let you hear the notes more clearly and pick up on subtleties you might miss. Sit in a quiet place where you won’t be distracted by outside noise. You can listen to the song out loud or with headphones, as long as you can hear it well. It may also help to have an instrument around that you’re comfortable playing, such as a guitar or piano, to test out notes or chords. EXPERT TIP Cuong Nguyen Cuong Nguyen Music Teacher Cuong Nguyen is a Music Teacher and the Co-Owner of both OC Musica and the Huntington Beach School of Music. He has been teaching music for over 45 years and has extensive knowledge in music teaching pedagogy. He and his team of over 20 professional instructors specialize in teaching piano, voice, guitar, violin, brass, and woodwind instruments. Cuong is the 1984 winner of the Yoshiro Irino Memorial Prize in Composition. He received his Bachelor of Music with Honors from the Victoria University of Wellington, New Zealand. Cuong Nguyen Cuong Nguyen Music Teacher Transcribing music develops your ear. Transcribing music by ear takes work, but you can get better at it. Focus on nailing down the relative note lengths, then use apps like MuseScore to check your work. It's free and lets you put in notes to hear how they sound. It's super helpful for honing your transcription skills over time.
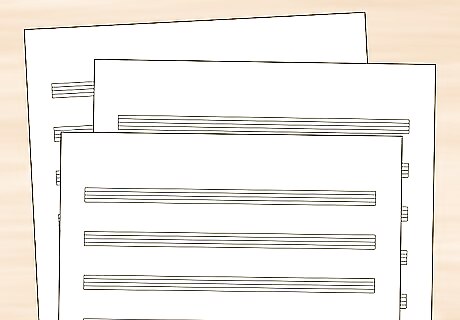
Use a separate sheet of music for each part. Don’t try to crowd all your instruments together on one sheet of paper. Besides looking messy, different instruments might use different clefs and notations, which can make it confusing. Start with a fresh, labeled sheet for each instrument to stay organized.
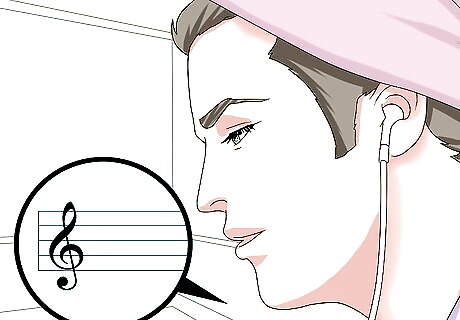
Find the root note of the song to orient yourself. Listen to the song once through and start to pick out the root or home note. This is also called the “tonal center” of the song, or the one pitch around which the rest of the song revolves. To find it, first identify the first and last chord or note of the song, which is often the tonal center. Then, playing or singing different that note on top of the song. If it seems to harmonize and “fit” the song, it’s likely the home note. This might sound confusing, but it should feel instinctual once you try it. Ask yourself what note it sounds the best on top of the song, and that seems to be able to close off each measure neatly. Finding the root note will be key in determining the key signature of the song.
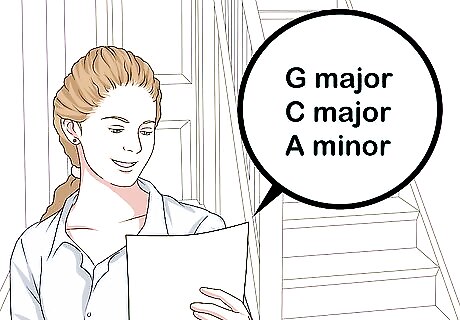
Figure out the key signature of the song. Now that you’ve found the root note of the song, you’ll be able to determine its key signature. The root note, such as C, will be the first part; for the second, simply determine whether the song is major or minor. Play the note that’s a major third above the tonic. If that note fits with the song overall, then the key is probably major. If not, try playing a minor third. If that fits better, the song is minor. To make finding the key signature a little easier, review the common scales, such as G major, C major, and A minor. Brush up on the different intervals in each scale so you can recognize them when transcribing. A good rule of thumb is that if the song sounds happy, it’s usually major. If it sounds more sad, it’s minor. Most pop songs are in the major key, but not all. “All You Need Is Love” by the Beatles is in G major, for example, but “Wonderwall” by Oasis is in E minor.
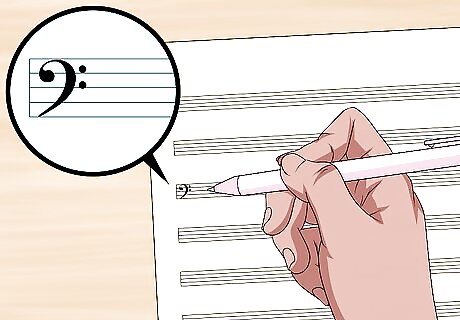
Mark down the key signature and any sharps or flats. Once you’ve determined the key signature, write it on your music staff. On the far left of your first line, mark down a bass clef or treble clef, depending on your instrument. Then fill in any flats and sharps that go with the key signature. The C major key, for example, has only natural notes, so you wouldn’t mark any sharps or flats. The G major key includes an F sharp, so you’d place a sharp symbol on the F line. The treble clef, which has a curly tail and looks like an ampersand sign, is used for high-sounding instruments like the guitar, violin, flute, trumpet, and the upper staff of keyboard instruments. The bass clef looks like a single curl with a colon next to it. It’s used for low-sounding instruments, like the bass guitar, cello, tuba, timpani drum, and the lower staff of keyboard instruments.
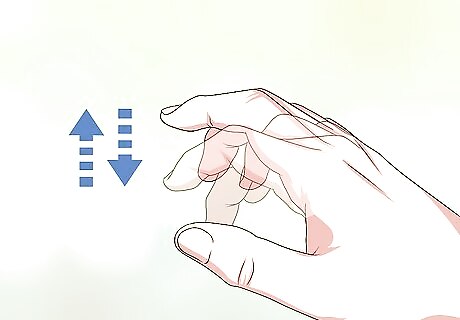
Determine the time signature. Tap or nod along to the beat of the song. Listen to where the emphasis on notes or lyrics falls—this will probably be the start of a new measure. Then, listen to the song one more time and start counting out the beats, counting upwards from 1 and starting over when you hear the start of the next bar. The number that you count to will be the top number of the time signature. For example, in the song “Old McDonald,” the emphasis in the lyric “Old McDonald had a farm” is on “Old” and “had.” You can count out 4 beats between “Old” and “had” (“Old” + “Mc” + “Don” + “ald”), which is a hint that there will be 4 beats per measure in your time signature. The time signature of a song tells you how many beats it has per measure, and what kind of note stands for a beat.
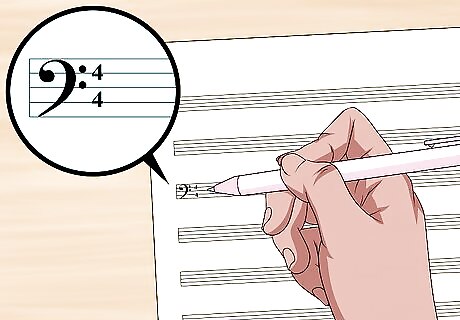
Write down the time signature next to the key signature. The time signature consists of 2 numbers stacked on top of each other. Start by writing the top number, which is the number of beats per measure that you just determined. For the bottom one, give it your best guess. Use hints like: The speed of the song. If the beats seem slow, the bottom number is likely 2. If they’re fast, it’s probably 8. If they seem about normal, the bottom number is probably 4. The genre of pop songs, for example, are usually 4/4.
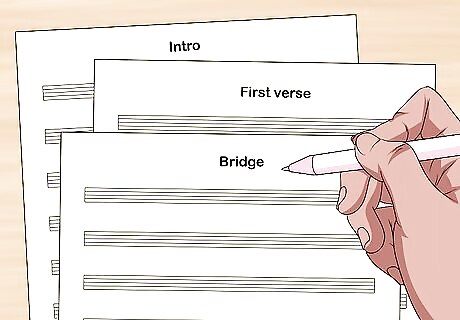
Divide the song into sections to figure out instrumentation. Listen to the song again and divide it into sections your mind, like intro, first verse, bridge, chorus, second verse, and so on. You’ll start transcribing one section at a time, which makes it simpler to transcribe a longer or more complex song, especially one with multiple instruments. To find the parts, first listen for the intro and first verse of the song, which are the parts at the very beginning that ease the listener in. The bridge typically has a building feeling that culminates in the chorus, the heart of the song that will typically repeat 1-2 more times.
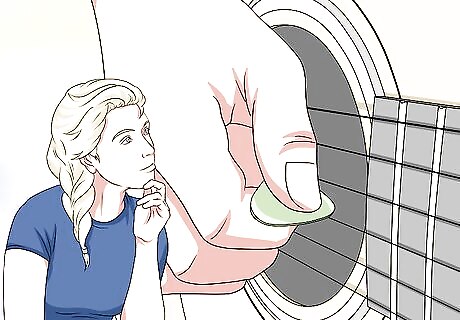
Pick out the rhythm section first for more complicated songs. To transcribe the rhythm section in a full band song, start with the drums, then move on to the bass and rhythm guitar. Sit with the instrument in front of you and play or finger along to the notes as they come up in the song, or try humming to match the pitch. Listen for patterns, too; in most songs, the rhythm instruments repeat the same 8-12 bars of music for the whole piece. Start penciling notes into your staff as you go. If you’re transcribing drums, listen to the song and try to distinguish the different drum sounds, such as hi-hat, snare, cymbals, and tom-tom. Drum notes on a music staff look different than other instruments’, so familiarize yourself with them and start marking them down. It can feel hard to identify notes by ear. Nearly all musicians struggle with this at first, and the best way to improve is by practicing. Continue listening to the song, humming or playing different notes to try to match them, and remember that it gets easier with time. Remember to notate with the correct music notes, including whole notes (an open note with no stem), half notes (an open note with a stem), quarter notes (a closed note with a stem), and eighth notes (a closed note with a stem and flag).
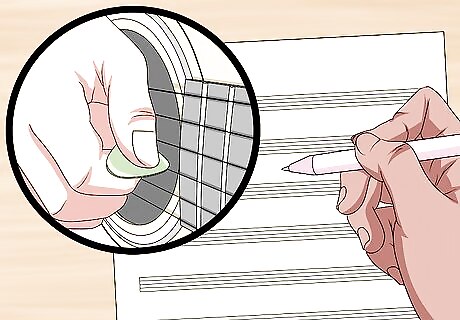
Notate for the lead instruments like guitar or piano. The lead parts of a song might be played on guitars, piano, trumpet, voice, or any other versatile instruments. Transcribing these parts will probably be the most time-consuming, so be patient with yourself. Using the same approach as you took with the rhythm section, hum or play along with each instrument and write down the major chords or notes you hear. Pause the music as often as you need to, or slow it down with a music software program if all else fails. Add in notes as best you can on your music staff, going measure by measure and counting out the beats for each note. It’s OK if it’s not perfect; you can always go back and review the song again.



Comments
0 comment