views
Measuring the Fuse Performance
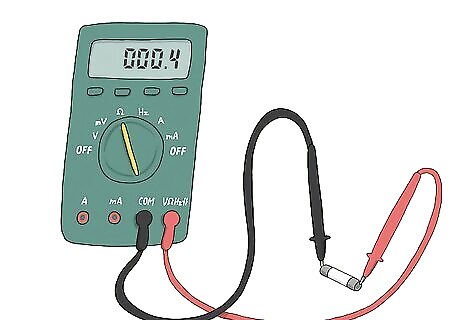
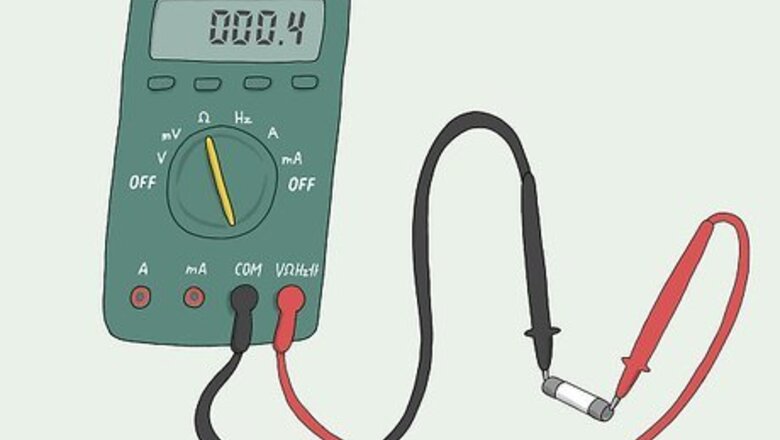
Set the multimeter to the ohms setting. Turn the large knob on your multimeter to the ohms position, which might also be represented by the Ω symbol. This setting measures electrical resistance and shows you if any fuses are faulty. With this method you can test the fuses without removing them, but you could also test the fuses manually. Open the back housing of the multimeter and pop the fuses out. Set the multimeter to ohms, then press the red probe to one end of the fuse and the black probe against the other. If the multimeter produces a reading, then the fuse is good. If it doesn't, then the fuse is blown.
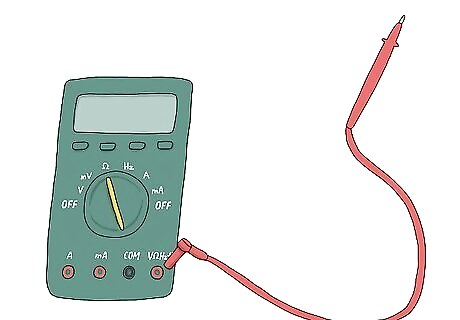
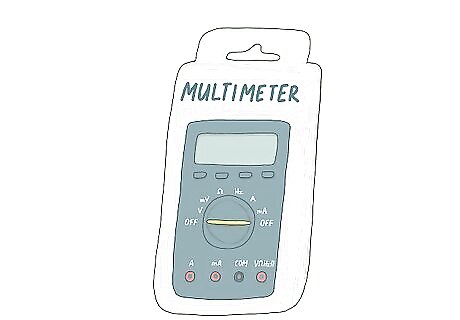
Plug the red lead into voltage-ohm jack. Find the voltage-ohm input on the front of the multimeter, which is usually on the right side. It might be represented with a VΩ symbol. Take the input side of the red lead and plug it into this jack. Many multimeters color-code their input jacks, so the voltage-ohm input will be red on a model like this. For this test, you don’t need the black lead.
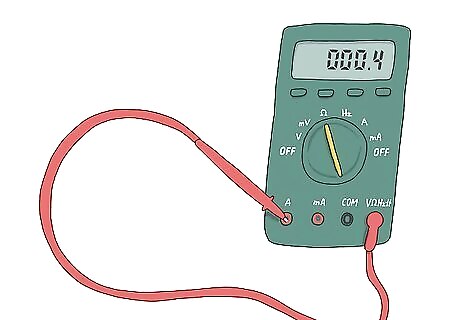
Touch the red probe to the amp jack. This jack is on the left-front of the multimeter and may be marked with an A symbol. Insert the red probe into the jack. Hold it in place for a few seconds and wait for a continuity reading. If the multimeter gives you a reading, then the fuse is good. If not, the fuse is blown. If your multimeter has an audio setting, turn it up. A beep indicates continuity and tells you that a fuse is functioning.
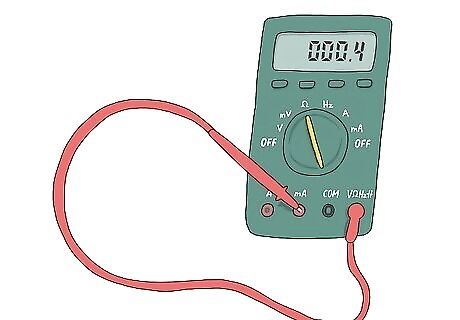
Insert the red probe into the milliamp jack to test this fuse. The milliamp jack is right next to the amp jack, and might have a mA symbol next to it. Insert the probe the same way as you did on the amp jack and wait for a reading. If the multimeter doesn't produce a reading, then this fuse is blown.

Replace any fuse that doesn’t show continuity when you measure it. If the multimeter doesn’t produce a reading for one or both fuses, then you can get new ones made for that multimeter type. Go to the hardware store and get a pack of fuses that match your multimeter type. Unscrew the back of the meter and lift the cover off the housing to reveal the 2 fuses. Pull the defective fuse out and pop the new one in. Close up the meter and run the same test to confirm that the new fuse is working. The best way to pick a new replacement fuse is pull the fuses out of the multimeter and get ones that match this type. The user manual should also note what type of fuse the device uses. If you still aren't sure, contact the manufacturer and ask. You can also buy bulk packs of fuses online. If you're an electrician or have a lot of tools that use the same fuse, then this may be the most cost-effective choice. The multimeter will still work in its other functions if fuses are blown. If a fuse is blown, it only means you can’t measure current, or amps.
Checking the Meter’s Accuracy

Get a new alkaline battery. It doesn’t matter what type of battery you use, as long as it’s new so you know it’s fresh. AA, AAA, C, D, or 9V will all work. They have known voltages so they provide a good baseline to test the meter. AA, AAA, C, and D batteries all have 1.5 volts and a 9V has 9 volts. A multimeter can also measure rechargeable or lithium batteries, but the voltages on these batteries can vary. They don’t provide as good of a baseline.
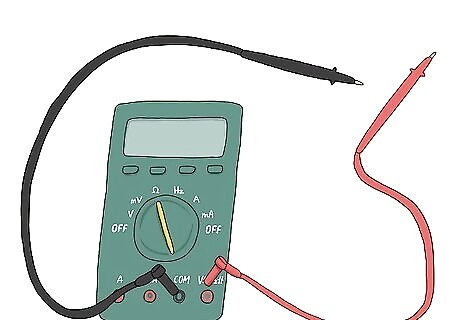
Plug the black lead into the common jack and the red one into the volt-ohm jack. These inputs are on the right-front of the multimeter. The common jack might say COM and the Volts jack is marked with a VΩ symbol. Plug the input side of each plug into the correct jack. On many multimeters, these 2 jacks are color-coded. In this case, just match the black wire with the black port and vice-versa.
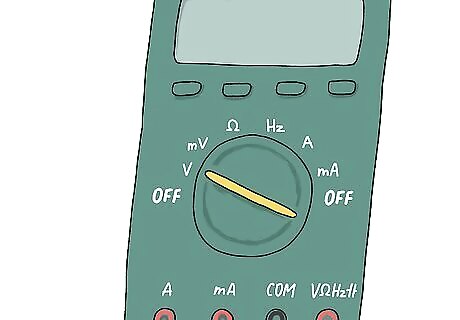
Set the multimeter to Volts DC. Turn the knob on the front of the multimeter to the position that reads Volts DC, DCV, or V-. These settings all measure direct current, which batteries produce. Some multimeters might use different symbols for their knobs. Check the manual that came with your meter if you don’t see any of these symbols.
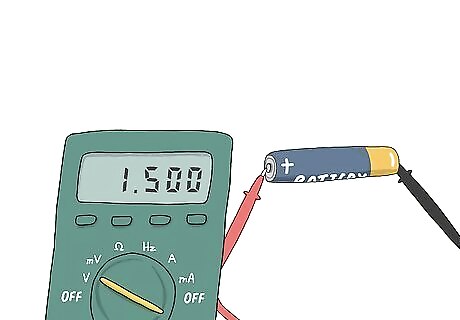
Hold the red probe to the battery’s positive side and black probe to the negative. Hold the probes in place for a few seconds and wait for the meter to produce a reading. For AA, AAA, C, and D batteries, the reading should be 1.5 volts and a 9V should read 9 volts, or within 0.02 points of those readings. If the readings are accurate, then the meter is in good working order. If the readings are off, try testing a few different new batteries just to make sure the battery you tested wasn’t defective.
Replace your multimeter if it doesn’t read the battery voltage correctly. If you’ve tried testing several batteries and the readings are off, then your meter might be defective. Try contacting the meter manufacturer to see if you can get a replacement, or buy a new one from a hardware store. You might be able to fix the meter. Try showing it to a hardware store employee and see if they can adjust it for you. Otherwise, you’ll need a new one. An analog multimeter is easier to fix because the dial may just need calibration. A digital one might need total replacement.


Comments
0 comment