views
- Navigate to your Android browser's Advanced Settings and tap the checkbox next to "Block pop-ups".
- If your default browser is Chrome, navigate to Site Settings and make sure the "Pop-ups" section is set to "Blocked".
- You can also enable Data Saver on Google Chrome to stop pop-ups from appearing on most sites.
Using Stock Android Browser
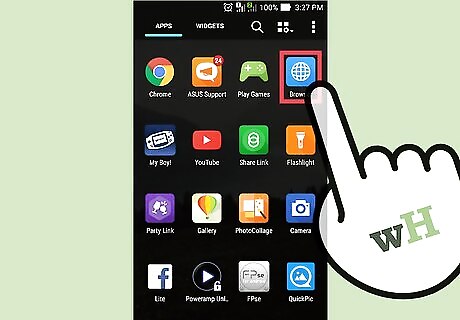
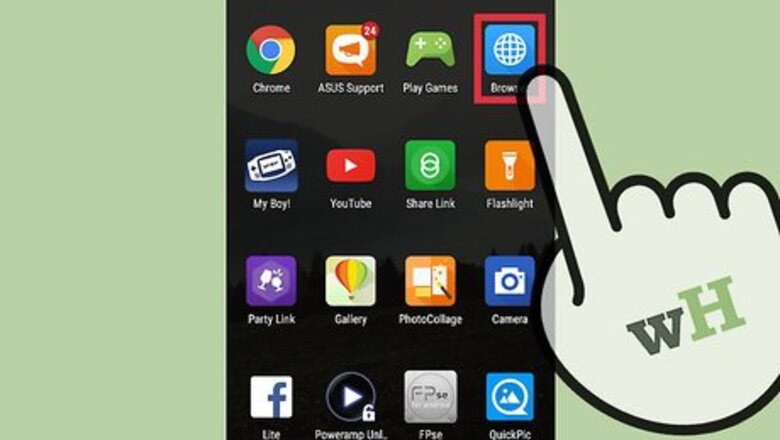
Open the Internet browser. The stock Android Internet browser is a blue globe. Tap on it to launch.

Tap the three-dot icon at the top right. The app menu will drop down.
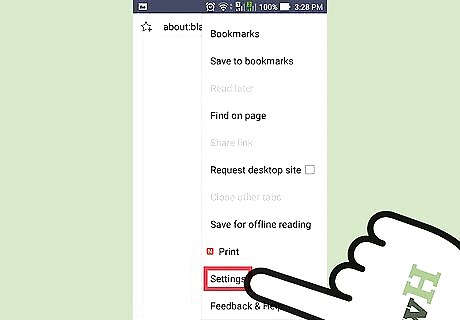
Go to Advanced Settings. Go down the menu and select “Settings” to open the Settings menu, and from this menu, select “Advanced.”
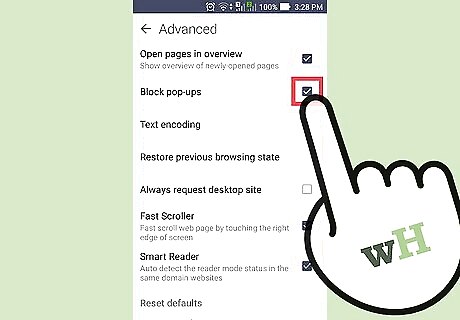
Block the pop-ups. There will be a “Block pop-ups” option in the Advanced Settings menu. Enable this by tapping the checkbox across from the option name.
Blocking Pop-Ups on Chrome
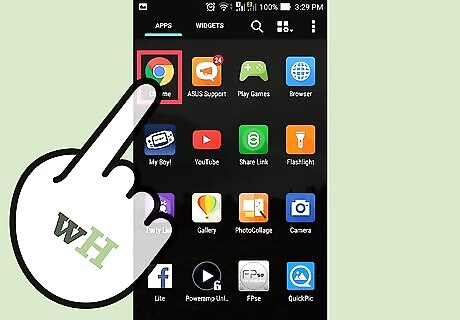
Launch Chrome. Locate the Chrome icon on your home screen or app drawer, and tap it to launch the browser.
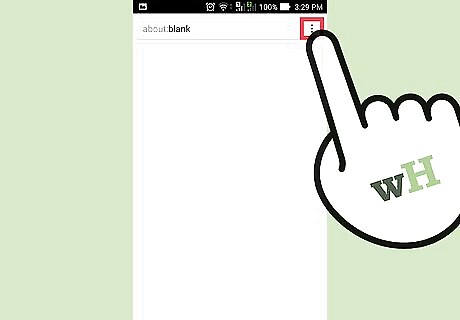
Open the app menu. Do this by tapping the three-dot icon at the top right of the screen.
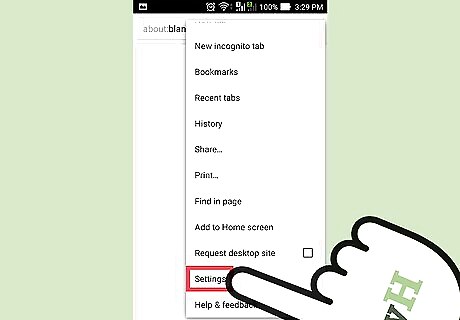
Go to Content Settings. From the menu, tap “Settings” and then “Site Settings.”
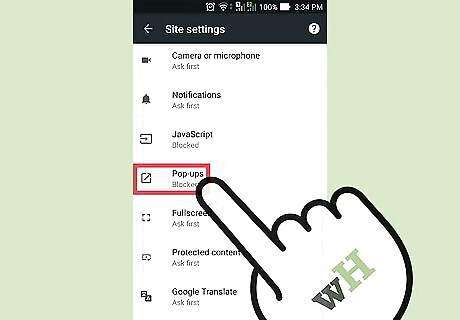
Block pop-ups. The seventh option down is for “Pop-ups.” Make sure this is set to Blocked.
Using Data Saver on Chrome
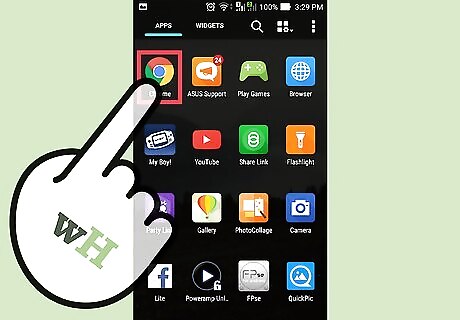
Open Chrome. With Google Chrome, blocking pop-ups is easier than using the stock Android browser with pop-ups blocked, as it helps to block nasty data-hogging ads too. Instead of blocking the pop-ups, enabling Data Saver is a better option. Data Saver not only blocks the ads but also compresses the aspects of all the websites that are not necessary in browsing. It offers smooth navigation and saves data usage as it minimizes the data by removing the advertisements and all the animations that you can see while browsing. If you don’t have the Chrome browser on your Android device, get it for free from Google Play.
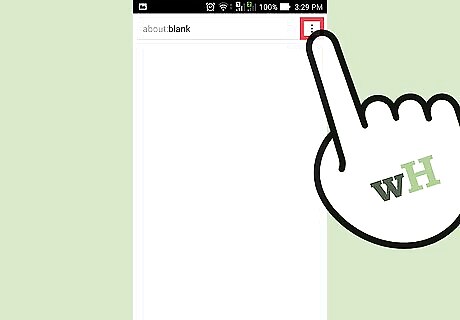
Tap the three-dot icon at the top right side of the screen. This will open the browser menu.
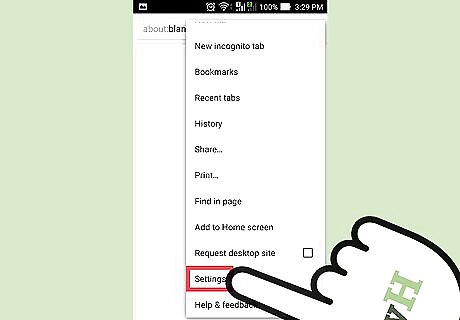
Open the Settings menu. Do this by scrolling down through the drop-down menu to “Settings,” and then tapping this option.
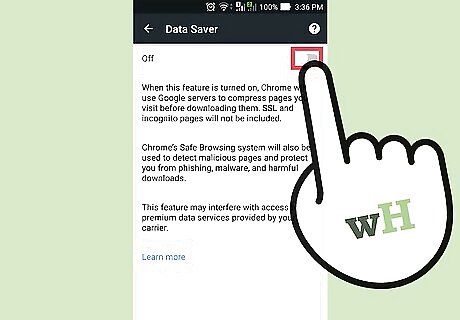
Enable Data Saver. Scroll through the Settings menu to “Data Saver” and select it. Move the slider at the top right corner from “Off” to “On” to enable the feature.
Using the New Adblock Plus Browser
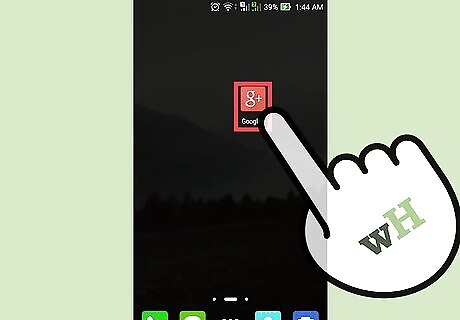
Open the Google+ app. Locate the red “g” with a plus icon on your home screen or app drawer, and tap to launch. Adblock is originally an add-on for desktop Chrome and FireFox. Since add-ons are not available for the mobile browser versions of the two, Adblock created its own mobile browser that automatically blocks unwanted ads. You have to be a beta tester to get this browser though.
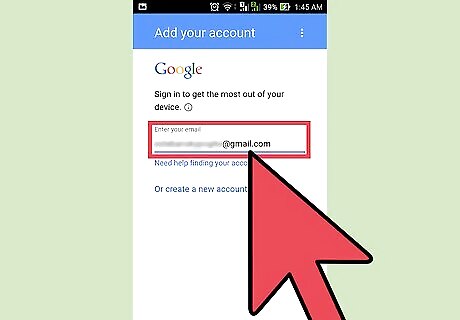
Log in. If you’re not logged in yet, do so using your Google login information (email address and password). Tap “Sign in” to proceed.
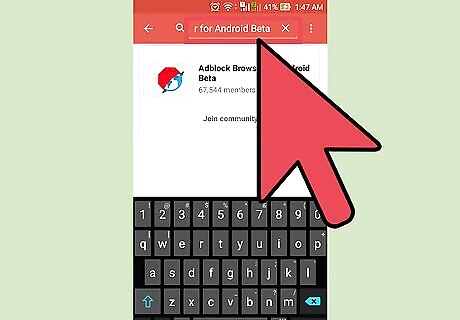
Search for “Adblock Browser for Android Beta.” Use the search bar at the top to do this. From the results, tap the icon of a red stop symbol with half a globe coming out from the bottom right of the symbol.
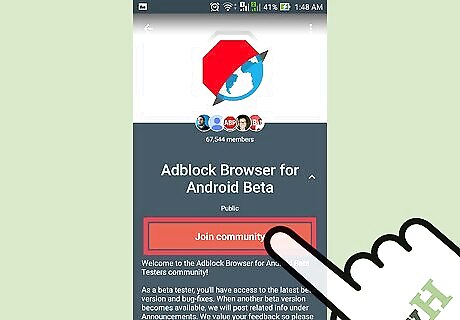
Join the Adblock Browser for Android Beta community. The first section of the page will be instructions on getting the beta version of the browser, but first scroll to the bottom of the page, and tap the red “Join community” button.
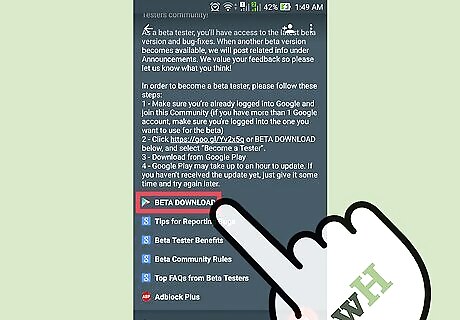
Become a tester. Below the instructions is a “Beta Download” link; tap this, and on the next screen, tap “Become a tester.”
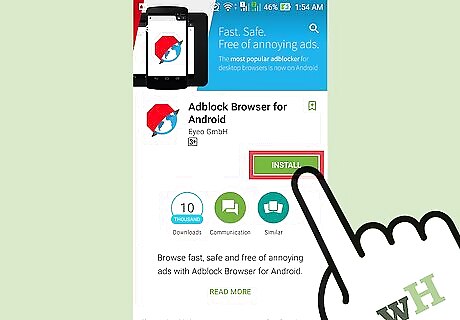
Download the browser. On the “You have become a tester” message screen, there’s a “Download it from the Play Store” link. Tap this to be taken to the browser’s Google Play page, and tap “Install” from here. Accept the permissions required, and wait for the download to finish.
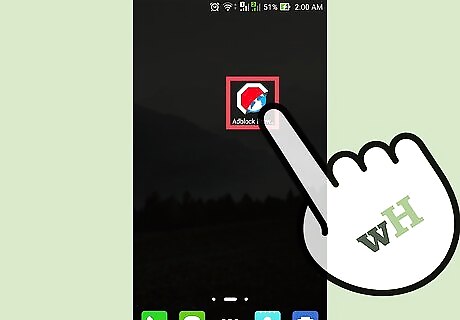
Try the browser out. Go to your homescreen or app drawer, and tap the Adblock Browser app icon from there. Go to a page you know that has ads. Since Adblock Browser is specifically created to block ads, you should see that there aren’t any ads on that particular website anymore. If you have any concerns or see bugs on the browser, you can report it via the Adblock community you joined.
Stopping Pop-Ups in the Apps
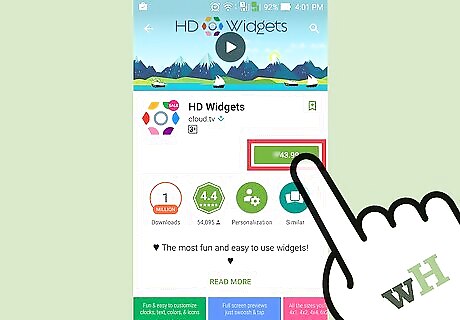
Buy and install the full version of the app. Most apps on the Play Store are free versions, having limited features compared to its full version, as well as having ads popping up every now and then or occupying a portion of the screen. If there’s a full version available in the Play Store, buy and download that one instead.
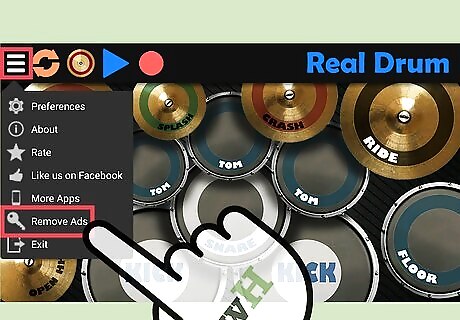
Buy the “Remove ads” option from inside the app. Some apps might not have full versions available in the Play Store for you to purchase and download. Instead, they will have a “Remove ads” option inside the app for you to select and buy. To locate the option, you might either see a “Remove ad” link right on the ad or you can go to the app’s settings menu and find it there. Tapping the option will open the Google Wallet for you to begin processing your purchase. Cost of removing the ads vary from one app to another. There are some apps that have full versions in the Play Store as well as the “Remove ads” option in the app. If this is the case for your app, it would be best to purchase the full version from the Play Store, so when you change phones, you can still download the same paid app but this time for free (it’s a one-time purchase). If you purchase Remove Ads from inside the app, Play Store may register it as an in-app purchase, and the information might not carry over to a new device; you might end up downloading the free version in the new device, but it will still contain ads despite purchasing the Remove Ads option from the old device.
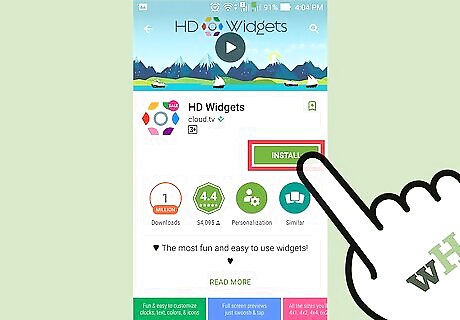
Reinstall the app. In some apps, pop-ups may appear due to improper installation of the app. Try re-installing the app from the Play Store. If the problem persists, it might not be possible to stop pop-ups from it. If the pop-ups really bother you, just uninstall the app or contact the app developer.


Comments
0 comment