

Timing

Research the approximate date of the last frost in your growing region. Visit the National Climate Data Center website to find the frost data in your area.
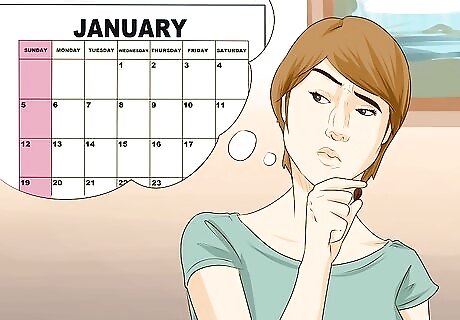
Plan to start most seeds 8 weeks before that frost date, with the expectation to plant them 2 weeks later.
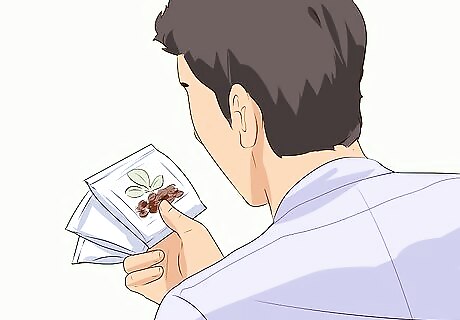
Buy your seeds. Read the packets carefully. Seed starting times and germination rates vary greatly.
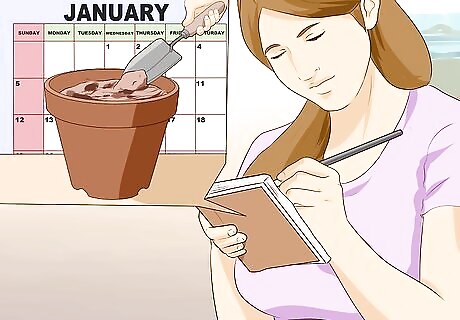
Create a seed starting agenda. Plan to plant seeds with similar growing schedules near each other. For example, corn and beans can be planted earlier than flowers. Squash do not take transplantation well, so they can be started later and planted before root systems begin to develop.
Containers and Soil
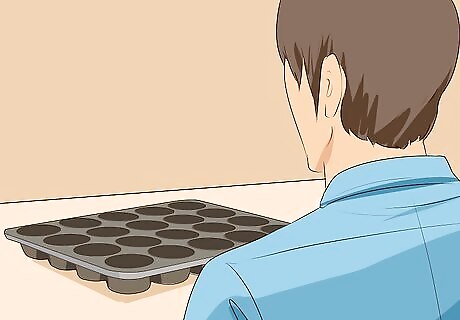
Buy seed trays if you want to plant a lot of seeds at once. These small plastic trays hold a few inches of dirt. They are easy to care for, but dry out quickly.
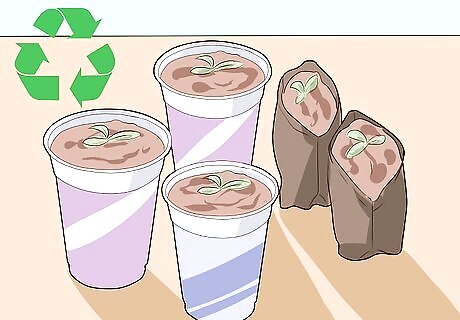
Choose to recycle containers, such as milk cartons, yogurt containers and other small plastic items into pots. Cut holes in the bottom of each container for drainage.
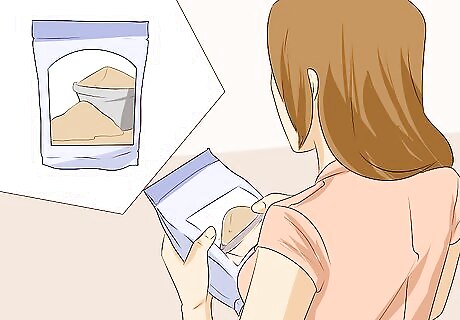
Buy seed starting mix. Seeds do not do very well in heavy soil or potting mix, so make sure your soil is specially chosen for this task.

Place your soil in a bucket. Moisten it with warm water. Fill each container with 3 to 4 inches (7.6 to 10.2 cm) of soil.
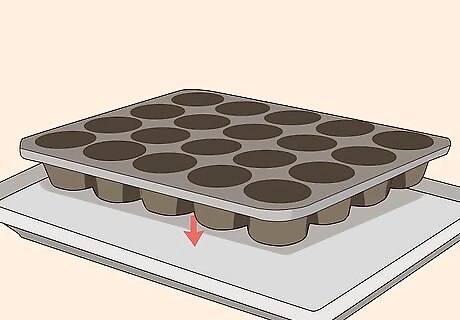
Place the seed tray or containers on a baking sheet. You will be able to use this to soak water into the soil from below.
Planting
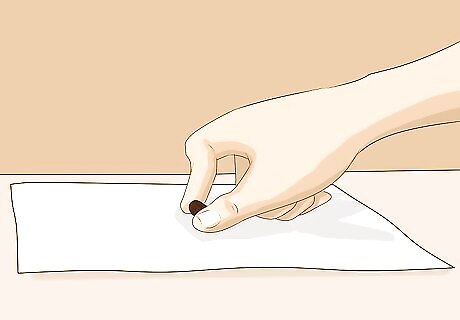
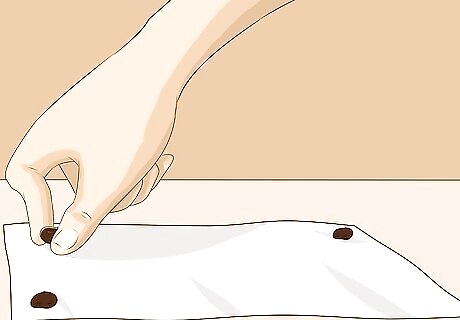
Place seeds in a warm, moist paper towel overnight. You can increase germination with a light soaking. Do not do this if it is not recommended by the seed packet. Some needs might need to be put in a cool environment instead. If this is the case for your seeds, simply place them on a damp paper towel and stick them in your refrigerator.
Plant 2 to 3 seeds in each section or container. Not all your seeds will germinate, and you can remove plants later in case of crowding.
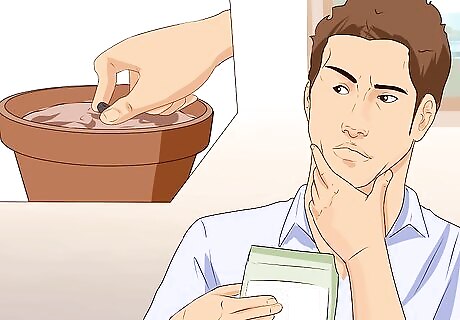
Place them in the soil. The depth will depend upon the plant, so read the seed packages. Plants that are placed inside soil are usually planted at a depth of 3 times the diameter of the seed. Other plants need full sunlight immediately, and they should be placed on top of the soil.
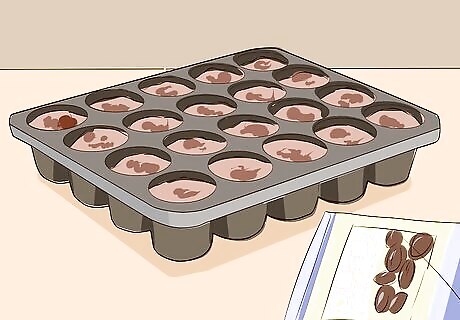
Label your containers immediately after planting. Keep seed packets nearby.
Warmth
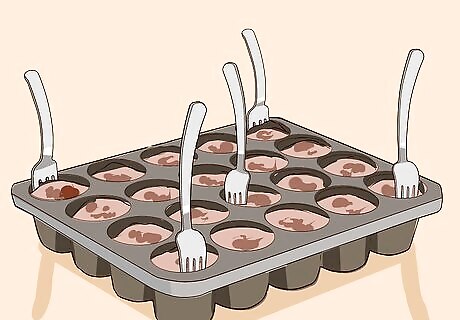
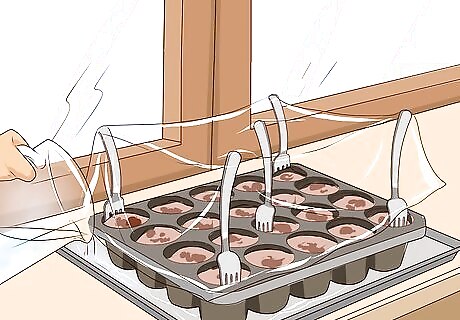
Place plastic forks on the edges of the seed tray and in the middle.
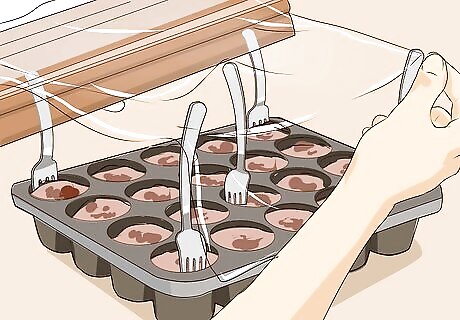
Wrap plastic wrap over the top of the fork tips. You are creating a greenhouse environment.
Choose a place in your house that is hit with sunlight every day.
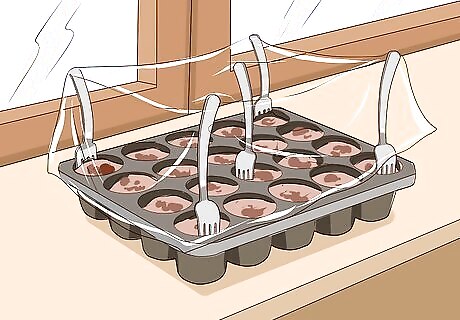
Place the seed tray near that window.
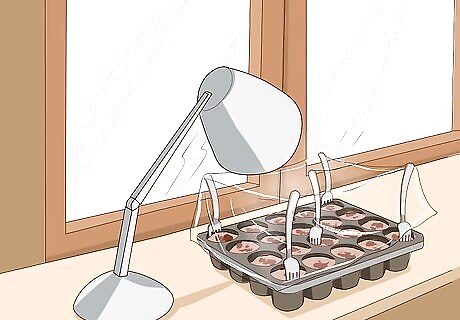
Hook up artificial lights so that they are about 6 inches (15.2 cm) above the plants. You will need to move it up as they grow.
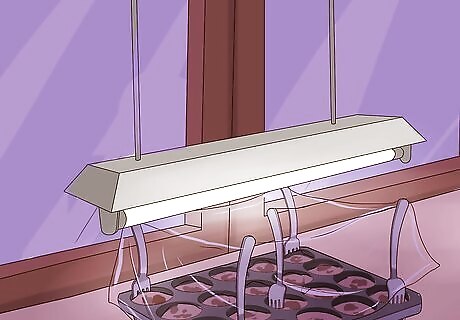
Use the fluorescent light to supplement dark days. Keep them on for 12 to 16 hours a day.
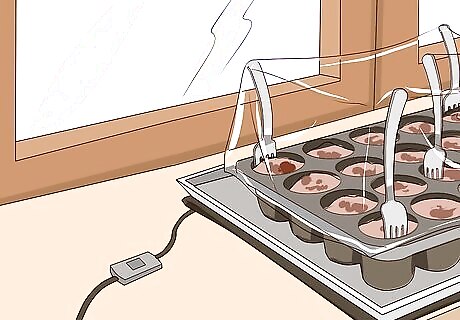
Aim to keep your seeds at about 70 degrees Fahrenheit (21 degrees Celsius). To add warmth, place a wet/dry heating pad under the baking sheet and keep it at a low heat.
Water
Pour lukewarm water into the bottom of your baking sheet. The soil will suck up the moisture without displacing the seeds. Keep water in the baking sheet at all times.
Water from the top of the soil once seeds begin to germinate.
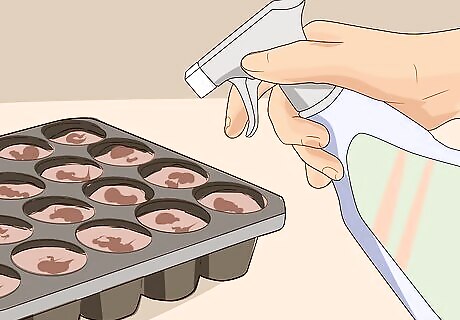
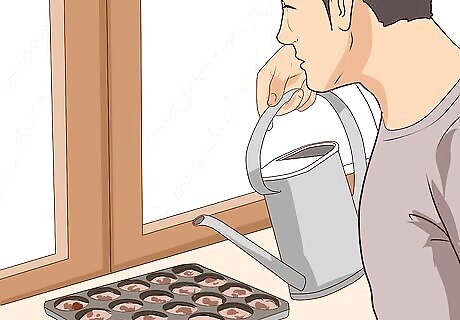
Use a spray bottle or gentle watering can to water plants. Never allow the soil to get dry. Seeds need to remain moist at all times or they will not germinate.
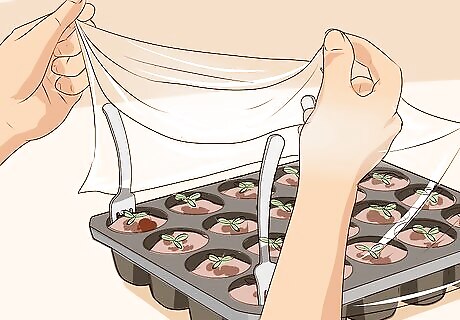
Remove the plastic wrap when the seeds start to sprout.
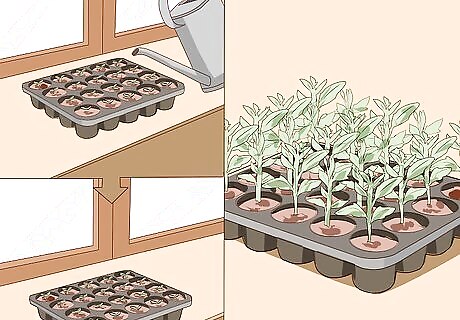
Continue to water and place in warmth and sunlight until they are ready to plant. You may need to pull up several starts, if they are crowding each other.
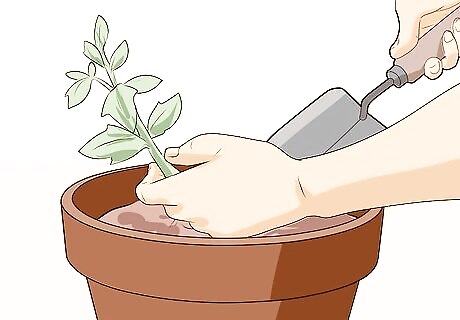
Replant into larger pots if you plan to keep them inside for several weeks longer. Your starts can grow bigger and more hardy until they are ready to plant in the garden.


Comments
0 comment