
views
Using Mac
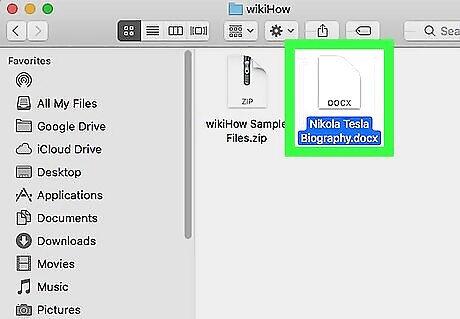
Open a Word document on your Mac. You can open a saved document from your computer or open Microsoft Word, and create a new document.
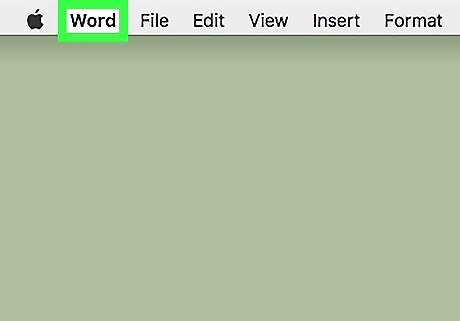
Click the Word tab on the menu bar. You can find this button next to the Apple icon near the upper-left corner of your screen. It will open a drop-down menu.
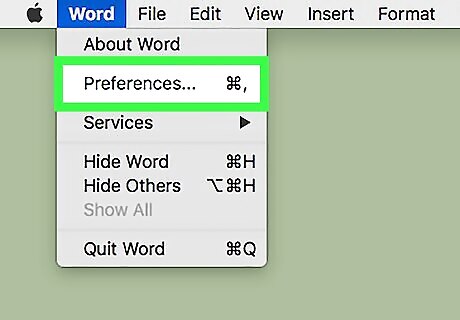
Click Preferences. This will open your Word settings.
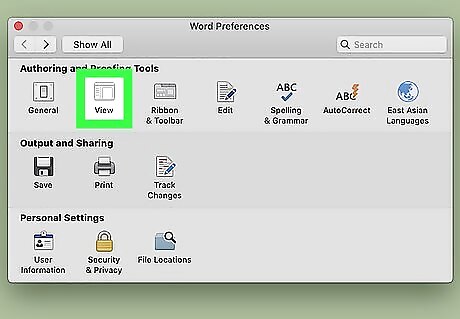
Click View in Preferences. This is the second option on the top row of the Preferences window. You can find it under the "Authoring and Proofing Tools" heading.
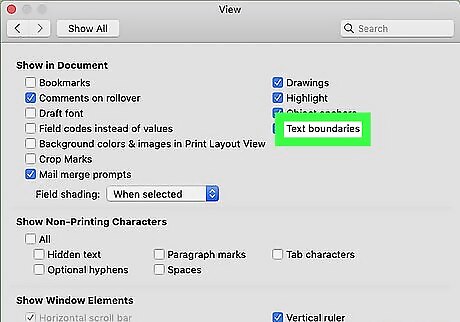
Find the Text boundaries option. It's near the upper-right corner under the "Show in Document" heading.
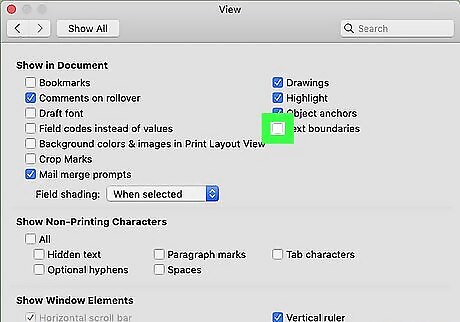
Click and check the boxAndroid 7 Unchecked next to Text boundaries. When this option is checked, you'll see the margin lines around your text in the document.
Using Windows
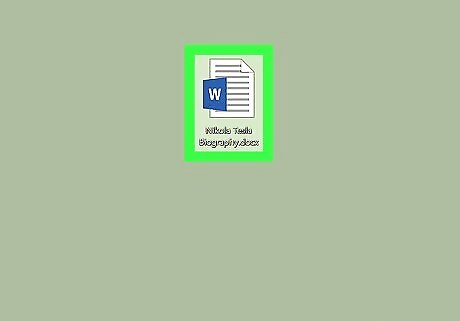
Open a Word document on your computer. You can open a saved document or open Microsoft Word, and create a new document.
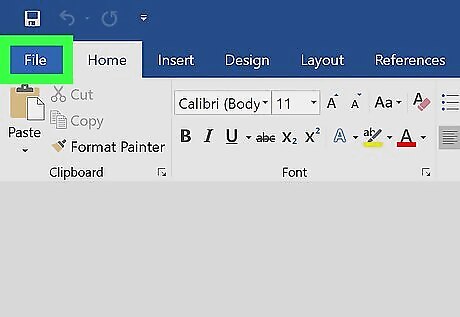
Click the File tab. You can find this button above the toolbar ribbon in the upper-left corner of Word. It will open your file options. If you're using Word 2007, click the Office icon on the top-left.
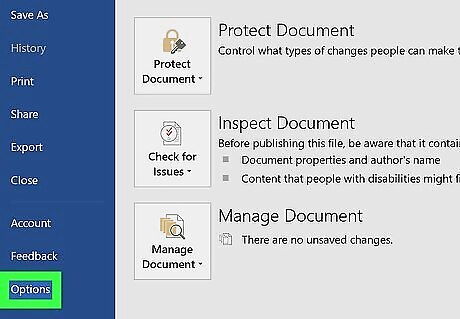
Click Options on the file menu. This will open your Word options in a new window. In Word 2007, click Word Options on the bottom-right.
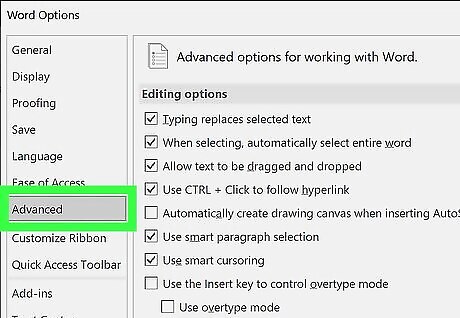
Click the Advanced tab in Options. It's on the left-hand side of the Options window.
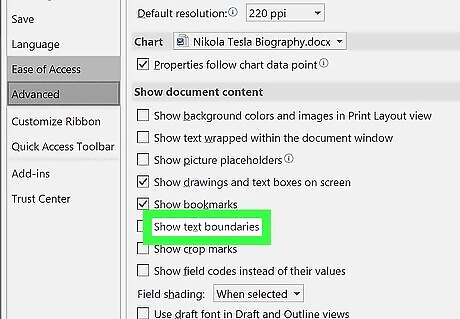
Find the Show text boundaries option. It's under the "Show document content" heading in the Advanced tab.

Click and check the boxAndroid 7 Unchecked next to Show text boundaries. This will show your margin lines around the text in your document.




Comments
0 comment