
Making the Lining
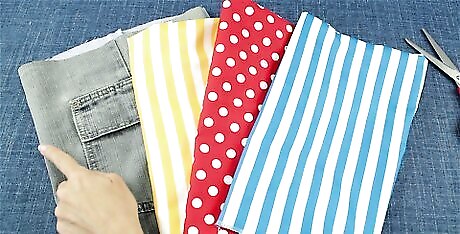
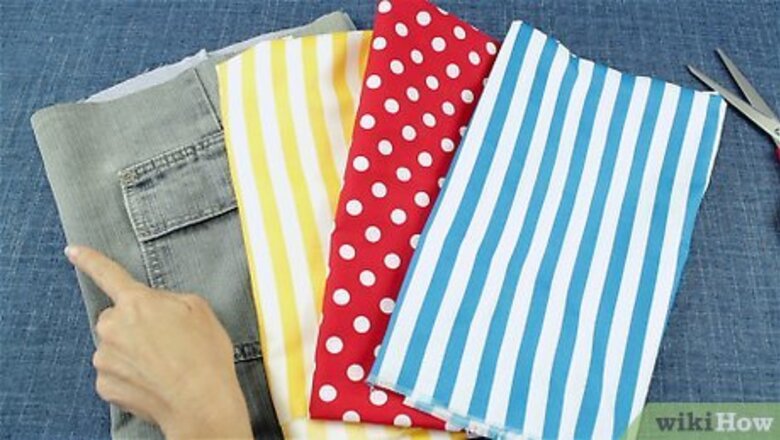
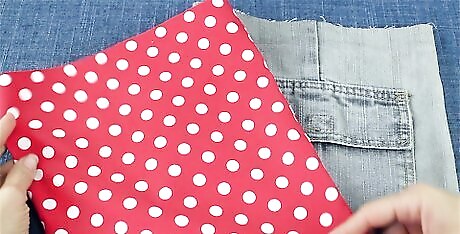
Select lining fabric that matches the style and purpose of your bag. For example, if you're lining a market bag or tote, pick a sturdy cotton fabric or blend that can withstand a lot of use. To line a small clutch or purse, you might use a rayon or polyester blend fabric, since these are soft and shiny. Decide if you'd like the liner color to really stand out against your bag or if you'd like a liner that blends into the fabric of your bag. Cotton and synthetic acrylic are both good options. You can also use a light eco-leather.
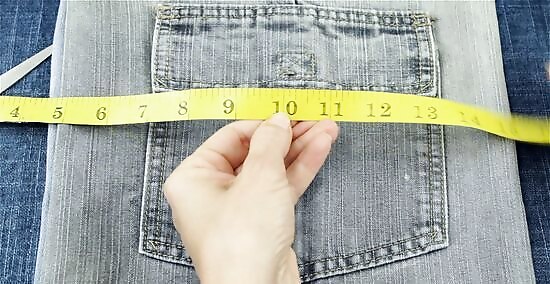
Cut 2 pieces of lining fabric so they're ⁄8 in (0.32 cm) larger than your bag. Measure the bag that you want to line and add ⁄8 inch (0.32 cm) to the measurements. Then, cut 2 pieces of lining material that you'll sew together to create the lining.
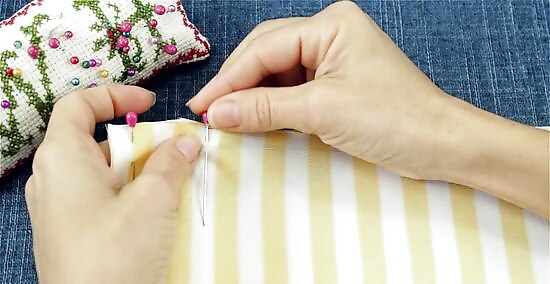
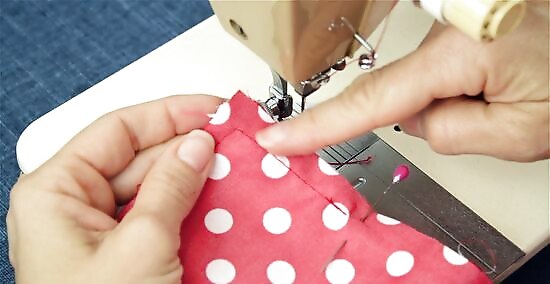
Stack the pieces and pin around the edges. Arrange the pieces so the edges line up perfectly. If you're making a large liner, pin every 3 inches (7.6 cm) along the edges to hold them in place. To make a small liner, just pin the corners. If you're using a patterned fabric, stack the pieces so the right sides are facing in and sew the wrong side of the fabric.
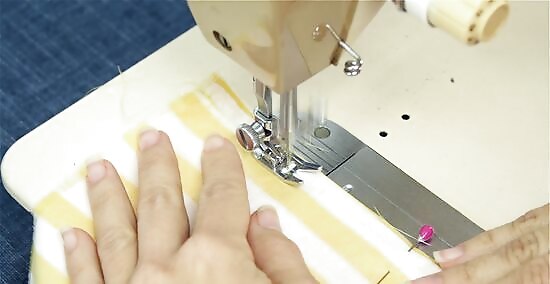
Straight stitch around the sides and bottom of the lining. Use your sewing machine to straight stitch down each of the sides and along the bottom, leaving a ⁄8 inch (0.32 cm) seam allowance.Tip: If you're sewing a liner made of lightweight fabric, you can sew it by hand. Keep in mind that the stitches may not be as sturdy as the ones made by a machine, so it's better to use a machine if the lining will get a lot of use. If you used pins along the sides, remove them as you stitch so you don't sew over them.
Leave a 3 to 4 in (7.6 to 10.2 cm) gap if you're doing the turned-out method. If you'll be sewing the liner onto the bag and pulling the bag out, it's important to leave a space for getting your hand down into the bag. To do this, leave a gap in the center of the bottom edge of your liner. Feel free to make a larger gap if you have large hands.
Dropping the Lining into a Stiff Bag
Choose the drop-in liner method if you have a bag made of stiff material. If you'd like to line a bag that holds its shape, plan on pushing the liner in and sewing the edges. Although you can use drop-in liners on many bags, they're especially great for rigid bags made of fabric that doesn't bend easily. For example, use the drop-in liner for woven tote bags or clutch bags made from stiff material.
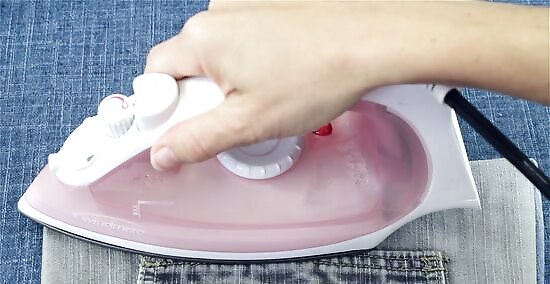
Fold the top of your bag over by ⁄8 inch (0.95 cm) and iron it. Keep the bag that you are lining right side out and fold the top edge in towards the middle of the bag. Make the fold ⁄8 inch (0.95 cm) wide to give you a seam allowance. Then, iron across the folded line so the fabric stays in place. The right side of the bag is the patterned side. Turn your iron to the setting that's recommended for the type of fabric you're working with. For example, if you're ironing a cotton bag, use a hot iron.
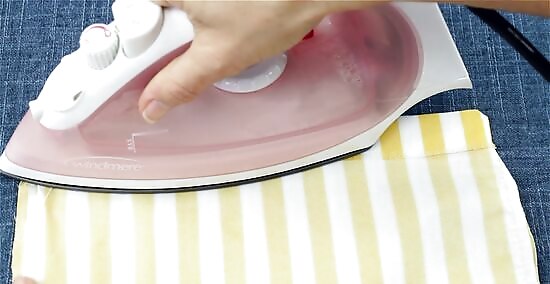
Fold the top of the liner over by ⁄8 inch (0.95 cm) and iron along the fold. Take the liner and turn it so it's wrong side out. Then, fold the top of the liner in towards the wrong side by ⁄8 inch (0.95 cm). Iron along the folded fabric so the crease holds its shape. If you're using a liner that has a pattern, the pattern should face the inside once you've turned the liner wrong side out.
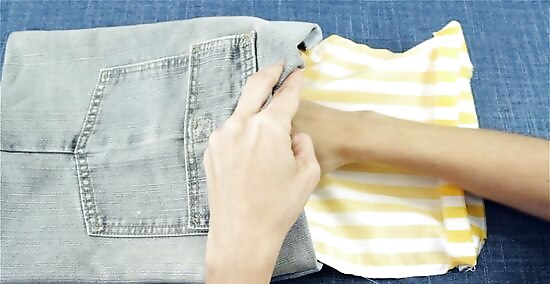
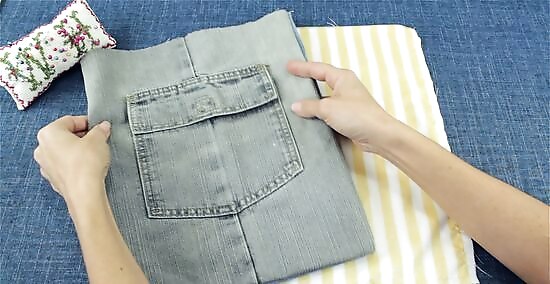
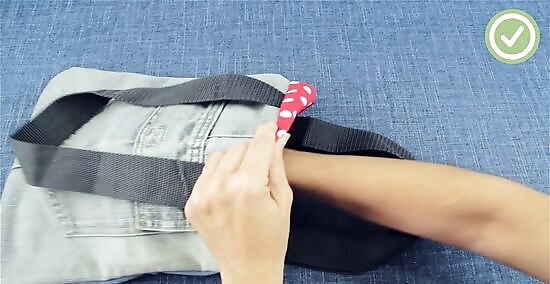
Push the liner into the bag and line up the edges. The right side of the bag should be visible from the outside and you'll see the right side of the liner when you look into the middle of the bag.Tip: Now is a good time to decide how you'll attach handles to your bag. You can either sew a fabric strip to the outside of the bag or sandwich the ends of the strip between the liner and bag fabric.
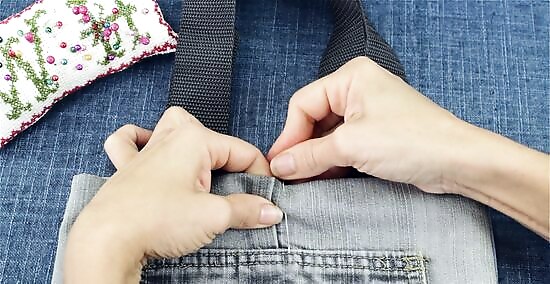
Pin the liner and bag to keep the fabrics in place. Once you've arranged the fabrics so the seams match, push a sewing pin horizontally through them to keep the materials from sliding around. If you don't want to use pins, use small fabric clips to hold the liner and bag in place. If you're sewing the handles between the liner and bag, push them into place and pin them as well. To sew a large bag, you can also pin every 4 inches (10 cm) around the sides of the bag to keep the liner from slipping down.
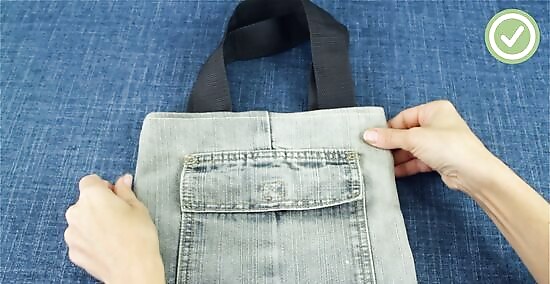
Straight stitch along the top and leave a ⁄8 in (0.32 cm) seam allowance. Use your sewing machine to sew straight stitches across the top so the liner joins with the fabric. Once you finish sewing, your bag is ready to use!Tip: Although you can use a standard sewing foot, an edge joining foot makes sewing the edge even easier. Simply line up the edge of the footer with the fabric to automatically sew an ⁄8 inch (0.32 cm) seam. Remove the pins from the bag as you stitch around the bag so you don't accidentally sew over them and damage your machine.
Sewing a Turned-Out Liner into a Bag
Use a turned-out liner for a flexible bag. Since turned-out liners don't need to be as exact as drop-in liners, they're great for beginner sewers. The turned-out lining method works best for bags that don't have to hold their shape perfectly. This allows you to bend, scrunch, and adjust the bag and lining fabric. For example, use a turned-out liner for market bags, soft totes, or flexible purses.
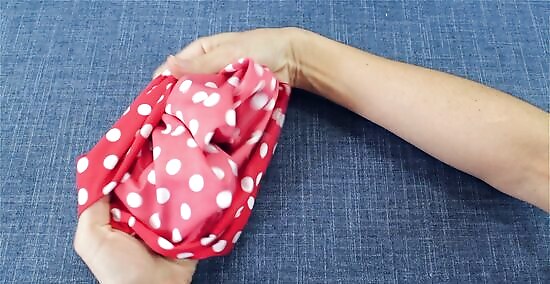
Turn the liner wrong side out and keep the bag right side out. You'll stuff the bag into the liner before you turn it out, so leave the bag right side out. Take the liner that you made for the bag and pull the material so it's inside out. Remember that the right side of the fabric has the pattern, while the wrong side doesn't have the pattern visible.
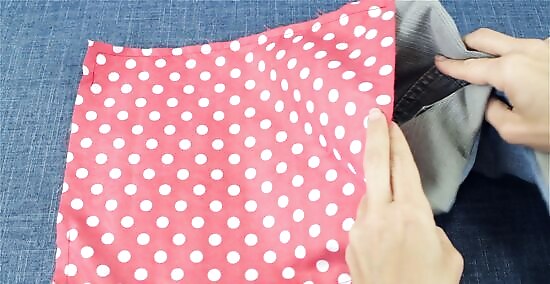
Push the bag into the liner and pin the side seams in place. Slide the bag inside the turned-out liner and it into the corners. Line up the top edges of the bag with the liner and stick a sewing pin horizontally through each of the side seams.Tip: If you're sewing a large bag, insert sewing pins about every 3 inches (7.6 cm) around the top of the bag. If you sewed handles onto the bag, push them down between the side of the bag and the liner so they're out of the way. Use fabric clips if you don't want to stick pins into the bag.

Sew across the top of the liner and bag using a straight stitch. Take your pinned project to the sewing machine and straight stitch along the top. Leave at least a ⁄4 inch (0.64 cm) seam allowance as you go. When you finish sewing around the bag, make a few backstitches and cut the thread. Remove the sewing pins as you stitch around the bag so you don't accidentally sew over them.
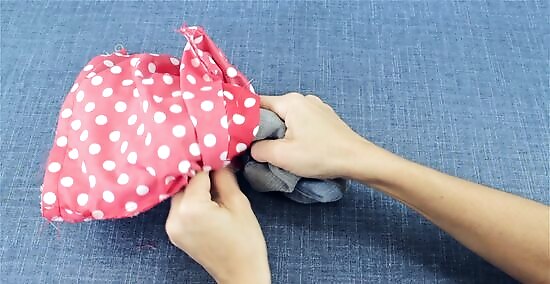
Reach into the gap at the bottom and pull the bag through it. Find the gap that you left at the bottom of the liner and put your hand through it. Keep hold of the liner with one hand and use your other hand to grab the bag. Then, pull the bag through the gap. Don't stuff the liner back down into the bag just yet.
Straight stitch the gap in the lining closed and push the liner into the bag. Fold the gap in the liner so it lines up with the edge that you just sewed. Then, sew close to the edge as you stitch the gap closed. Push the liner down into the bag. If you have an edge joining foot, use this to get a very close seam.


Comments
0 comment