views
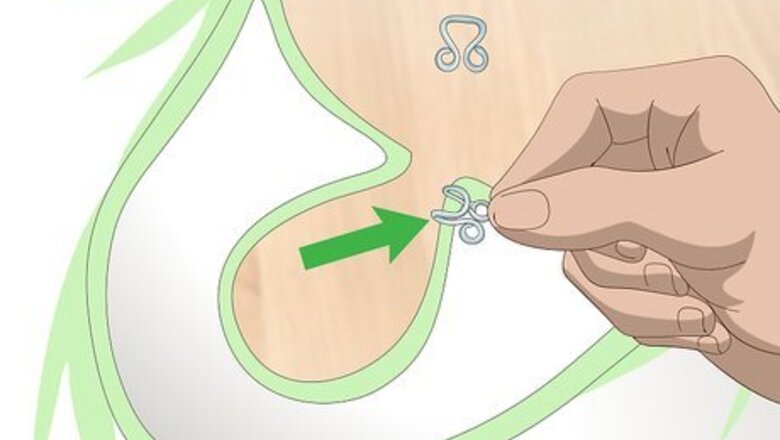
- Place the hook on the underside, right side of the fabric about 1/8 in away from the fabric's edge.
- Thread a needle with 16–18 in length thread through the fabric and hoop in a repeated circular motion to secure the hook before tying off and cutting your thread.
- Line up the eye in the same way you did the hook, ensure that the eye is placed so that it will connect to hook, and fasten the eye with thread just like you fastened the hook.
Attaching the Hook
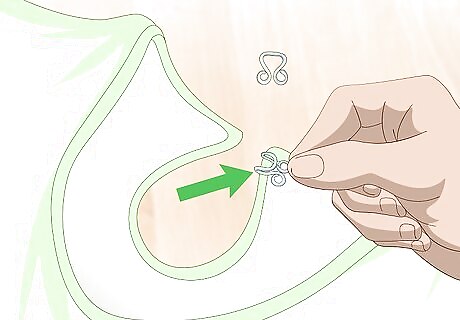
Place the hook on the underside of the right side of the fabric. When you’re creating a hook and eye closure, typically the hook will be on the right side, and the eye will be on the left side. Find the location where you want your fastener to go, and hold the hook up to the fabric on the underside (or inside) of the garment. If your garment has 2 seams which overlap, the hook should be on the overlay, and you’ll put the eye on the underlay. However, a bar closure, rather than an eye, is often used for overlapping seams.
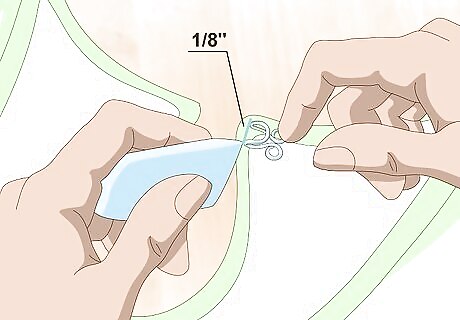
Adjust the hook so it’s ⁄8 in (0.32 cm) from the edge and mark it with chalk. If you place the hook so the end falls just inside of the edge of the garment, you’ll get a secure closure, but the fastener won’t be obvious. You can use a pen with disappearing ink instead of tailor’s chalk, if you’d prefer. However, it’s a good idea to test the ink somewhere inconspicuous first, like on an inside seam, to make sure it will come off when you’re finished. You can also place a pin in the garment if you don’t want to draw on it.
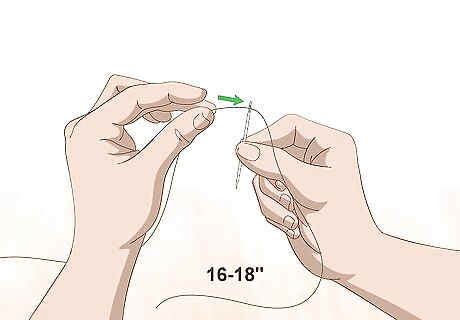
Thread a needle with a 16–18 in (41–46 cm) length of thread. Pass one end of a 16–18 in (41–46 cm) piece of thread through the eye of a standard sewing needle, and tie the end of the threads in a simple knot. This will be the thread that you use to sew the hook into place. A basic sewing needle, called a sharp, is ideal for this project. They come in sizes 1-12, and the size you'll need will depend on the size of your hook. The needle needs to be small enough to fit through the loops and the hook and eye, but not so small that it bends when you pass it through the fabric. The thread won’t be visible in your finished project, but the hook and eye will look nicer if you use thread that matches—or at least coordinates with—your fabric. If you’re not sure what size needle you need, buy an assortment pack. These are typically very inexpensive and will allow you to experiment with different sizes.
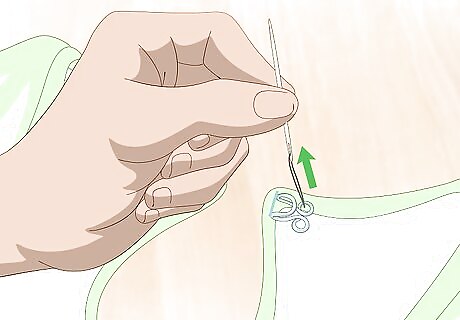
Slide the needle through the fabric's underside and into one of the loops. Don’t push the needle all the way through the fabric, because you don’t want the stitch to show on the outside of the garment. Pass the needle up through one of the loops on the hook, and pull the thread taut until the knot is securely against the underside of the garment. This is called “popping” the knot. Concerned about your thread tangling? Try running the needle and thread through a piece of beeswax before you start sewing!
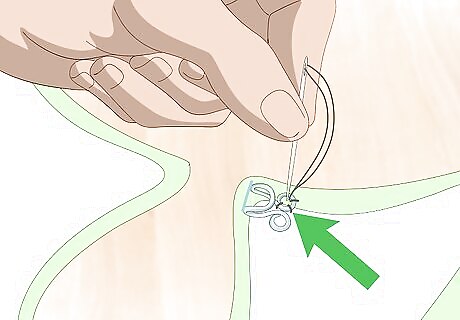
Stitch 2-3 times around the hook to hold it in place. Your first stitches should go around the hook itself, sometimes called the bill. You only need 2 or 3 stitches to secure the hook so it won’t shift as you’re stitching around the loops, and it will help the hook lay flat when you’re finished. Remember not to sew all the way through the fabric. The needle should never come out through the top layer of the garment. This helps hook lay flat against the garment
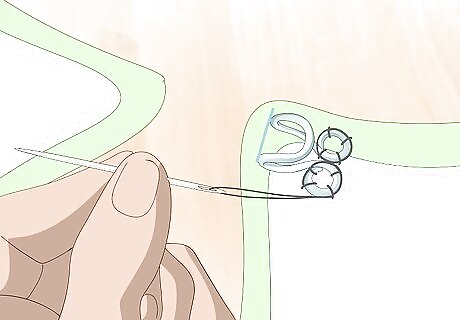
Sew around the loops with blanket stitches. After you’ve secured the bill of the hook, bring the needle around one of the loops from the back to the front. Don’t pull the fabric taut yet; instead, you should see a big loop of thread. Pass your needle through that loop, then pull the thread tight, creating a small knot. Move the needle over just a little and do the same thing, and continue all around the loop, then repeat on the next loop. Place the stitches close together, since you want the loop to be completely (or at least mostly) covered by the thread. A blanket stitch is more secure and looks nicer than a regular stitch. You can also use a buttonhole stitch, if you’re more comfortable with that.
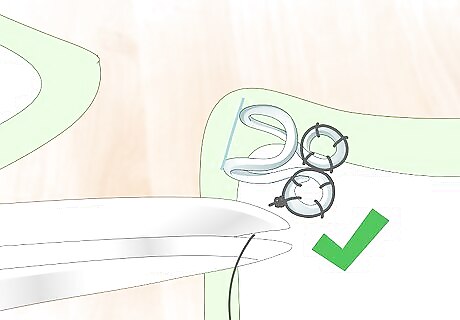
Tie the thread securely and trim off the ends. Once you’ve sewed around both loops, tie a knot in the thread so it can’t unravel. Then, use scissors to cut off any excess thread as close to the knot as possible. You don’t want any dangling threads to show on your finished garment!
Sewing the Eye
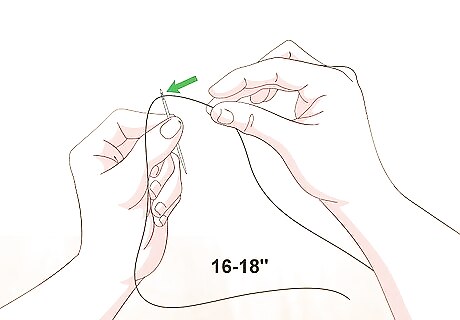
Re-thread the needle with 16–18 in (41–46 cm) of thread. Once you’ve sewed the hook into place, it’s time to attach the eye. You’ll need another length of thread that’s the same length as the one you cut previously. It will look best if you use the same color thread for the hook and the eye.
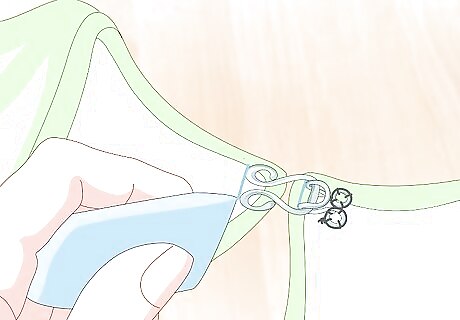
Attach the eye to the hook and mark where the eye falls on the garment. Holding the eye onto the hook, line up the sides of your fabric together. When you see where the eye naturally falls on the garment, use your tailor’s chalk or pen with disappearing ink, and mark its location. The eye should also be placed about ⁄8 in (0.32 cm) from the edge of the garment.
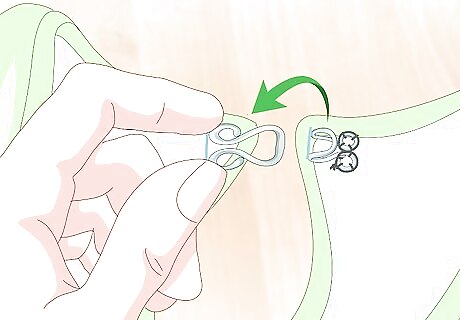
Unhook the eye and place it on garment. Use your fingers to hold the eye in place before you secure it with the thread. If it shifts, just line it back up with the mark you drew. Attaching the hook and eye in the first place helps ensure that you put the eye exactly where it needs to go. However, it will be easier to sew the eye into place if it’s not attached to the hook.
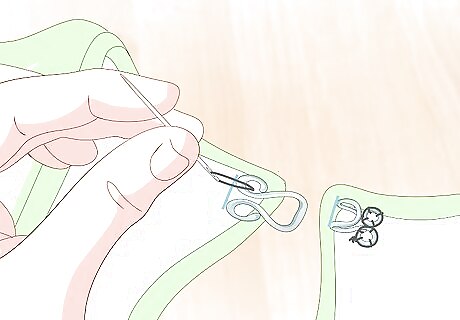
Pop the knot again by bringing the needle through the underside of the fabric. You don’t want the knot or stitches to show on the eye side, either. When you’re ready to start sewing, push the needle sideways through the underside of the garment, bringing it up through one of the loops in the eye. Pull the thread taut when you’re finished. At no point should your needle come out through the top of your garment. This will leave visible stitches on the outside of the fabric.
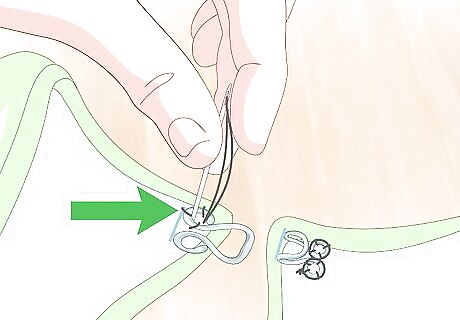
Stitch 2-3 times across the loop to hold it in place. To keep the eye from sliding around while you’re sewing, make 2-3 passes around the loop when you’re just getting started. Don’t worry about using blanket stitches at this point; regular stitches are fine. Since you’ll go back around the loop with the blanket stitches, these first stitches don’t have to be as secure.
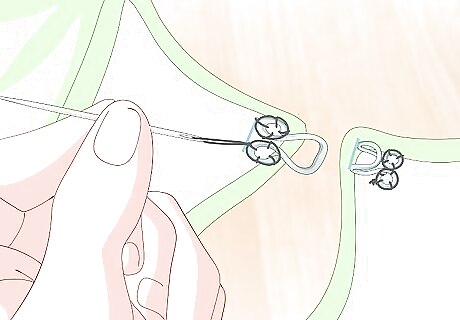
Sew around both loops of the eye with blanket stitches. Pass the needle through the loop from the back to the front, leaving a big loop of thread. Then, push the needle through the loop and pull it tight. This will create a small knot. Move over just a little and make another loop, then pass the needle through again. Continue doing this all the way around both loops. Make sure the stitches are very close together. You can also use buttonhole stitches, if you’d like.
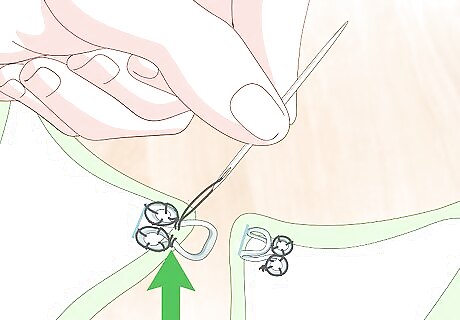
Sew a few loops down each side of the eye, below the curve. To stabilize the eye, add a couple of stitches on either side of the eye itself. Regular stitches are fine here, too. You don’t want to sew too much here, since you still want to be able to lift the eye enough for the hook to slide through. Just 2-3 stitches on either side should be enough.
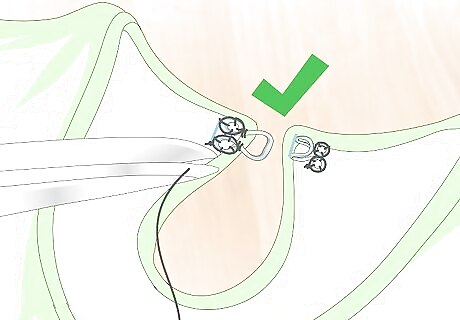
Cut off any excess thread. When you’re finished, tie a secure knot in the thread, then use scissors to cut away any excess. Try to cut as close to your knot as possible so you don’t have dangling threads. You may want to attach the hook and eye at this point to make sure the closure is lined up correctly, and to ensure the fabric doesn’t pull or pucker at the fastener.







Comments
0 comment