views
Preparing Your Lab and Collection Vial
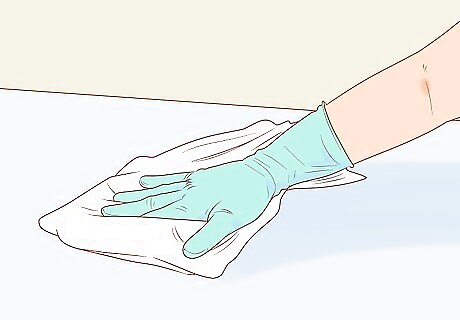
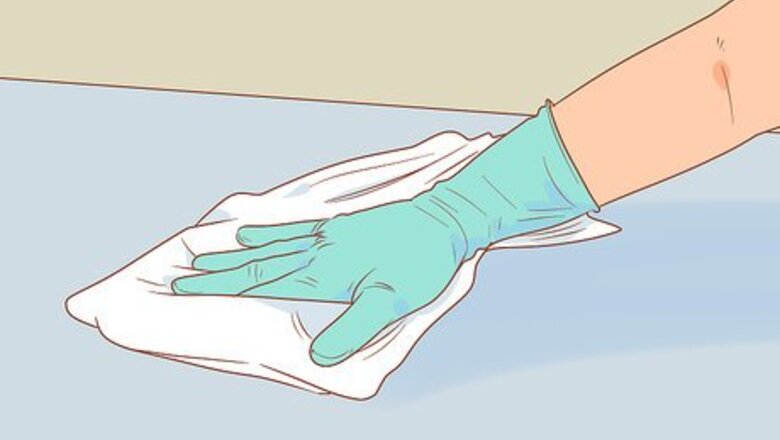
Clean your lab and set up a workspace to milk venomous snakes on. This work is dangerous, and the last thing you'd want is to trip over a cable while handling a cobra. Once your lab is tidy, set up a tall metal rolling table to use as your workspace. Situate this away from any expensive lab equipment. Snakes tend to lash out and can break delicate equipment when you try to pin them down to a cold metal table. Take the time to remove tripping hazards like power cords, lab equipment, tables, and any other workspace clutter.
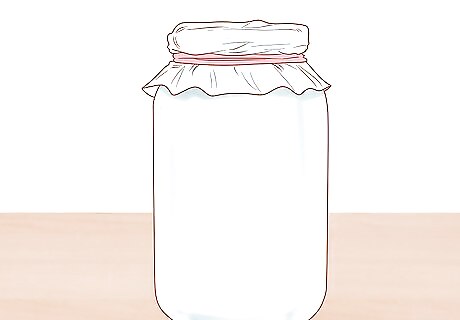
Secure cling wrap over a glass beaker with a rubber band. Take a sterile glass beaker and seal the top with plastic cling wrap. Use rubber bands to make sure the cling wrap stays taut. Then, stick a piece of masking tape on the collection glass and use a permanent marker to label it with the type of snake that you will be collecting venom from. If you are using the same vial to collect venom from multiple individual snakes, record the number of snakes you’re collecting from. Also mark on the masking tape: A code number corresponding to each individual snake. This will allow you to keep track of which specific snake(s) produced the venom in a sample. The names of the scientists and lab technicians involved in the extraction process.
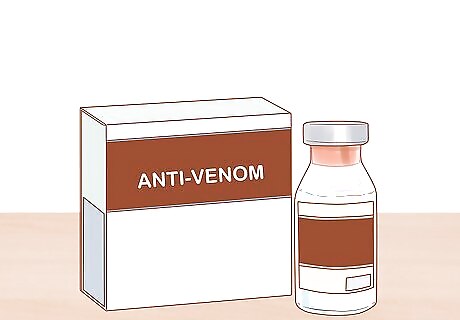
Have the appropriate anti-venom available for the snake you are milking. In a situation where you're handling a deadly animal, it's best to be prepared. If someone is bitten by a venomous snake, you'll need to inject them with anti-venom immediately in order to stop the effects of the poison. Retrieve the anti-venom from its storage place in your laboratory and set it somewhere within easy reach. Laboratories that work with venomous snakes should always have anti-venom on hand for every type of snake in their inventory.
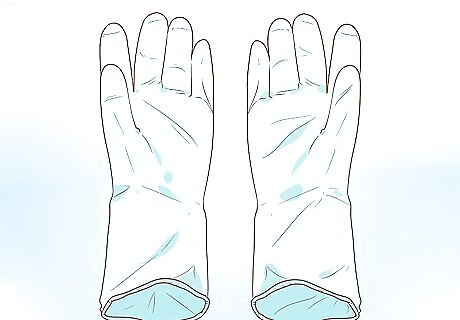
Wear protective clothing and gloves to guard against being bitten. Choose items that will be difficult for the snake to bite through, including boots, a heavy flannel or denim shirt (or jacket), and jeans or other heavy work pants. Also be sure to wear gloves to protect your hands from potential snakebite. These items could literally save your life. While thicker gloves (e.g., made from leather) are more resistant to snake bites, they'll also reduce your dexterity.
Securing the Snake for Milking
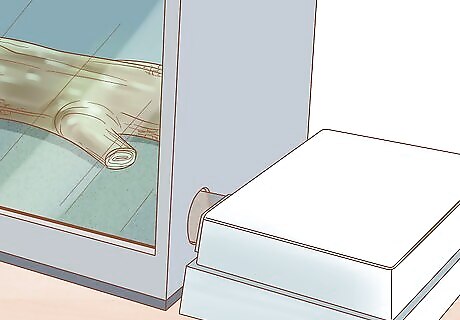
Coax the snake into a "hide box" with food. Small plastic hide boxes can be installed on the side of the snake's enclosure and are a common fixture in biology labs that deal with any type of snake. Attach the hide box to the side of the main snake cage so the snake can crawl into the hide box. Snakes can be trained to enter this "hide box" through conditioning. You can condition snakes to enter a hide box by placing food inside of the hide box when you want the snake to enter. The snake will be drawn to the food and you won’t have to handle a dangerous animal. Avoid wiggling your fingers to lure the snake into the hide box. The snake could strike out and bite you.
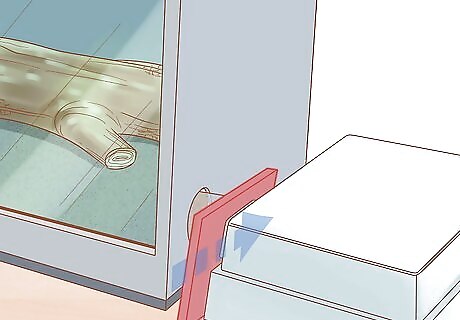
Slide and lock the hide box door to keep the snake inside. Once the snake is in the hide box, quickly pull it away from the main snake cage and shut the hide box door. Close the latch so that the door stays shut. Once the box is closed, you can safely remove it from the main enclosure and transport the snake to another location. Shut the hide box door quickly, before the snake has a chance to turn around inside the box. If it’s angry, it could attempt to bite you through the open door.
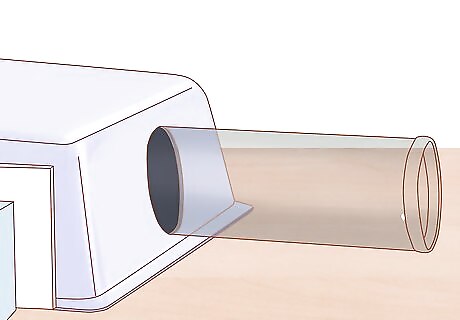
Attach restraint tubing to the port on the hide box. While the snake is in the box on your work table, insert clear, plastic restraint tubing into the port on the side of the box. The diameter of the plastic restraint tubing should approximately match the diameter of the snake’s body. If the lab doesn’t have the snake’s diameter measurement on hand, eyeball the snake’s diameter and add ⁄4 in (6.4 mm). So, if a snake is roughly 2 inches (5.1 cm) in diameter, attach a 2.25 in (5.7 cm) tube to the hide box. The diameter of the tubing has to be large enough for the snake to enter without turning around. If the tubing you use is too large or too small, the snake either will be able to wriggle free from the tubing or won't fit inside.
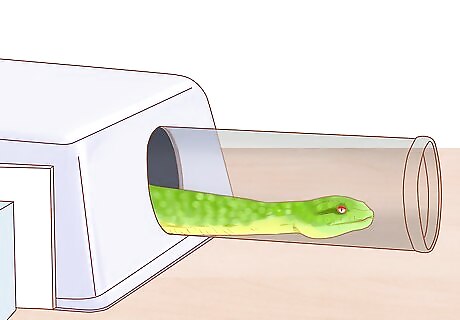
Coax the snake to crawl out of the box through the restraint tube. To coax the snake, fill a plastic pipette with water. Then, drop a dozen droplets of water through the small port in the top of the box. The droplets will surprise or annoy the snake and it will want to move away from them. Its only way out will be to exit the hide box and enter the tube. Wait until the snake is near the end of the restraint tube before attempting the next step.
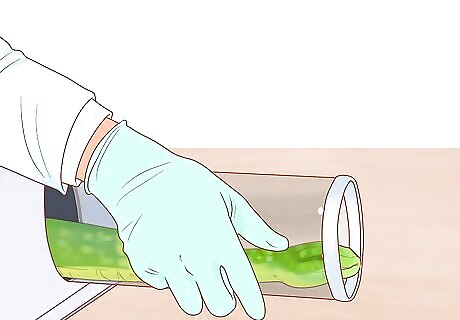
Detach the restraint tube from the main snake cage. When the snake is near the end of the restraint tube, quickly detach the tube from the port on the hide box and grab the snake's body at the base of the tube. A firm grip will keep the snake from moving forward too much or backing out. The snake may try to wriggle free from your hands, so be ready to tighten your grip and grab the snake at any moment.
Collecting and Storing Venom
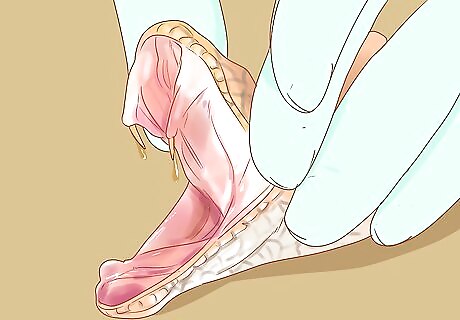
Grab the snake at the base of its head just under the jaw. Do this as the head of the snake emerges from the restrain tubing. Use 1 hand to tighten your grip just as the snake's head is protruding out of the restraint tube and, with the other, hold the snake at the base of its head. With your hands positioned behind the snake's jaw, you can lightly squeeze the jaw to force the snake to open its mouth in preparation for biting the venom-collection jar. Keep your hand only about 1 in (2.5 cm) behind the snake’s head in order to keep its fangs away from your body.
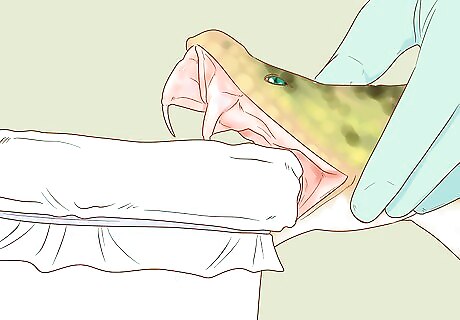
Allow the snake to bite the venom-collection vessel. At this point, your snake is probably pretty agitated about being stuck in a tube so it shouldn't be too hard to provoke a bite. Let the snake lash out and bite the collection vessel so that its upper jaw is over the plastic wrap and its fangs leak venom out into the collection vessel. The snake should only strike when it's about 3–5 inches (7.6–12.7 cm) from the collection vessel. If it's any farther, the snake could strike the edge and break a fang.
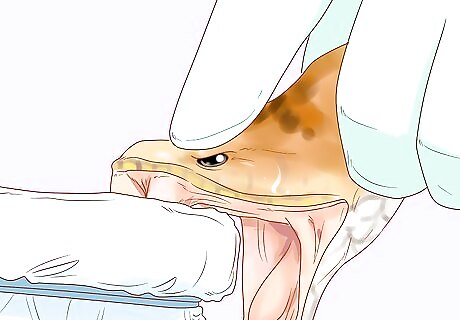
Press down on the back of the snake's head once it bites the container. The snake's fangs will continue to drip out venom for at least 15-20 seconds. So, keep the snake's head firmly pressed against the lip of the glass beaker this entire time so that no venom leaks out. Lightly massage the snake's head to induce it to produce more venom. Don't exert too much pressure; just press hard enough that the snake's fangs are extended and held in place in the collection vessel

Ask an assistant to dry the hide box, then close and lock it. The water that you dropped into the hide box should have evaporated before you allow the snake to re-enter. If it's still wet, ask someone else in the lab to use a clean towel to wipe up the small puddle of water, since you’ll still be holding the snake at this point. Then, keep one port open for the snake's reentry to the hide box. Most hide boxes have removable lids to allow for easy cleaning and drying.
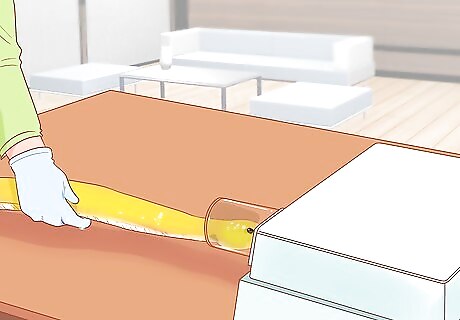
Feed the snake back into the dry hide box. Since the snake's head is already near the end of the tube, it is often easier to let the snake progress forward. Return the snake to the hide box by allowing the snake to crawl through the port head-first. Keep your hands at least 3 inches (7.6 cm) away from its head while it returns to the box, and relax your grip so it can move easily. Once the snake is back inside, close the port using a pen or other long object. You don't want your hands near the open port of the hide box.
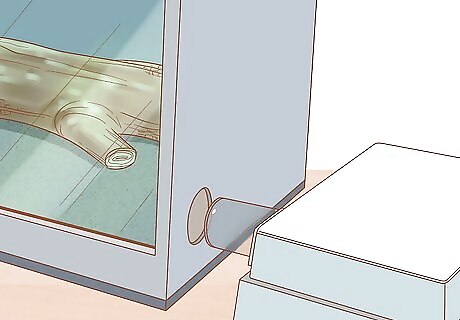
Reattach the box to the side of the snake's enclosure. Unlock the box and slide the door open to allow the snake back into the enclosure. Once the animal is out of the hide box, quickly seal the snake enclosure shut and return the hide box to its storage location. If you're milking multiple snakes, at this time you can start the process over again by drawing another snake into the hide box for the purpose of being milked.
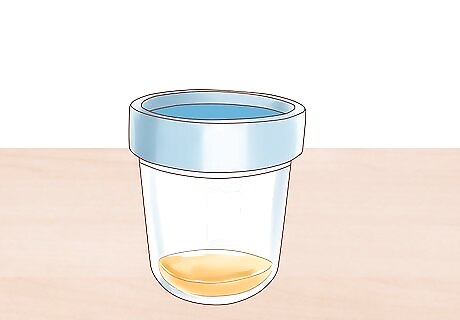
Place a lid on the glass beaker of venom to prevent contamination. Look for a small amount of venom at the bottom of the container. This is the substance you'll need to freeze. Remove the rubber band and plastic film from the lid of your glass beaker, and place a lid on top. Make sure that the markings on the side of the beaker (detailing which snake was milked into the vial) are still legible. Depending on your snake-milking schedule, do this either after you've finished milking 1 snake or after you've finished milking several (if you labeled the collection vial before you began to extract the venom).
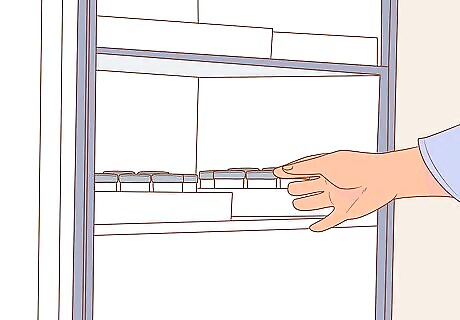
Place the venom into cold storage immediately. The venom should be frozen at a temperature of −20 °C (−4 °F) or colder within an hour after extraction. Venom can be stored in this way for up to 1 month. If you're milking multiple snakes, you can pour the venom from each individual snake into separate freezable beakers at 10-minute intervals. This will prevent the already-harvested venom from sitting at room temperature for too long.


Comments
0 comment