views
Buying, Measuring, and Cutting Your New String
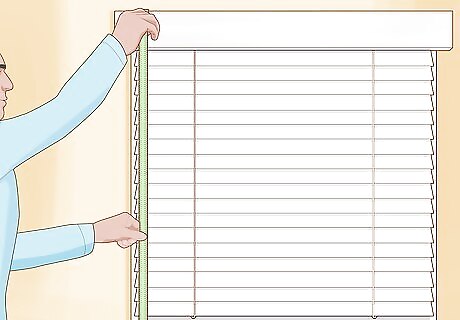
Determine how much string you need by measuring the blind. With your blind still mounted in the window, lower the slats as far as they can go. Use a measuring tape to measure the height from the bottom rail to the top of the head rail. Then, double this measurement so that the blind has enough string on both sides to raise and lower it all the way. Next, measure the width of the window and add that to your measurement so that you have enough excess string stored in the head rail to lower your blinds.Tip: It is extremely difficult to replace ladder strings—the horizontal lengths of string that keep the individual slats in place. If your blind’s ladder strings are broken, you’re better off simply replacing the blind. While it can be difficult to do, see if you can measure the width of the string itself. If you get a string that is too big for your blind, the string won’t fit through the openings.
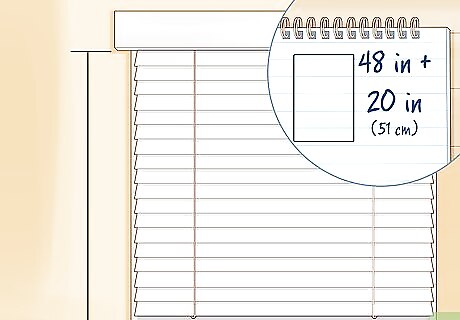
Write your measurement down and add 20–40 in (51–102 cm). Jot down your measurement on a piece of paper. This will make things easier when you go to pick up a replacement string. If you want your lift cords to hang down a little, add 20–40 inches (51–102 cm) to your measurement so that there is some extra slack in the lift cord when the blind is lowered all the way. You can always cut the excess string off and it isn’t particularly expensive to get a longer string.
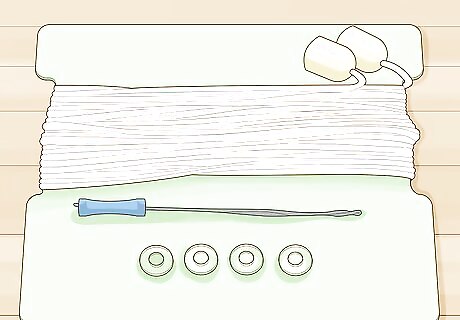
Buy a blind cord kit based on the size and model of your blind. Go online or head to your local home repair store and look for a cord repair kit with enough string for your blinds. Don’t worry if the string is longer than the number you measured since you can always cut it, but you cannot restring your blinds with a cord shorter than the number you measured. Blind cord kits come with a restring tool, which is a small length of soft metal with an oval-shaped opening on the end. This wire restring tool will make it easy to thread the string through some of the smaller openings.
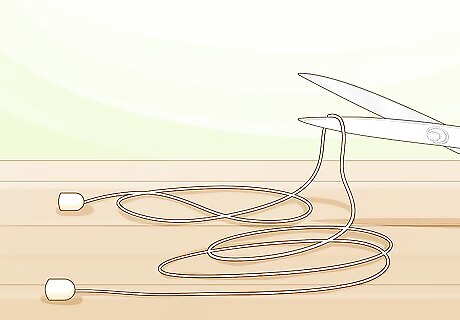
Cut the replacement string into 2 separate lengths. Take your replacement string and cut it so that one cord is the same or slightly more than the height of your blind from the bottom of the sill to the top of the head rail. Cut the other string so that it is at least the height of the blind plus the width of the window. Add 10–20 inches (25–51 cm) to each length if you want the lift cords to hang down at all. Most cord kits come with tassels and washers so that you can replace the plastic parts on the string. They don’t typically include a replacement wand or new brackets, though. If your wand and brackets work, feel free to keep them. Otherwise, you can buy replacements from the manufacturer or your local home supply store. The longer string will go into the slot at the bottom of the rail that is furthest from the lift cord. Unless you have custom blinds, the longer string will go on the left since the lift cords are on the top right.
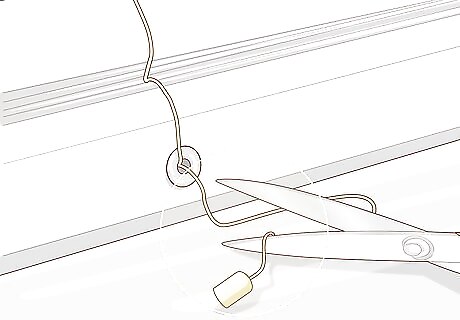
Cut the tassels off of the end of each lift cord. On the lift cords that you pull, use a pair of scissors to cut off the tassels and the knots holding them in place. Set the tassels aside if you plan on reusing them. If you plan on replacing them, throw them out so that you don’t mix them up with the new tassels. The tassels are the little plastic pull knobs at the end of each lift cord. The lift cord refers to the 1-2 strings coming out of the top-right of your blind that you pull to raise or lower the slats.
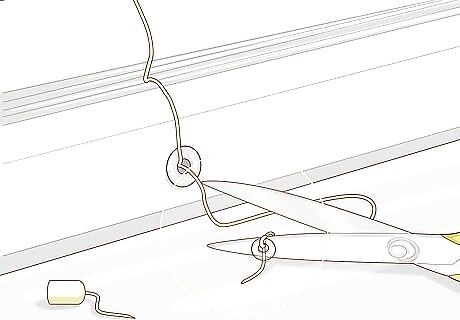
Remove the safety washers from each lift cord. Some blinds have plastic washers embedded in the lift cords so that the string doesn’t roll all the way into the head rail. If you have washers on the cords that you pull to raise or lower the blind, either thread the string all the way through the opening in the washer to undo it, or simply clip the washer off with a pair of scissors. Set your washers aside if you’re going to reuse them or throw them out. Leave any washers that are attached to the ladder strings. You aren’t going to replace those. Your blind should still be in the window frame at this point. If you’re lucky, you won’t need to take the blind out of the brackets to restring it.
Replacing the Old String
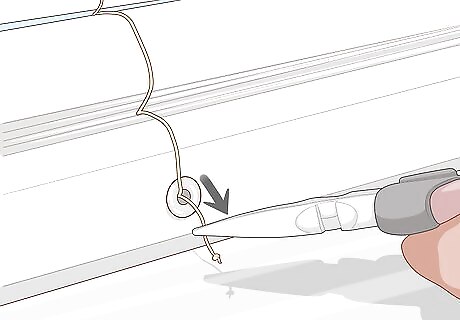
Pull the lift string out of the bottom rail of the blind with pliers. Lower your blind as far as it will go. Go underneath the bottom rail and inspect the area where your lift strings meet the bottom rail. If there is a knot tied, clip it off and use pliers to pull the lift string out a little bit. If there is a cap holding the strings it place, pry it off with pliers or a flathead screwdriver to access the lift string.Tip: The lift strings run into the head rail where they run between 2 cylinders that hold them in place. Each lift string then runs to the right side of the head rail where it comes out as the lift cord. You are replacing the lift strings and lift cords at the same time using 2 pieces of replacement string. Complete this process for the lift string on the right before completing it on the left.
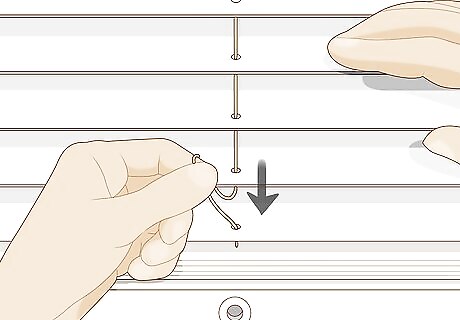
Use the restring tool to rethread the lift string if it slides through. If the lift string accidentally slides through the hole at the bottom and goes into the bottom rail, use the restring tool. Thread the string through the oval-shaped opening at the end of the restring tool and push the tool through the opening to bring the wire through the rail.
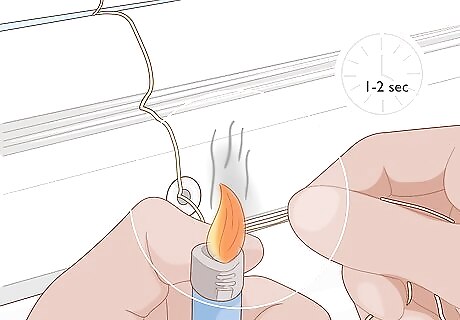
Melt the old string and the new string to join them together. Put on a pair of thick rubber gloves to protect your hands. Take your new string and hold it up to the length of lift string sticking out the bottom of your blind. Use a lighter to singe the tip of the old string and the tip of the new string. Then, quickly tap the 2 strings between your fingers with the singed tips touching to fuse them together. It’s okay if the strings catch fire for 1-2 seconds, but if the flame won’t go out immediately, blow on the flame to put it out. This can be kind of dangerous, so keep a cup of water nearby in case you need to extinguish the fire.
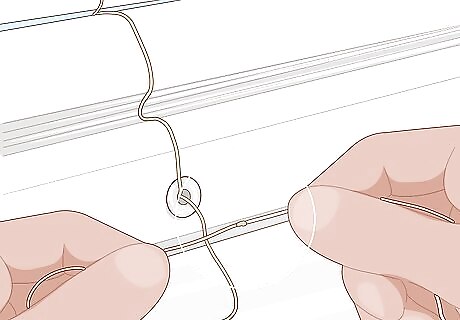
Pull the old string out to run the new string through the blind. Pull on both of the lift cords lightly to find which one raises the right side of the blind. Once you identify the string that you replaced, pull the lift cord down all the way until the new string slides through the blind and out through the lift cord. Essentially, you’re using the old string to run the new string through the slot for the lift cord in the head rail.
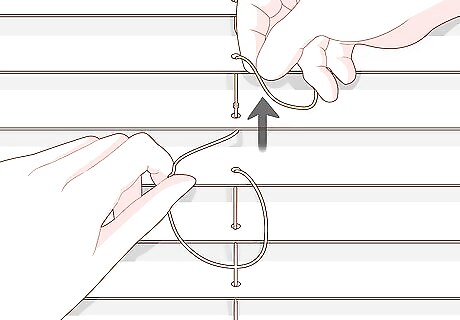
Replace the head rail strings separately if your lift cords aren’t connected. Some blinds do not have the lift string connected directly to the lift cord in the head rail. On these blinds, manually thread the new string up through each slat, use the wire restring tool to push the cord through the head rail, and force the lift string into the rolling mechanism, which is the grooved cylinder at the top of the head rail. You will need to remove your blind to do this. To remove your blind, slide the covers on each end of the head rail out and carefully slide the blind out of the brackets. These blinds typically use a cylinder to rotate the lift strings and pull them up or down.
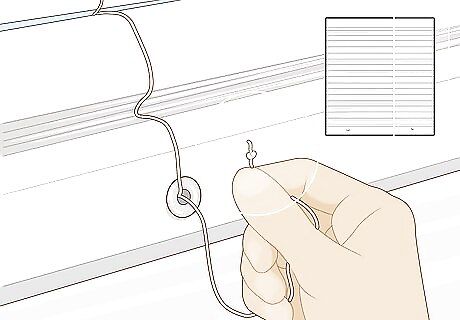
Tie the new string at the bottom of the blind to keep it from sliding through. To avoid letting the lift string shoot through the bottom rail when you pull the lift cord, tie a large knot at the bottom of the string so that the string catches against the interior of the bottom rail. If you had a plug that you needed to remove to access the lift string, replace it by pushing the plug back into place. Use scissors to cut any excess string off of the bottom of the rail.
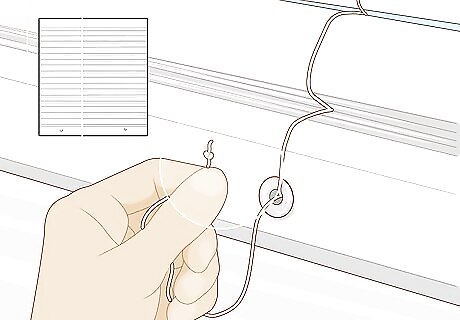
Repeat this process on the other lift string using the other lift cord. Once you’ve replaced the lift cord for the right side, repeat the process on the left. Use pliers to pull the lift string through the bottom rail and cut the knot off. Then, use your lighter to join the new string to the old string. Next, pull the lift cord for the left side to thread the new string through the head rail. Tie the bottom of the new string the same way that you tied the other side.
Securing the Cords in Place
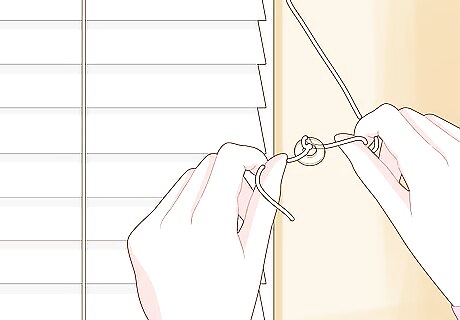
Reattach the safety washers at the spot where the blind is the lowest. To keep the lift cords from sliding through the slot in the head rail, slide the string through one of the openings on the washer. Then, pull the washer up to the location where the lift cord meets the head rail when the blind is fully lowered. Thread the remaining cord through the opposite side of the washer and pull it all the way through before tying a knot just below the washer. Repeat this process on the opposite side.Variation: On some washers, you need to pinch the lift cord together and bring 2 lengths of string through the washer before running the length of string at the bottom through the loop created by the 2 lengths. You may need to use the wire restring tool to push the string through the narrow opening in the washer.
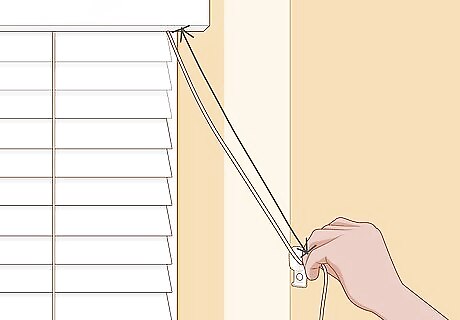
Cut your lift cords at the point where you want the string to hang. Lower the blinds to the point where the bottom rail is at the bottom of the window sill. Then, hold your hand out to determine where you are most comfortable gripping the lift cords. Cut both strings just below the location where you want them to hang. You typically want to grab the lift cords a little lower than eye level.
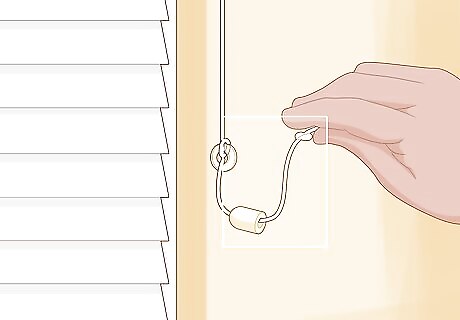
Reattach your tassels so that you have something to grab. Slide the bottom of your first lift cord through the top of your first tassel. Slide it up 6–12 inches (15–30 cm) before tying a knot at the bottom of the cord. Let the tassel slide down to the bottom so that it catches on the knot. Repeat this process on the other side to finish restringing your blinds.




Comments
0 comment