views
Remove the keycaps.
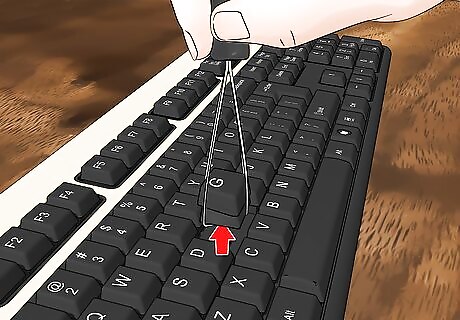
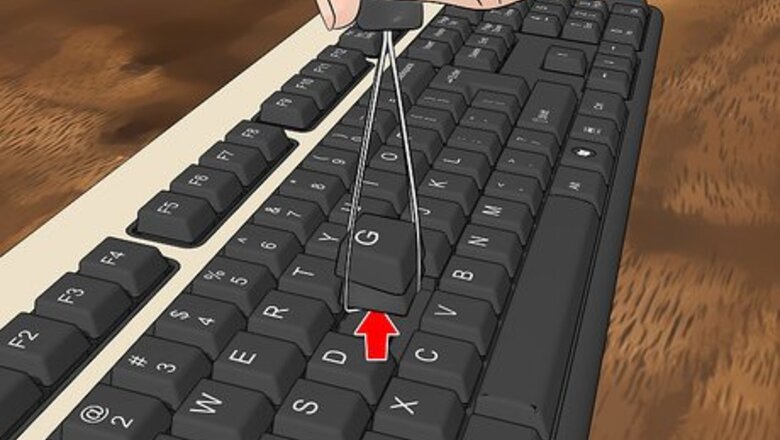
Unplug and use a keycap puller to lift the keys from the board. Take a photo of your keyboard to remember where each key goes before proceeding. For wired keyboards, unplug the wire from the USB port. Purchase a keycap puller to pinch and pull the keys from their slots. Avoid removing large keycaps, like the spacebar, enter, and shift. Wire keycap pullers are less likely to scratch the keys than plastic ones. Place the wire loops diagonally on the key and gently wiggle back and forth while pulling up. A keycap puller can be substituted for a tweezer, flathead screwdriver, butter knife, or bent paperclip. Remove keycaps without a tool by pinching the sides of each key with your finger and pulling up. If you can’t take a picture of your keyboard, look up an online image of the same or similar keyboard.
Spray debris away, if necessary.
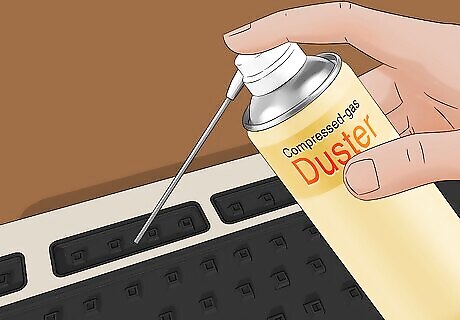
Remove debris, dust, and crumbs with compressed air. To ensure your keyboard works effectively, take a can of compressed air and insert the thin straw applicator into the can’s nozzle. Perform a test spray. Hold the can upright as you spray the keyboard and stems, using short bursts to remove any lingering debris. Use a damp microfiber cloth or a soft-bristle toothbrush as a substitute for compressed air.
Soak the keycaps in soapy water.
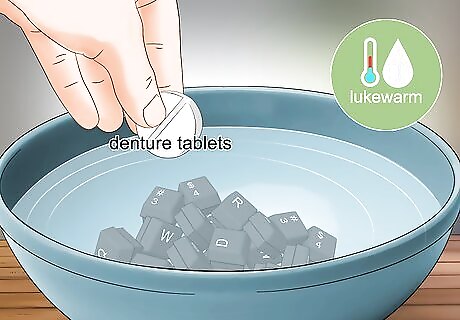
Place the keycaps in a bowl of warm, soapy water for 30 minutes. Fill a bowl or container with warm water and a few drops of mild soap. Mix it until bubbles form. Place the keycaps in the solution, ensuring they’re fully submerged. You can also add 2 denture tablets to help remove oils from the caps. Avoid using hot, boiling water or bleach, which can cause the keys to fade. Some users say to let the keycaps soak for 5 to 6 hours, while others say 30 minutes is sufficient. Start with 30 minutes, then check the keys and decide how much longer you want to soak them.
Scrub and rinse the keycaps.
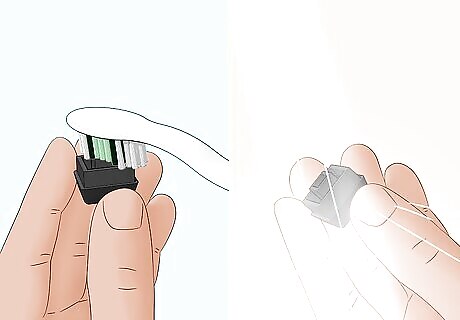
Remove stubborn stains or grime with a toothbrush. After soaking, use a soft-bristle brush or cotton swab to loosen stubborn gunk. Avoid brushing the switch stems, the long stems within the switch housing, or the spring. This will keep particles from becoming lodged too deep. Put the keys in a strainer and rinse them thoroughly.
Let the keycaps air dry completely.
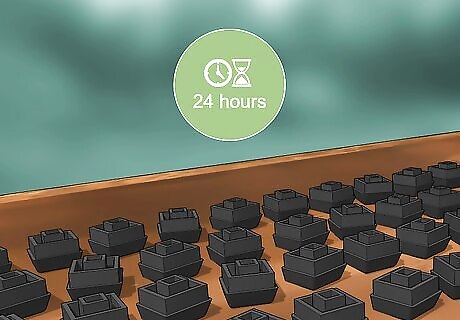
Leave the keycaps out to dry for 24 hours before reassembling. Lay the keycaps on a flat surface with the stems up while they dry so the water can evaporate. Use a microfiber cloth to dry the keys instead of paper towels since they can leave small particle residues that cause scratches.
Reassemble your keyboard.
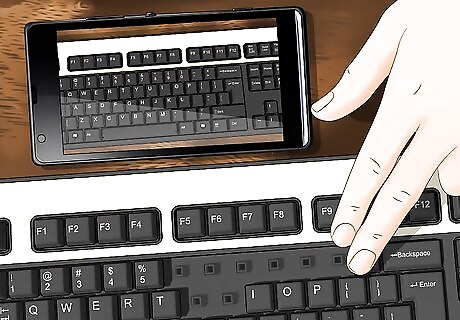
Match the placement of the keycaps to the photo of your keyboard. Ensure all the keys are placed back in their respective spots and facing correctly. To pop the keycaps back on, push them straight down over the switch with your fingers. Plug the board back in when you’re ready, and test each key to ensure everything is working properly. Clean your keyboard once a week without removing the keycaps. Use a handheld vacuum, a damp microfiber cloth, or compressed air. Perform a deep clean once a month. Disinfect your keycaps with hydrogen peroxide or alcohol wipes. Avoid eating or drinking near your keyboard to prevent crumbs and other build-ups.




Comments
0 comment