views
Applying a Leather Oil or Conditioner
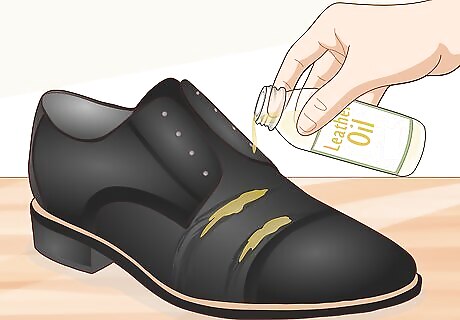
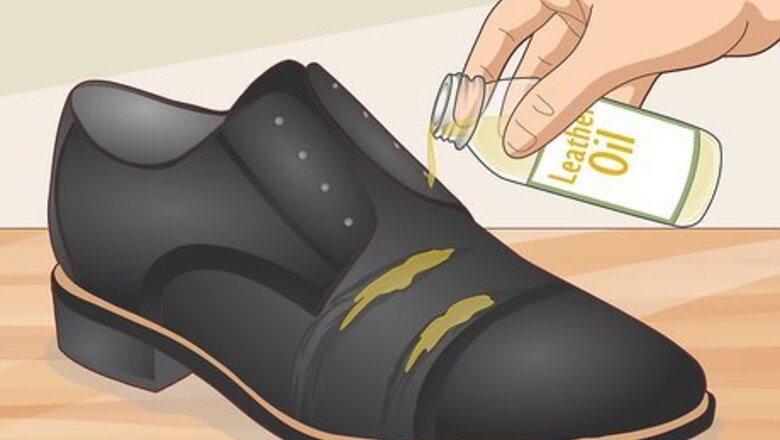
Sprinkle 2 to 3 drops of a leather oil onto the crease. Leather oil is typically used for conditioning, so it’s also really good at buffing out newer creases as they form. Try using a quality mink oil, leather honey, or neatsfoot oil. Apply a couple of drops straight from the bottle, then add more along the crease as needed to dampen it. Oils and conditioners will work on just about any type of shoe. They are mainly meant for leather, but you could use water or shoe polish instead of waterproof material like canvas. Leather conditioners also do a good job of softening and preserving dress shoes. Conditioners are similar to oils but may come as a solid wax or cream. If you’re planning on using an oil or conditioner, test it in an inconspicuous spot first to make sure it doesn’t discolor the leather. Then, use it on the entire shoe to blend in the creases. Leather conditioning products are available online and at many clothing retailers. They work best on new, small creases.
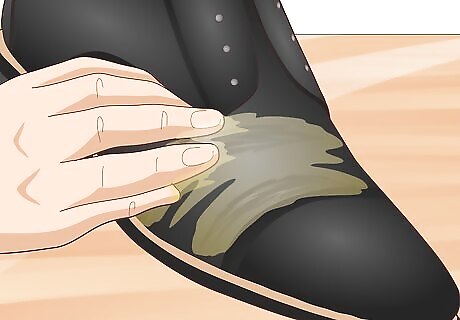
Massage the oil into the crease with your hands. Slip your hand inside the shoe first, placing it behind the crease. Rub the crease outside the shoe in small circles. Keep rubbing it until the fabric softens and is completely covered by the oil. If you have a clean cloth or a leather brush, you can use it instead to keep your fingers clean.
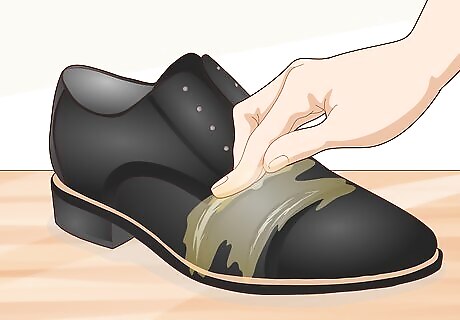
Stretch the crease out while continuing to massage the shoe. Gently press the fabric flat to smooth out the crease. It will be much more pliable thanks to the oil, so try to get it as close to its original shape as you possibly can. Apply a little more oil if the fabric starts to dry out or harden again. Prevent the crease from drying out until you’re done shaping it. Once the fabric hardens, it will be tough to work with, so you will have to soften it up with more oil.
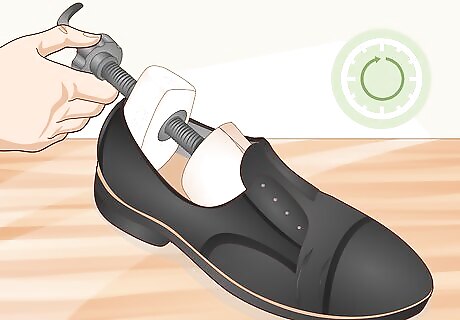
Place a shoe tree inside the shoe to reshape it overnight. Shoe trees are pieces of wood cut to the shape of feet, and they are great tools to have around for all of your favorite shoes. Fit one in, making sure it fills up the entire shoe. Then, check back the next morning to see how everything looks. If you still see the crease there after you remove the shoe tree, treat it again with more oil or an alternative. If you don’t have a shoe tree, you could stuff the shoe full of newspaper or another type of material to make it retain its shape. When you’re not wearing your good shoes, fill them with shoe trees! The trees stop new creases from forming. You won’t have to deal with them quite as often.
Using Rubbing Alcohol
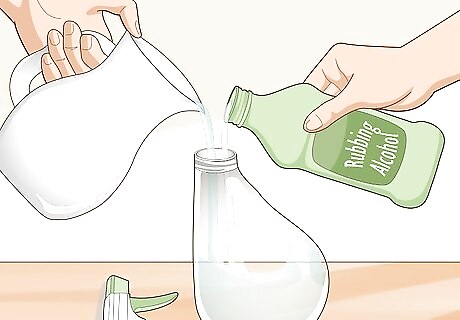
Fill a spray bottle with equal amounts of water and rubbing alcohol. Wash out the spray bottle first to ensure nothing in it gets your shoe dirty. Then, load it with warm water, followed by the rubbing alcohol. Give it a good shake to mix them together. Rubbing alcohol works on any type of shoe, but it’s best used on stubborn creases you can’t get rid of by polishing alone. Always dilute rubbing alcohol in water instead of applying it directly to a crease. It can dry out fabric, causing even more creases!
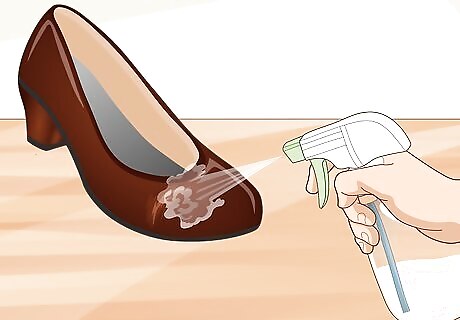
Mist creases lightly with the rubbing alcohol mixture to soften them. Hold the spray bottle about 3 to 6 in (7.6 to 15.2 cm) away from a crease, then spray it lightly to cover it. Take care to avoid getting the rubbing alcohol on the other parts of the shoe you’re not trying to fix. If you get the shoe a little too damp, pat it dry with a clean cloth. Spray carefully to avoid softening the rest of the shoe. It could lead to additional creases.
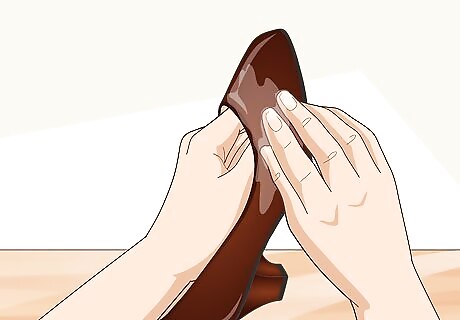
Massage the crease with your fingers to flatten it. Reach one hand inside the shoe to brace the crease, then rub it with your other hand. Move around it in small circles to soften it and flatten it out a little bit. It can take a few minutes, but keep at it. Once the fabric is softened, gently pull on the shoe to return it to its original shape, then rub it a second time if you need to in order to flatten out any small wrinkles left from the crease. To protect your shoes from damage, plan on fixing one crease at a time. You won’t be able to treat all of the creases before they start drying out. Take your time so you don’t have to repeatedly soak your nice shoes! If the shoe feels a little dry, apply another light coating of the rubbing alcohol. Quickly massage creases back into shape before they have a chance to dry out again.
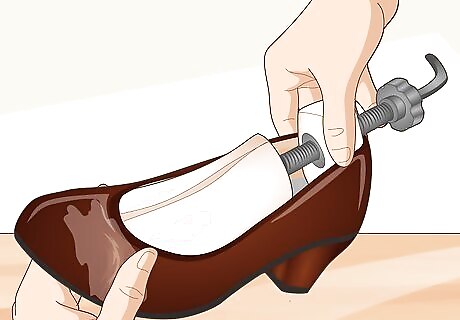
Fit a shoe tree inside the shoe to hold its shape. If you don’t have a shoe tree, roll up some newspaper or use cardboard instead. Pack it tightly so it’s in the same shape as when you wear it. Keep it in this shape while the fabric dries out. When it stiffens back up, it will settle into a back into its original, crease-free shape for you to proudly wear in public. The softened fabric will conform to the shape of the stuffing you use. Shoe trees are the easiest way to work the shoes back into their original shape. To limit new creases, keep your dress shoes filled with shoe trees or stuffing when you’re not wearing them.
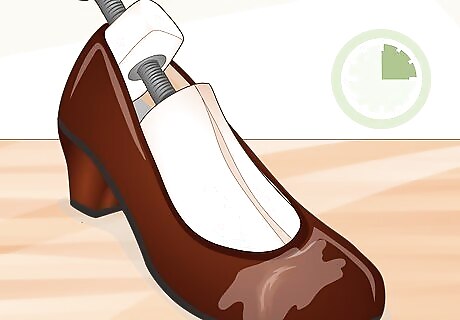
Wait at least 15 minutes for the shoe to finish drying. Keep your shoe in an open spot with lots of air circulation. After the time is up, check it to make sure it’s dry to the touch. If it’s still damp, give it more time to dry before wearing it. If you choose to leave out your shoe while it’s drying, keep it out of direct sunlight. Strong light can bleach it or weaken its material.
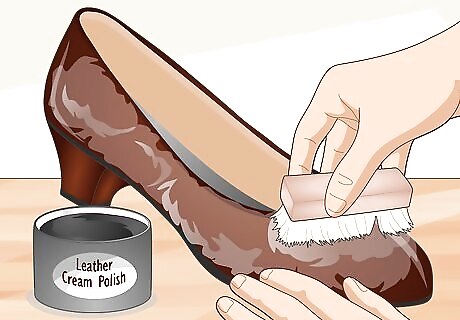
Treat the shoe with shoe polish or conditioner to restore it. Apply a little bit of the conditioner across the entire shoe, then scrub it in with a shoe brush. It turns the shoe a uniform color. Without it, the area you fixed can still stand out sometimes. The polish also stops your shoe from drying back out and immediately ending up with new creases you then have to spend time trying to fix. Check the shoe to see if it needs another round of treatment. If you notice some tough creases that can’t be removed with multiple coatings of rubbing alcohol, try heat or steam.
Ironing out Creases
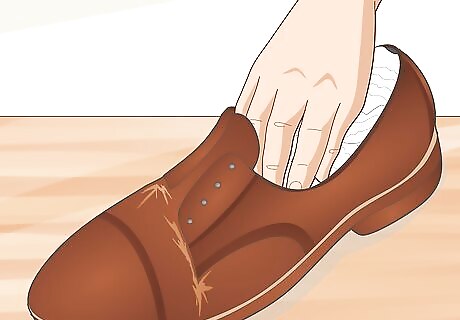
Pack the shoe with newspaper so it retains its shape. Roll the paper up roughly into the shape of your foot. To make this easier, you could just stuff the shoe with newspaper crumpled up into balls. If you have scrap pieces of cardboard available, it is also good for maintaining the shoe’s shape. Make sure the shoe is packed as tightly as possible so it holds its shape. Ironing is useful for removing creases on any type of shoe. It’s a good option for tough creases that can’t be polished out and for times when you aren’t comfortable using rubbing alcohol. Packing a shoe stretches out the fabric, eliminating the creases. If it isn’t packed fully enough, you won’t be able to reset the material with heat. Another option is to use a shoe tree, since it mimics the general shape of your foot.
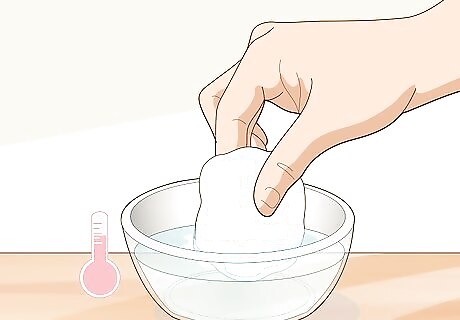
Dampen a cotton cloth lightly in warm water. Try using a small washcloth that covers the crease you’re eliminating. Before putting it on your fancy shoe, squeeze out the excess moisture. Make sure it isn’t dripping at all. Water isn’t great for leather. Your shoes can resist water a little bit, but too much of it will end up damaging the fabric. Use a dry cloth instead for suede and nubuck. Although they are both types of leather, they are softer and even more prone to moisture damage.
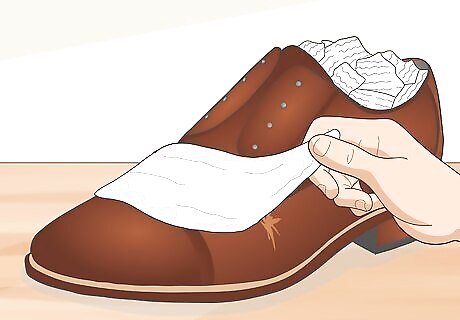
Cover the creases with the dampened cloth. If the crease is on the front part of your shoe, the shoelaces will most likely get in the way. Pull them out first so you’re able to lay the towel flat over the crease. Smooth it out so it’s right up against the fabric. Make sure the crease is completely covered as well. Creases are common along the shoe’s toe box and tongue. To treat these spots, you usually will have to remove the laces. If the towel isn’t laying flat, the steam won’t be as effective on the crease.
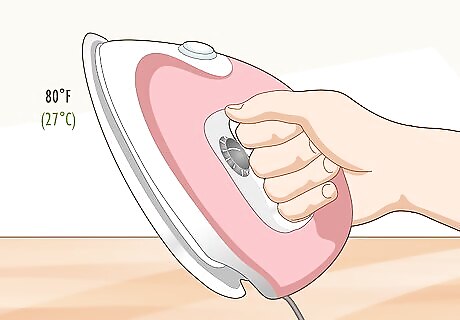
Heat an iron to 80 °F (27 °C). Use the lowest possible settings on your iron to avoid any potential damage to the fabric. Most dress shoes won’t hold up well under any temperature higher than that. Let the iron warm up for about 2 minutes, then pick it up with caution to avoid burns. While the iron is warming up, set it upright so it isn’t touching anything it could burn. Keep it away from your shoe most of all. It could do serious damage if it happens to bump into the fabric.
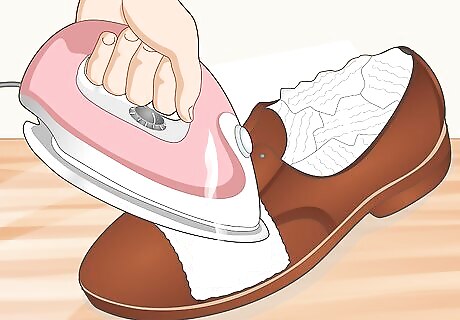
Move the iron over the washcloth to stretch out creases. Hold the iron down lightly but with a firm amount of pressure. Keep it over the cloth at all times so you aren’t exposing your good shoe to direct heat. Then, move the iron along the towel at a slow but steady pace. Keep it moving, passing it across the towel 2 or 3 times. Warming the towel causes some of the water to turn to steam. You don’t have to risk applying any direct heat or oils to the fabric. If you’re ironing suede or nubuck, make sure the crease feels warm to the touch when you’re done. If it’s cold, pass the iron over the creases a few more times so you can better stretch them out.
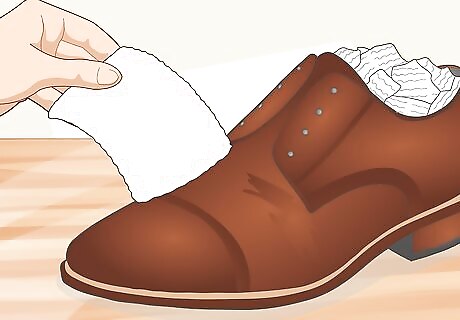
Remove the washcloth from the shoe after it has cooled down. Wait about 15 minutes, then check on the cloth again. If it feels cool to the touch, set it aside. Then, leave the shoe at least overnight to allow it to dry out. As long as you keep the stuffing inside your shoe, you have a good chance of eliminating creases. If you have a shoe tree, you can place it inside the shoe to ensure the creases don’t return. Use the shoe tree whenever you’re not wearing your dress shoes. If the creases don’t go away, ironing again may help. You could also try using a blow dryer or rubbing alcohol.
Using a Blow Dryer
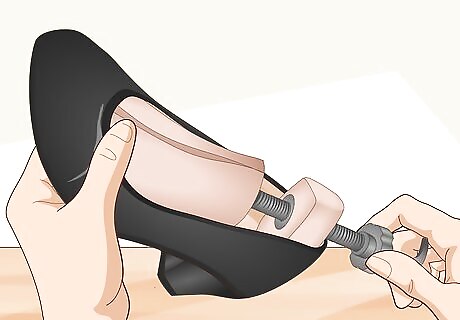
Fill the shoe with a large shoe tree to stretch out the fabric. Use the biggest shoe tree you have available. Stuff it in to get the shoe into the normal shape it has when you’re wearing it. However, be careful to avoid stretching it out beyond its original size, since you could end up with new creases that are much more difficult to remove. Blow drying will work on any type of shoe, but it’s mostly meant to be used on tough creases that can’t be removed any other way. If you don’t have a shoe tree available, fill the shoe with newspaper and cardboard. Make sure you don’t heat the stuffing while you’re sweating out the creases! Blow drying takes patience and a steady hand, since one wrong move could do serious damage to your shoe. If you’re looking for a safer method, use an iron or steam.
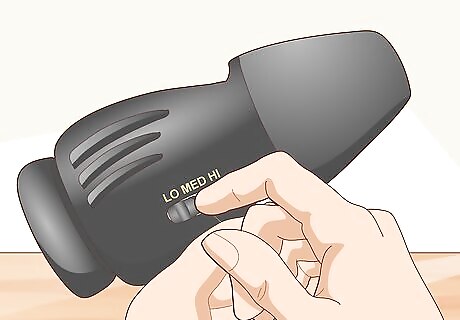
Set a blow dryer to its lowest setting to avoid overheating the shoe. Take the shoe to a flat, stable surface where you will have plenty of room to move around. Make sure there is an electrical outlet nearby. After plugging the blow dryer in, give it a minute to heat up. Always stick to the lowest possible heat setting to avoid burning the shoe.
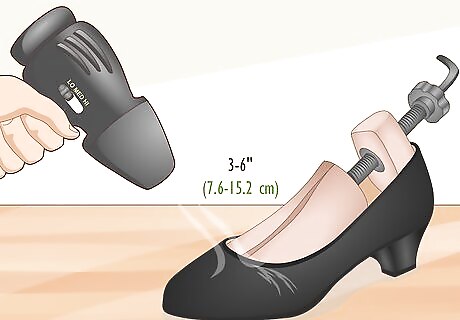
Hold the dryer 3 to 6 in (7.6 to 15.2 cm) from the crease. Point it directly at the crease. When you move it to begin heating the fabric, hold it at the same distance the entire time. If you move it too close, the heat could end up burning your poor shoe. If you’re looking for a safer way to do this, take a shower! Place the shoe next to a running shower faucet, away from the water. The heat and steam can soften creases, but they aren't quite as effective as treating the shoe directly with a dryer.
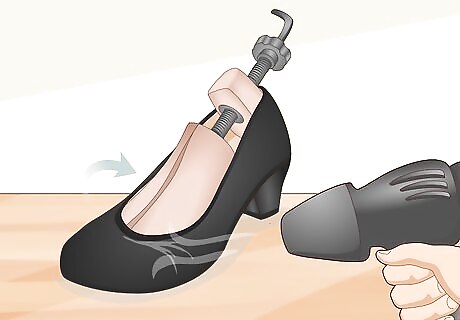
Pass the dryer over creases 2 or 3 times until the fabric is warm. Sweep the dryer along the length of the crease once, then go back in the opposite direction. Don’t stop moving at any point. After doing this a few times, touch the crease to see if it’s warm and soft. If it still feels a little cool, move the dryer over it a few more times. To avoid burning your shoe, never hold the dryer still. Also, make sure the heat doesn’t blow directly onto the fabric. Reheat the fabric as many times as you need to in order to warm it up. It won’t be stretchable when it’s cold. You could even turn the heat up a little, but it’s rarely necessary.
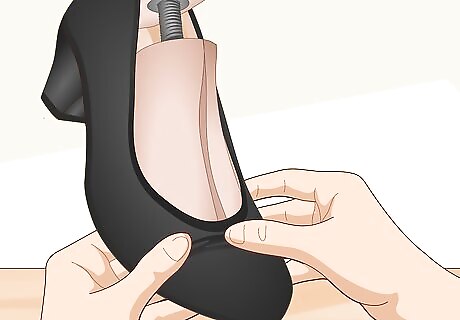
Massage the fabric back into its original shape by hand. Turn off the heater and set it aside. Start rubbing the crease right away before it has a chance to cool down. Try rubbing it in a circle, then flattening out the fabric so it’s flat against the stuffing inside the shoe. Shape the shoe back to its original appearance. Try to conform it to the shape of your foot. It’s easier to do with a shoe tree inside the shoe. If the shoe cools down before you are able to eliminate the creases, heat it again gently and continue massaging the fabric.
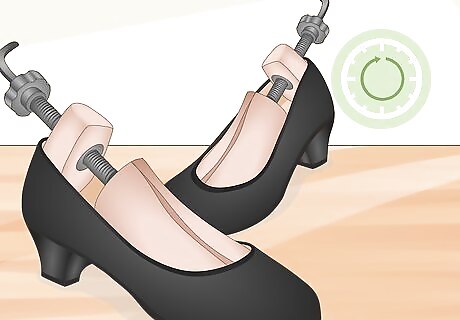
Wait for the shoe to cool overnight and settle back into its original condition. Leave the shoe in a spot where it will be able to cool down without getting wet or dirty. Keep a shoe tree or newspaper stuffing inside of it. Then, check back the next morning. The fabric will settle around the stuffing so the shoe fits perfectly, crease-free, over your foot again. If your shoe still looks a little wrinkled, you could treat it again. Heat it gently, or try using some steam on it. After the shoe finishes cooling, consider treating it with shoe polish or conditioner to ensure it stays in shape. Apply it to the entire shoe for a more even finish.




Comments
0 comment