views
Taking Out a Broken or Damaged Paddle
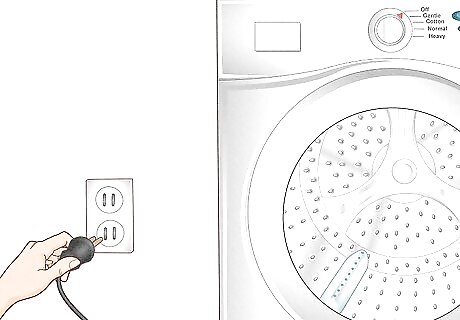
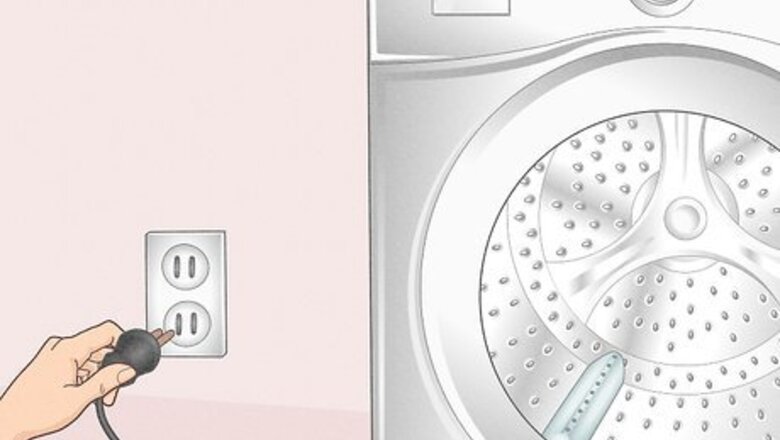
Unplug your washer to disconnect it from power before you repair it. Ensure the washer is off and pull the power cord out of the electrical outlet. Always do this as a safety precaution before doing any work on your washing machine. Note that you only need to remove a drum paddle from a washer if it is cracked or otherwise damaged, so you can replace it.
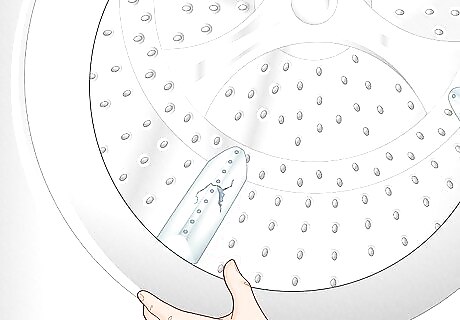
Locate the broken drum paddle inside your washer. The drum paddles are long triangular plastic pieces with holes along the top ridge. They snap into the washer drum and move your clothes around and direct the flow of water during a wash cycle. Look for any paddles that have visible cracks, chips, or other damage to the plastic. A broken drum paddle can rip or otherwise damage your clothes when they’re in the machine. Your washer should have 3-4 drum paddles. If you see fewer than this, your machine might be missing a paddle and you should put a new one in. The space where a paddle is missing will look like a flat groove in the surface of the drum with several notches in it.
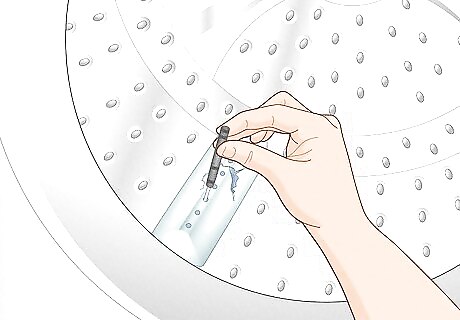
Push down the clip holding the paddle in place using a thin screwdriver. There is a metal clip underneath the paddle that locks it in place in the drum, which is usually located underneath the third or sixth hole on the paddle. Stick a screwdriver into the hole in the paddle above the clip, then press down firmly to unlock the paddle from the drum. This applies to most common brands and models of washers that have removable paddles. Depending on the model, the clip might be under a different hole, so you might have to try pressing the screwdriver down into a few different holes until you find it. You should hear a clicking noise when you press down the clip far enough, which indicates that you have released the paddle. On older models of washers, there might be 2 metal tabs locking the drum paddles in place. Press both of them down before you slide and lift out the paddle.
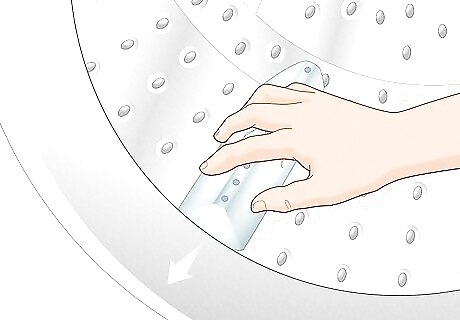
Slide the drum paddle toward the front of the washer. Grab the drum paddle firmly and pull it back toward you. This will allow you to pull it up out of the slots that it snaps into. It should be very obvious when you pull the paddle far enough to release it because it will make a loud unsnapping sound and feel looser.
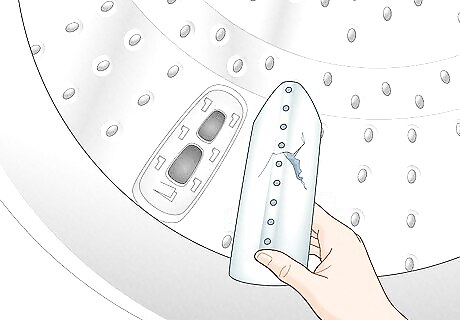
Pull the paddle up and out of the drum. Lift the paddle up and take it out of your washer. Discard it if you already have a replacement paddle or keep it to use as a reference when you’re ordering a replacement. If you can’t lift the paddle out of the drum, try sliding it further towards the front of the machine until it is loose enough to pull out.
Putting a New Drum Paddle In
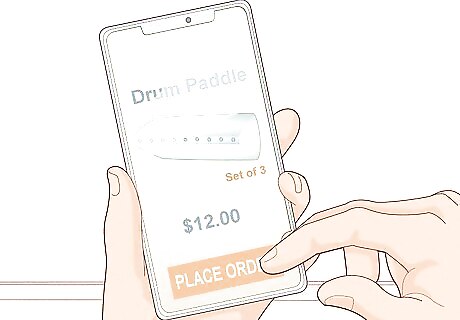
Order a replacement paddle for your make and model of washer. Find the model number for your washer on the inside of the door or in the owner’s manual. Order a new drum paddle on the manufacturer’s website or from a third-party site that sells replacement parts for different washers. Always put a new drum paddle in when you remove a broken or damaged paddle or if you purchased a second-hand washer and it is missing a paddle. Don’t do laundry in a washer without all of its drum paddles in place. Your clothes can catch and tear in the metal slots that are meant to hold the paddle.
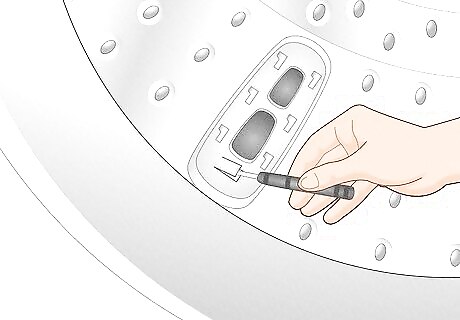
Bend the paddle clip up above the surface of the drum using a screwdriver. Find the metal clip that held the old drum paddle in place, which you pressed down if you removed a paddle, and insert the tip of a screwdriver under the edge of it. Use the screwdriver like a lever to pry the clip up until it is at about a 45-degree angle to the surrounding surface of the washer drum. This clip will automatically hold the new paddle against the surface of the washer drum after you snap it into place.
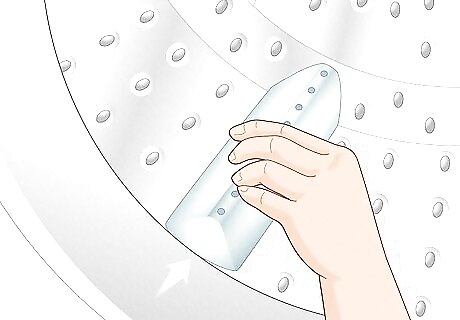
Push the new paddle all the way into the slots in the drum. Line up the plastic tabs on the underside of the paddle with the larger ends of the slots towards the front of the drum. Push the tabs into the slots, so the paddle sits flush against the surface of the drum, then slide it towards the back of the machine until it snaps into place. There are usually 6 plastic tabs on the underside of the drum paddle that correspond to the 6 slots in the washer drum. As long as you have the right replacement paddle, it should fit easily into your washer.




Comments
0 comment