views
X
Research source
Making Preparations for Your New Guinea Fowl
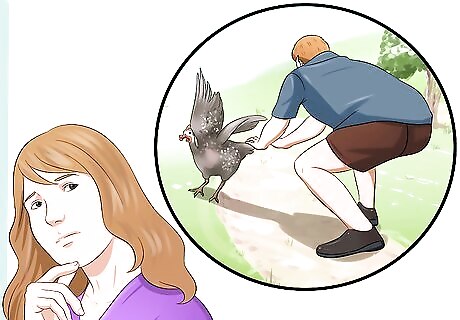
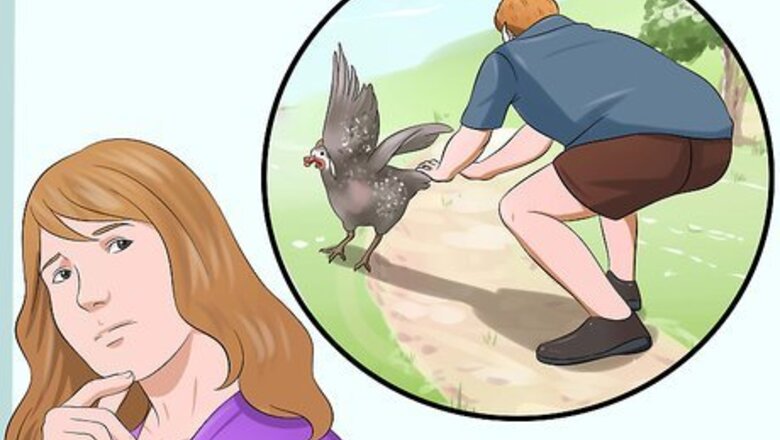
Know the downfalls. There are many benefits to raising guinea fowl, but there are also a few downfalls to keep in mind when determining whether or not these birds are right for your property. They are noisy, so your neighbors might not appreciate your new flock. It is possible to keep guinea fowl penned, but they much prefer to roam freely. The more space you have to allow your guineas to roam, the happier they will be. They are not as tame as chickens, and they are hard to catch if you let them roam.
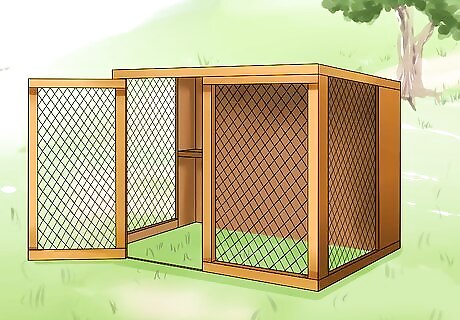
Have a coop. Make sure you have a fully enclosed coop ready before you bring your new guinea fowl home. They can fly, so they will escape if they are not kept in an enclosed coop. Even if you plan to let your guineas roam freely, you will need the coop to get started. Your coop should provide at least three to four square feet of space per bird. You should provide more space if you do not plan on allowing them to roam freely after the training period. Be sure to provide food and water in the coop, as well as clean bedding on the floor and perches for your birds to roost on.
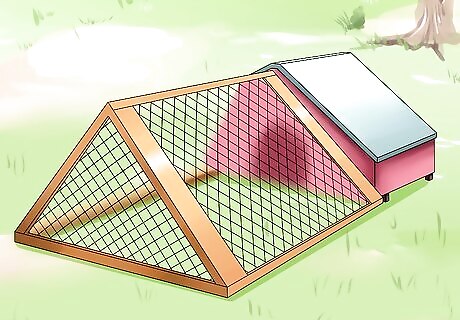
Consider providing a night-time shelter. Once your guineas are free-roaming, you do not need to provide them with a shelter, but doing so can help protect them against predators like foxes and owls. If you don't provide a shelter, your guineas will roost in the trees at night. A shelter is different from a coop in that it allows the guineas to come and go as they please. Your shelter can be as simple as a three-sided shed with a wire front. Be sure to put a perch near the back of the shelter that is long enough so that each bird has about a foot of space to roost. Make sure the space is dry and has clean bedding on the floor. Provide a light in the shelter, as guineas don't like entering dark buildings It's best for your shelter to have two entries to prevent more dominant guineas from blocking the entrance. If you want to provide even more protection, you can keep your guineas in a coop at night. To keep them inside, cover the top with wire. If they are not free-roaming guineas, you can clip their wings to prevent them from flying away.

Choose your birds. Once you have a space designated for your guineas, it's time to choose your birds. You can buy them from local breeders, feed stores, or online sellers. You can choose to buy adult guineas if you want, but they will be easier to tame if you raise them from keets. Guinea fowl are available in a variety of "pure-bred" colors, but many of the birds are cross-bred, resulting in multicolored feathers. The feather color is the only difference between the different varieties. Guineas are monogamous creatures, so it's best to buy them in male-female pairs. It's very tricky to tell male and female guineas apart, but it is possible if you look for these three things: Males have larger wattles than females. Males make a single-syllable sound, while females make a two-syllable sound. Males have a narrower opening between their pelvic bones than females. If you hold the guinea under one arm and use your free hand to feel the bones, you should notice a distance of about two fingers on males and three fingers on females.
Caring for Adult Guinea Fowl
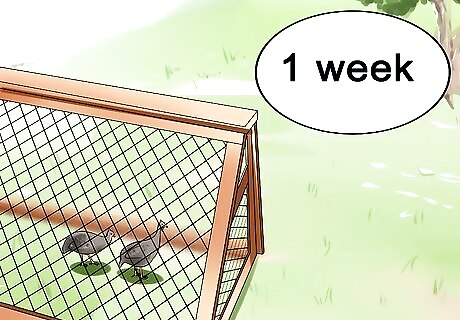
Acclimate your guineas. Your guineas will need a little time to get used to their new home before you allow them to roam free. Keep them in the coop for at least a couple of weeks. Give them scratch or millet shortly before sundown. Once they've acclimated, they will return to their home if you make it your practice to throw scratch to them as their reward their returning. Do that, and no matter how far they roam during the day, you can be assured they'll return in the evening.
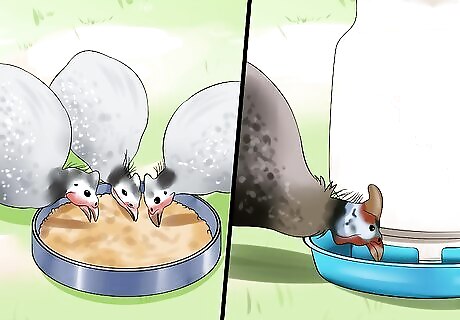
Offer food and water. Guinea fowl are very easy to feed, although their dietary needs will depend upon whether you keep them penned or allow them to roam and forage. When allowed to roam, guinea fowl will eat all sorts of critters in your yard, including ticks, grasshoppers, spiders, and small snakes. You don't need to provide them with any additional food, except some mixed grains in their shelter at night if you want to encourage them to spend the night there. If you keep your guineas penned, feed them store-bought chicken feed (one pound per day for every six guineas). To increase egg production, switch them to a higher protein feed formulated for turkeys and wild fowl. Check your local farm extension agency to find out the egg laying season for guineas in your area. In many areas, they lay six months of the year. Your guineas will also rely on you to provide a constant source of fresh water. You can buy a waterer for poultry, which holds a large amount of water and dispenses it little by little into a small dish. Keep in mind that it will need to be heated in winter to keep the water from freezing if you live in a cold climate. Collect eggs. Because guineas roam free, they can build their nests and lay their eggs almost anywhere. To find them, follow them at a distance during the mid-morning to early afternoon hours, when they are most likely to lay eggs. Once you've identified a nest, wait for the hen and her husband (he'll be standing guard) to leave and gather some eggs with a large spoon or other kitchen tool. Leave at least half the eggs in the nest so that the guinea hen will continue to lay there.
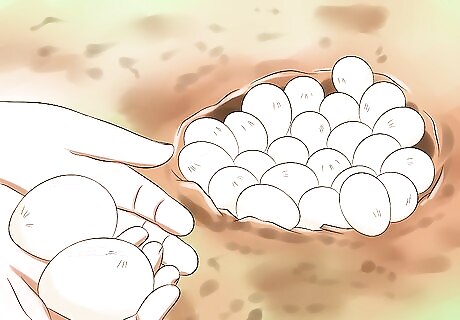
Guineas make their nests on the ground, but they like to try to conceal them by choosing areas with tall grasses. They also share nests with other guinea hens frequently and sometimes share "sitting" duties as well.
Raising Keets
Be prepared to intervene. Guinea fowl are not very good at taking care of their delicate little keets. They are fierce protectors, but they will walk through grass with morning dew on it and expect the keets to follow. They do, but getting wet is death to keets. Though a grown guinea can endure rain and snow and other insults, guinea keets are very delicate, so you will have to put in some work to raise them. Guineas sometimes will abandon a nest even after the hen has gotten broody and spent several nights sitting on the eggs. If you notice that a nest has been abandoned, move the eggs to an incubator right away. You can use a store-bought incubator, following the instructions for incubating turkey or pheasant eggs if no specific instructions are provided for guinea eggs. The incubation period is between 26 and 28 days. Once the keets hatch, you will need to care for them until they have fully developed feathers and are strong enough to hold their own with the rest of the flock. If you also raise chickens, a broody hen can be used to hatch the eggs and raise the keets. Turkeys can also make suitable replacement mothers.
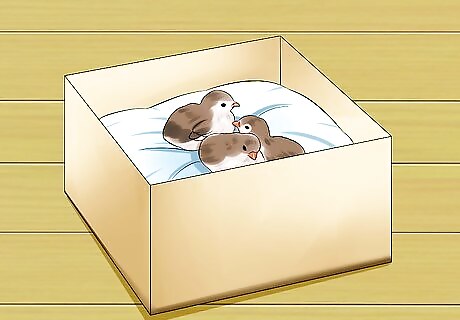
Create a safe home for the keets. You will need to keep the keets contained in a box for the first six to eight weeks. A 16" x 28" box will provide enough space for about 15 keets. Keets are very delicate, so be sure to provide adequate space for them to prevent trampling. If they appear to be overcrowded, move them to a larger box. Keets can escape through very fine wire mesh, so it's best to keep them in a container with solid sides, like a sturdy cardboard box. They will be jumping in no time, so make sure you cover the box with a screen. Keep the box lined with clean paper towels for the first week or more, and then switch to wood shavings. They need a textured surface to prevent them from slipping and injuring their legs, so don't line the box with newspaper. Textured shelf liner, available at dollar stores, is a good substitute.
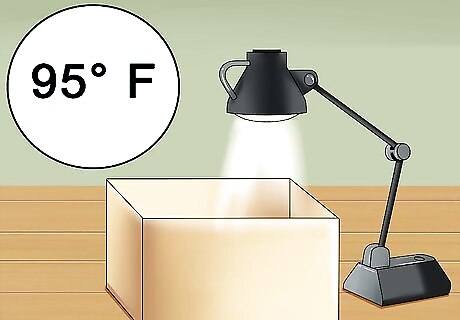
Keep it warm. Keets need to be kept nice and toasty, so use a heating lamp to maintain a constant temperature in their container. (If it's summer and hot already, a regular light bulb may be adequate.) It should be 95 degrees Fahrenheit for the first week. You can then lower the temperature by 5 degrees each week until the temperature in their box is the same as the temperature outside.
Keep the light at one end of the brooder box. That way, the keets can move to a cooler part of the box if they get too hot. If you see them clumped in a pile under the light, it means they're still cold; try to move the light closer. If they stay at the cooler end of the brooder box, move the light farther from the box. Their behavior will let you know when they're comfortable.
If one keet seems more sluggish and droopy than its siblings, don't panic. Try this: Put a hand towel or cloth in a clothes dryer only long enough to get it warm. Then pick the keet up with the warm towel, loosely wrap it around the keet, and snuggle with the baby against your chest. Sometimes the sluggishness is just a sign that one keet needs more warmth than the others.
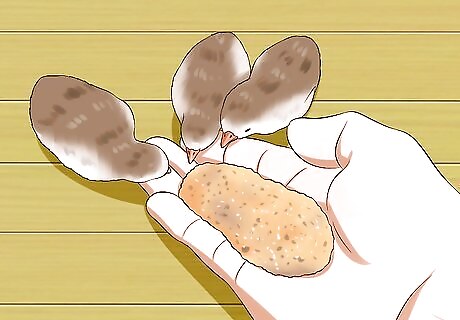
Provide food. Feed your keets a store bought food, crumbles rather than pellets, for the first couple of months. Use a starter mix for baby birds with 24% to 28% protein for the first five weeks, and then switch to a mixture containing 18% to 20% protein for the next three weeks. Check labels. Starter feeds for wild birds and turkeys tend to be higher in protein than starter mixes for chickens. If you run out of feed and can't get to a feed store right away, boil some eggs and feed the keets the yolks. Hand feed the keets to get them used to you.
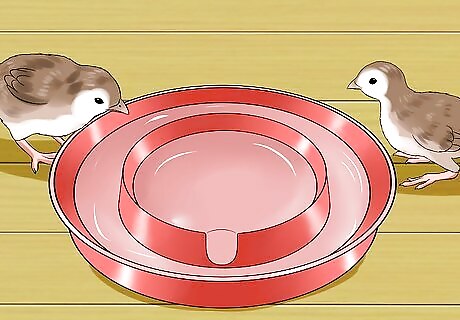
Provide water. Be sure to provide your keets with a steady source of fresh, warm water. They don't tolerate cold water well. Newborn keets are susceptible to drowning, so provide water in a shallow bowl filled with marbles at first. The keets will climb on the marbles and drink the water between them. Very young keets will require some help at first, so tip each keet's beak briefly in the water to let them know how and where to drink. After the initial period, providing a jar of water with a watering base will be a great way to make sure they always have enough water to drink and that they never have enough water to drown in.
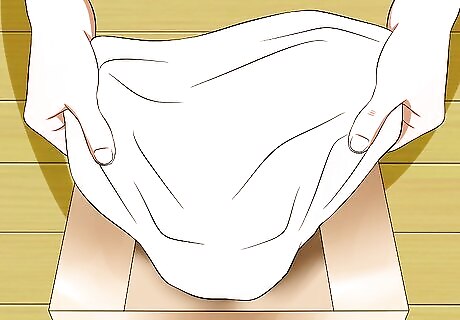
Keep them clean. Keets may get dried feces stuck to their feet or bottoms. This can cause a variety of complications, so be sure to clean them right away. To do so, wipe the area with a moist cotton ball or soak the area in warm soapy water. Be very gentle. Scraping or picking the feces off of the keets may cause injury. To prevent this from happening in the first place, make sure to change the lining in the box frequently.


Comments
0 comment