views
Cutting the Stencil
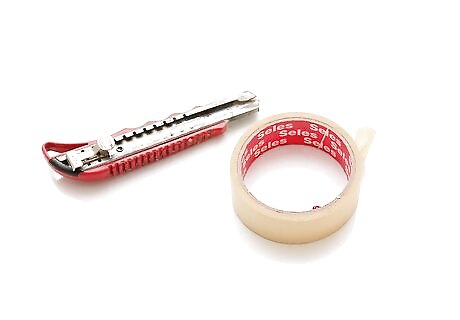
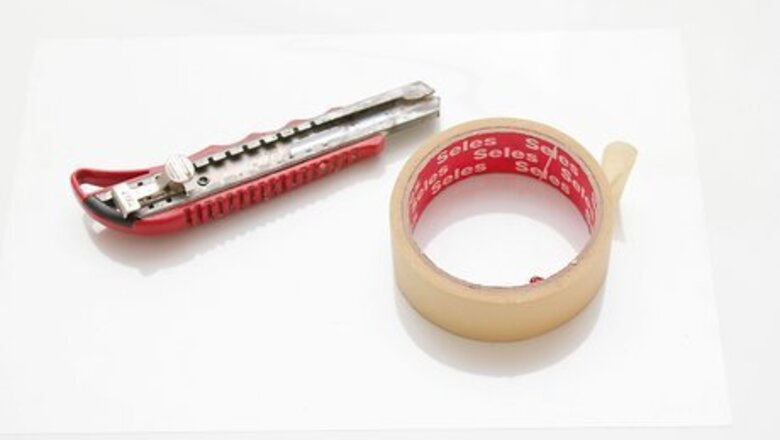
Gather your materials. Buy your materials online or at your local craft store. When shopping for acetate, also known as transparency film, look for the thin sheets. Thicker sheets of acetate are harder to cut through. You don't have to use a rotary cutting mat, but you will need something to cut on. You will need the following to make your stencil: A rotary cutting mat A craft knife Thin acetate Masking tape
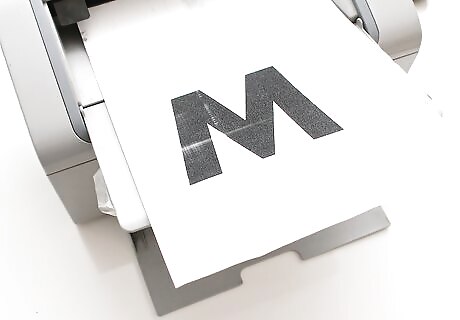
Print your stencil. You can find free stencil templates online, or you can make your own. Depending on the design, making stencils can be quite complicated. Print your stencil design onto thick card stock. Make sure you it is the right size for your project.
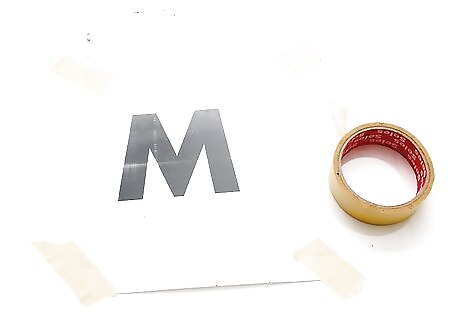
Tape your stencil down. Using masking tape, tape a sheet of acetate to the printed image. Then, tape both the acetate and the image to your cutting mat. Masking tape works better than scotch tape. Painter's tape also works well. To make sure your image doesn't move around while you are cutting, tape all the edges down to your cutting surface.
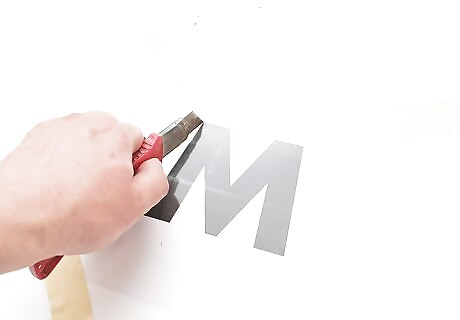
Start cutting. Use your craft knife to start cutting away the unwanted areas from your image. If you downloaded a stencil template, it should have instructions on which areas to cut away from the image. Work from the middle out. The more you cut away from the image, the weaker your stencil will become. Take your time, and work carefully. You can make a stencil last a long time if you take care of it.
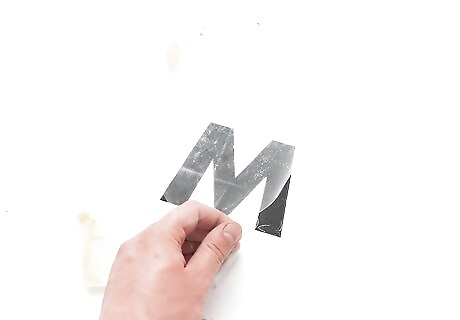
Remove the tape from your stencil. Once you finish cutting your image, remove the masking tape. You should now have a sheet of acetate with your cut-out image. If you see any hanging pieces on the acetate, simply pop them out.
Printing Your Design
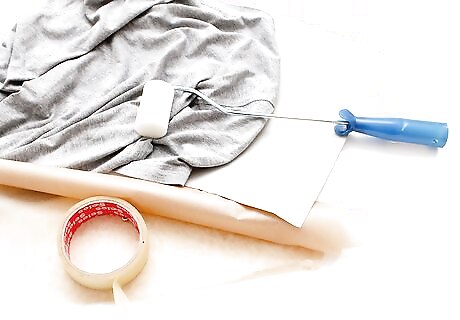
Gather your supplies. If you plan on printing your design on a t-shirt, make sure you wash and dry it beforehand. Search online or at your local craft store for the following: T-shirt or some other fabric Foam roller Textile ink Wax paper Cardboard Masking tape
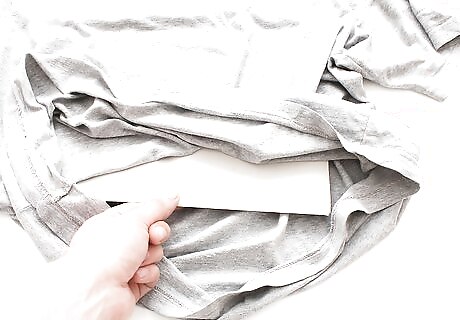
Prepare your fabric. If you are printing on a t-shirt, place a piece of cardboard inside the shirt. If you are working with some other piece of fabric, such as a handbag, place a piece of cardboard under the area you'll be painting. You need a firm surface to roll the paint onto. Tape the acetate stencil over the area you want to paint. Use masking tape to tape down all the edges. Make sure the stencil is secure. You don't want it to move when you start rolling your paint on.
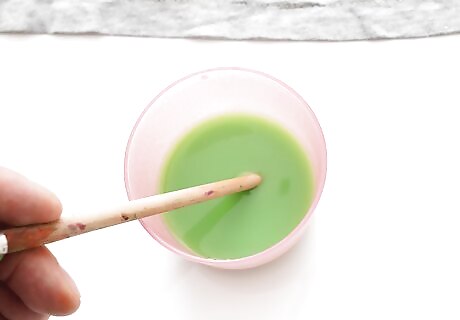
Mix your paint. When shopping for textile ink, look for something that is water-based. You should be able to find a variety of colors, or you can mix your own. You can make quite a few colors if you have red, blue, yellow, black, and white inks on hand. Mix the paint on a plate or a shallow dish. Use just enough to cover your image.
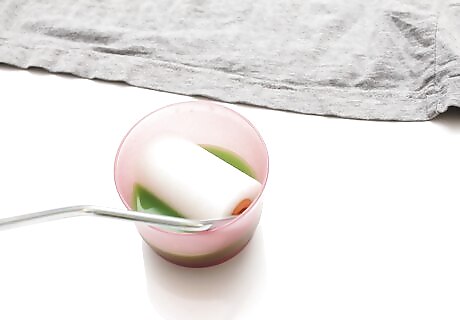
Load your roller. Once you've mixed your paint to the desired color, roll your foam roller through the paint. If you spot any lumps, roll them out.
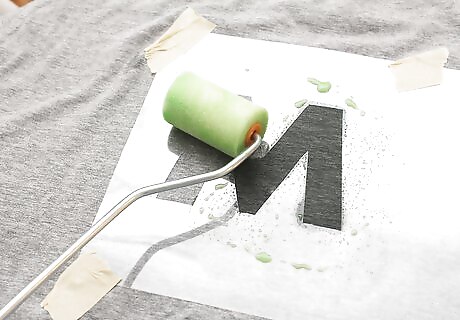
Roll your paint on. Make a light pass over your image with the foam roller. Don't worry about getting a lot of paint on the fabric with the first pass. You want to make several light coats as opposed to one heavy coat. Once you make the first pass, you'll find that the acetate sticks to the fabric. This will allow you to use a little more pressure on the next few passes. Pay attention to the stencil. If there are a lot of pieces that are barely attached, take care not to disrupt them.
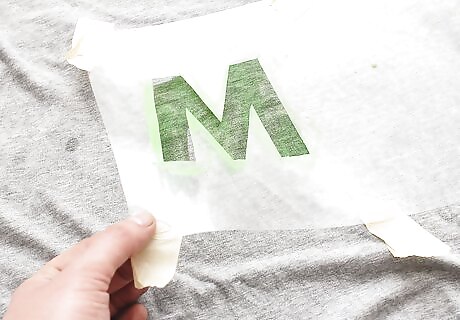
Remove the stencil. Before you remove the stencil, use a hair dryer to apply a 2-3 second blast of heat. You don't want the paint to dry completely before removing the stencil, but you don't want it wet either. Loosen the tape around the edges of your image. Starting from the top, gently pull the acetate away from the fabric. Take care not to ruin the image you painted, or damage the acetate screen. If you take care of your stencil, you can use it multiple times.
Caring for Your Print
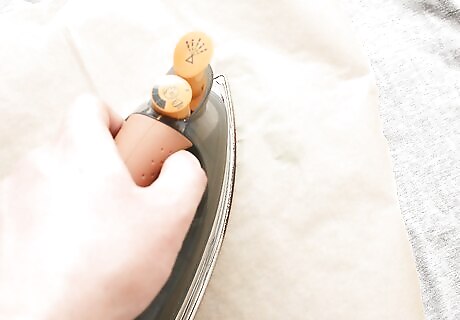
Heat seal your print. Once the paint is completely dry, you need to heat seal the image. Leave the cardboard under the fabric and place a piece of wax paper over the shirt. Run an iron over the wax paper to seal the ink. Different inks will require different levels of heat to seal. Refer to the instructions on your ink for ironing details. If you don't have any wax paper, use a clean piece of cloth. You can remove the cardboard once you've sealed the image.

Wash your shirt in cold water. Hot water can be harsh on your clothes. To prevent your print from fading, and to keep your fabric from wearing thin, use cold water on a gentle cycle. Try hand washing your shirt in colder water the first few times to make sure the image is set into the fabric. When you wash, turn your shirt inside out to protect the print. Avoid using any harsh chemicals when you wash your shirt.

Let your shirt air dry. Avoid using a high-heat setting on a dryer. Heat can cause your clothes to shrink and may cause the image to fade. Air drying takes longer, but could extend the life of your shirt. If you are in a rush, you can speed up the air drying process. Set your dryer to a low heat and remove your shirt from the dryer halfway through the cycle. Hang your shirt to let it finish drying.
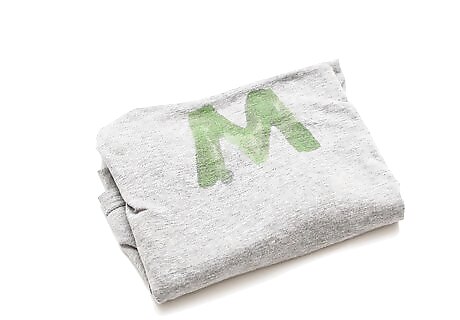
Don't wash your shirt every time you wear it. Unless your shirt is noticeably dirty, you don't have to wash it. Even if you take care of your clothes, washing will wear them down over time. If you only wore your shirt for a few hours, fold it back up and wear it again before washing it.


Comments
0 comment