

Mixing a Resolving or Stacking Gel

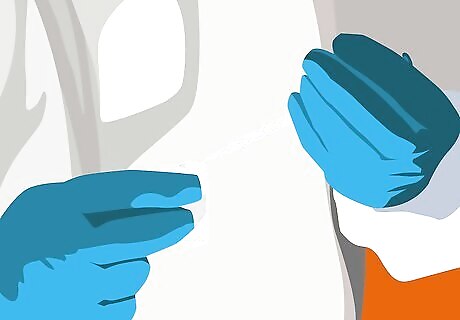
Add an appropriate base quantity of ddH2O to a 10ml conical vial. Use a pipette to squeeze the ddH2O into your vial slowly. Be careful not to add any more or less than the amount called for by the recipe you’re following, which will vary depending on the particular format (protein type) you intend to analyze. “ddH2O” is the chemical abbreviation for “double distilled water,” which is water that has been purified to a level suitable for sensitive laboratory applications. To make a 12% running gel, for instance, you would start with 1,650μl of ddH2O. A microliter (μl) is a very small liquid measurement that is equivalent to one one-millionth of a liter.

Follow up with a suitable concentration of sodium dodecyl sulfate (SDS). Use a separate, clean pipette to transfer the SDS to your mixing vial. The SDS will “mask” your test proteins’ intrinsic charge, giving them all a similar charge-to-mass ratio. When an electric field is applied to the gel, this will cause the various proteins to migrate towards the anode at different rates based on their mass. Switch to a fresh pipette each time you add a new component to the gel.
Incorporate a 30% acrylamide solution. A standard acrylamide solution consists of acrylamide isolates infused in ultra-pure water. The acrylamide solution will serve as a matrix for the separation of proteins and nucleic acids. If necessary, you can prepare your own 30% solution by combining 30% (w/v) acrylamide and 1.0% N,N′-methylene-bisacrylamide in an appropriate concentration of water.Warning: Always wear gloves anytime you’re working with acrylamide and bisacrylamide mixes. Both solutions are neurotoxins that could have severe harmful consequences if absorbed into bare skin.

Add the necessary quantity of 1.5M Tris-HCI pH 8.8. Again, use a fresh pipette and be careful to add the precise amount. The addition of Tris-HCI will ensure that the intermingled components in your gel mixture remain at a constant pH. Tris-HCI (short for "tris(hydroxymethyl)aminomethane hydrochloride") is a type of buffer commonly used in chemical procedures and experiments.
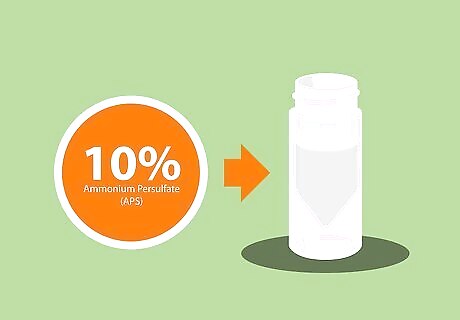
Infuse 10% ammonium persulfate (APS). APS is a powerful oxidizing agent frequently used as a co-catalyst in polymer chemistry. Along with TEMED, it is essential for initiating polymerization, a complex bond-forming process that will cause the liquid mixture to solidify into a gel. For best results, prepare a fresh batch of APS solution each time you cast an acrylamide gel.
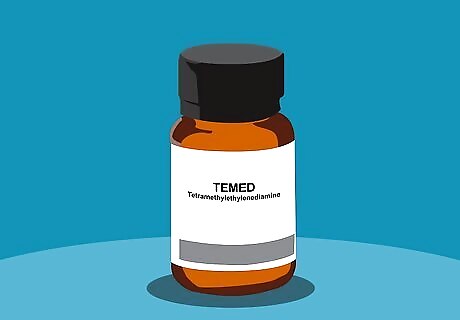
Add tetramethylethylenediamine (TEMED) last to catalyze the reaction. Once you've finishing bringing the rest of your components together, squeeze the TEMED in on top. TEMED is the primary catalyst used in gel electrophoresis. It will kickstart polymerization as soon as it enters the mix, so be prepared to cast your gel immediately after adding it. It’s critical to add the TEMED last, since it’s responsible for setting the reaction in motion. The procedure described here (as well as the order of addition) can also be repeated to prepare stacking gels—the only difference will be the exact quantities of each component.
Assembling the Casting Apparatus

Place the thin plate onto the thick plate and align the edges of the two plates. Gel electrophoresis is conducted inside a casing made up of two separate glass plates, one of which is slightly thicker than the other. To begin constructing this casing, stack the “short” plate on top of the “tall” plate with the thinner plate on top. The thicker of the two plates features built-in spacers that create a narrow chamber when resting up against the thinner plate.
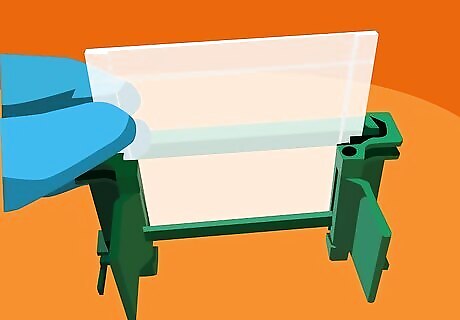
Slide the stacked plates into the slot on the top of the casting frame. The short plate should be facing the front side of the frame, with the tall plate and spaces visible from the opposite side. Once the plates are resting snugly inside the frame, swing the hinged “gates” on either side of the frame backwards to clamp them in place. Check to make sure that the bottom edge formed by the pair of aligned plates is perfectly parallel with both the bottom of the casting frame and the underlying work surface. The casting frame is typically molded from green plastic, which makes it instantly distinguishable from the rest of the apparatus.

Set the casting frame into the body of the casting stand. Lift the U-shaped clamp on the top of the stand, insert the frame with the short plate facing outward, then lower it again to lock the frame down. Test the connection between the two pieces to confirm that the frame doesn’t shift or move around inside the stand. Once assembled, there should be just enough space between the two plates to pipe in your gel mixture.Tip: If you like, you can test the chamber for potential leaks by piping about 1 millilitre (0.034 fl oz) of deionized water into the gap between the plates. When you’re satisfied, drain the water carefully or slide a sheet of filter paper into the gap to soak up the excess fluid.
Pouring Your Gel

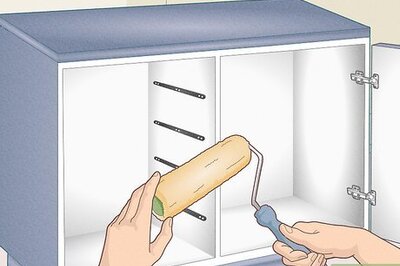
Pipe your liquid gel mixture into the opening at the top of the chamber. Use a glass pipette and bulb to add the mixture until it’s even with the indicated fill line on the outside of the glass casing. Don’t worry about any air bubbles you may see inside the casing—you’ll be dealing with them before you allow the gel to fully polymerize. If equipment you’re using doesn’t feature a fill line, measure about 1 centimetre (0.39 in) down from the top of the glass “window” visible inside the casting frame and make a mark there using a felt-tipped marker.

Pour in a layer of ethyl alcohol, isopropanol, or n-butanol to degas the mixture. Fill a fresh pipette with your alcohol of choice and squeeze it into the chamber little-by-little using a smooth back-and-forth motion. Keep infusing the alcohol until it fills the remaining space inside the casing, about 1 cm (0.39 in). An alcohol overlay solution will not only help to dissolve trapped oxygen but also prevent any other environmental gases from finding their way into the finished gel mixture. It isn’t generally necessary to degas stacked gels, as the separate layers function as one continuous matrix, allowing protein samples to migrate through the gel freely under the influence of electricity.Alternative: Degas the liquid gel mixture under a vacuum for a minimum of 15-20 minutes before you add the APS and TEMED.
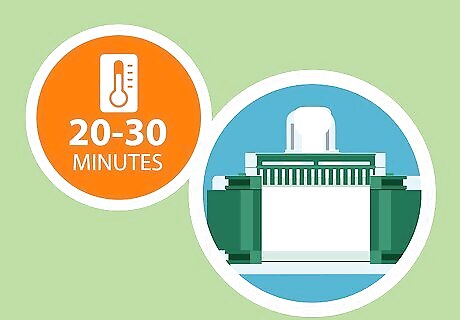
Allow the gel to set up for a minimum of 20-30 minutes at room temperature. Now, all that’s left to do is set a timer and leave your gel to sit undisturbed for a half hour or so. During this time, it will finish undergoing polymerization, gradually hardening into a dense gel. Avoid moving, jostling, adding anything to, or otherwise interfering with the gel in any way while it’s busy polymerizing. If time allows, you can extend your allotted polymerization time to 45-60 minutes, just to be sure that the gel has had a chance to fully solidify.
Drain or absorb the alcohol overlay solution once your gel is done setting. Pour off the alcohol into a chemical sink or suitable liquid waste disposal receptacle, or use a sheet of filter paper to wick it up. You now have the option of either using your gel right away or storing it for future analysis. Some chemists also recommend rinsing the upper surface of the casted gel with a small amount of deionized water.


Comments
0 comment