views
Holding the Cello
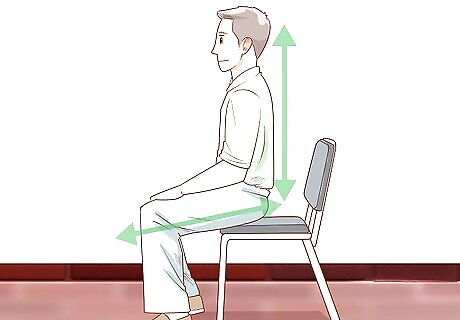
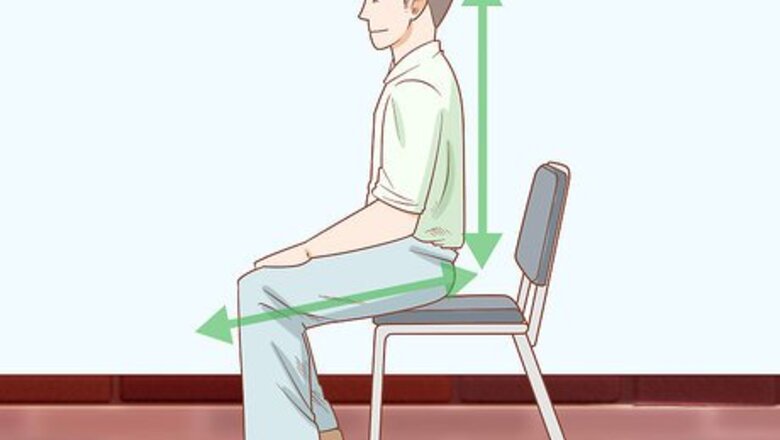
Sit tall in a firm chair. Get a firm chair to sit in that allows your hips to be slightly higher than your knees. Sit with your back straight and tall; imagine that a string is attached your head and it’s pulling your head up. Engage your tummy muscles to straighten your spine in your lower back. As you play, use your eyes to look at the strings. Try not to drop your neck to avoid injuring your neck in the long term.
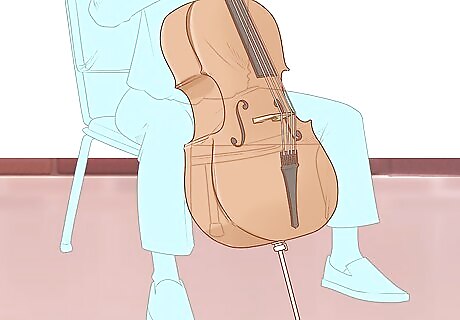
Balance the cello between your knees. Spread your knees to make enough room for your cello. Bring the cello in and allow it to balance on its end piece while resting its sides between your knees. Face the cello out so its strings are away from you. You shouldn’t grip the cello tightly with your knees; simply let it balance there. The cello should be tilted slightly to your right.
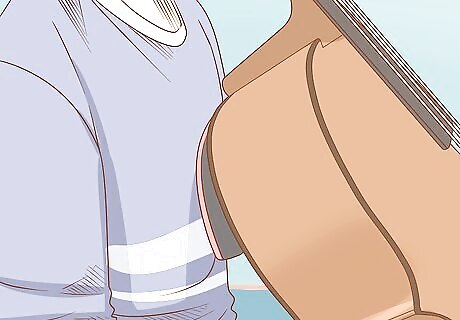
Rest the cello body against your chest. Allow the cello to lean back against you. Position it so that the top of its body reaches your chest and can rest there. You may have to adjust the endpin, or piece at the bottom that touches the floor, so your cello is the right height for you. Simply loosen the screws and slide the endpin in or out depending on if your need the cello to be taller or shorter, then tighten the screws again before standing the cello back up.
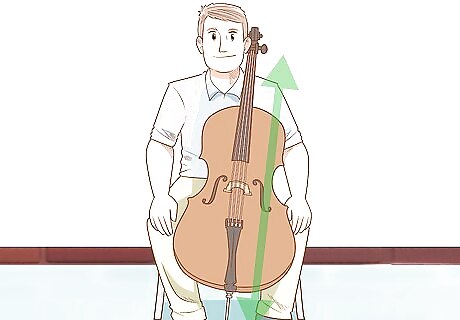
Angle the cello so the neck is to the left of your head. Lean your cello back and position its neck in line with the left of your head. Hold the neck with your left hand and rest your right hand on your right leg. Right-handed and left-handed people hold the cello the same way.
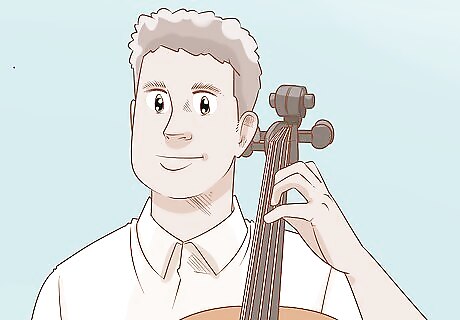
Face the cello slightly toward your right so you can easily reach the strings. Using your left hand, angle your cello so its strings are facing slightly toward your right. This will make it easier to reach all the strings without slouching as you play. Check to see if any parts of your body feel tense or uncomfortable. If they do, you should make adjustments to your posture, the height of your chair, or the height of your cello until you are comfortable holding it.
Learning Basic Notes
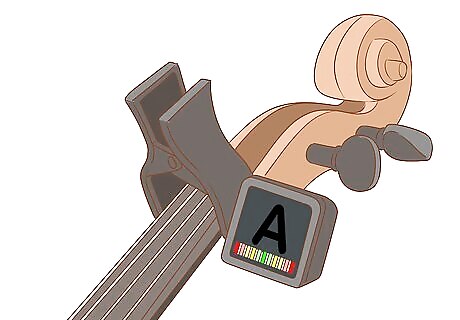
Tune your cello with an electric tuner before playing. Find an electric tuner for cello at a music supply store. You can attach the tuner to the bridge of the instrument or you can download a tuning app on your cell phone. Bow each string consistently and with the same pressure one at a time and follow the instruction on the tuner to check that the string is in tune.
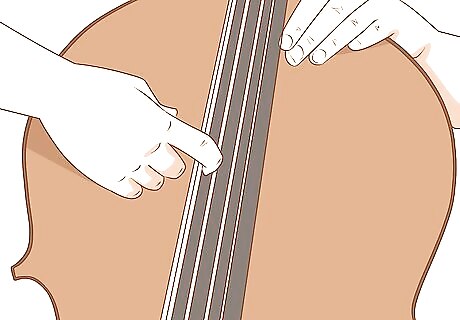
Try an open “C” on the thickest string on the right end. Sitting behind your cello in the proper position, the last string on the right is “C.” It’s your thickest cello string. Pluck the string with your right pointer finger (both left handed and right handed people cluck the cello the same way). Make sure your thumb is positioned at the end of the fingerboard to provide stability. Never pluck far up the fingerboard! The note is “open” because you are not pressing down with your left fingers on the string to play it. The string itself is in the note of “C.” The cello “bridge” is the piece that sticks up about halfway down the cello and holds the stings in place. The fingerboard is the long black-colored piece that runs down the front of the cello’s neck, and is where you put your fingers to play other notes.
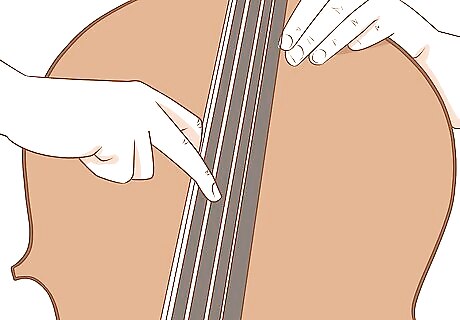
Play an open “G” on the second string from your right. The second string from your right is called the “G” string. It is the second-thickest string on the cello. Pluck this string with your pointer finger on your right hand, and rest your thumb on the side of the fingerboard. Plucking the string is called pizzicato
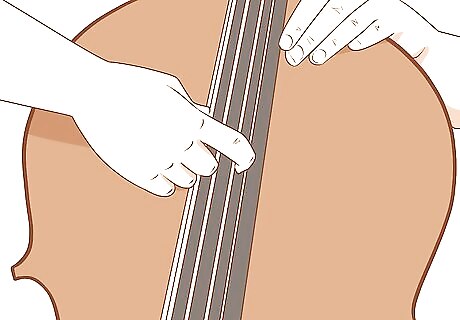
Try an open “D” on the third string in from your right. The third-thickest string, located next to the “G” string, is the “D” string. Pluck the string to see what “D” sounds like.
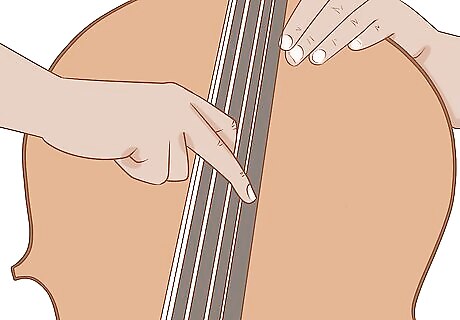
Play an open “A” on the thinnest string on the left end. The last string on the left, and the thinnest string, is your “A” string. Pluck the “A” string to see how it sounds. A good way to remember the string notes on your cello is the sentence “Cats Go Down Alleys” starting from your right with the thickest “C” string.
Making Bow Strokes
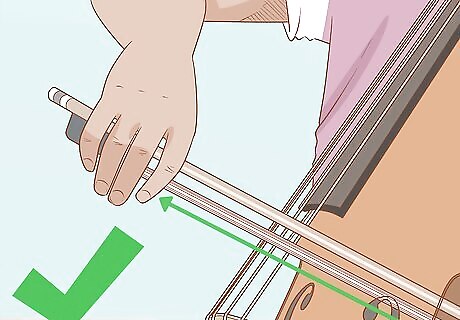
Tighten the hair of the bow before you play. When a bow is not being used, the strings should be loose so they don’t accidentally get damaged. Remove your bow from its case and turn the screw at the end clockwise to tighten the hair until it is about the width of an index finger's length away from the wood. Be careful not to over-tighten the hair or they can break. The bow should be slightly bent inwards, not straight or bending outwards.
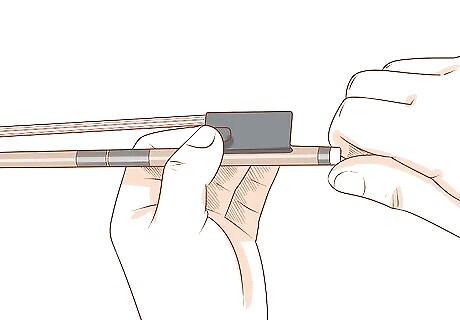
Hold the bow “frog” in your right fingers with a rounded hand shape. The part at the end of the bow, near the hair screw, is called the “frog,” and that is where you hold the bow. Hold it between your thumb and the first 3 fingers of your right hand with the hair facing down. Your thumb should be closest to you and your fingers stay on the outside of the frog piece. Keep your fingers rounded and your hand relaxed, as if you’re holding an imaginary tennis ball in your hand.
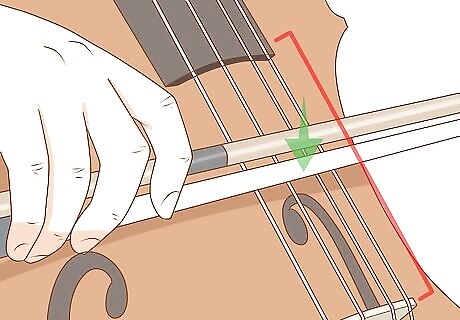
Place the bow on a string halfway between the end of the fingerboard and the bridge. Choose a string to play. Gently press the bow hair down on the string above the cello bridge.
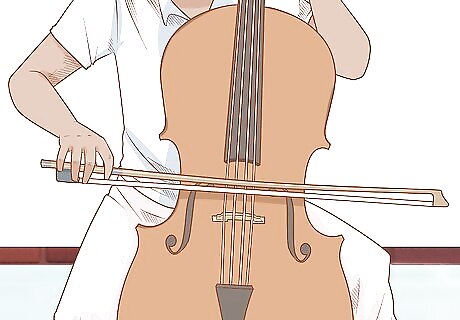
Move the bow across the string parallel to the bridge. As you move the bow, keep applying pressure down on the string. To play soft or loud, lessen or add pressure while moving the string. Keep the bow parallel to the cello bridge as you play. Draw the bow out and in. Keep your elbow up and don’t hug your arm against your torso. You can draw the bow back and forth as you play; the length you play each note is determined by the notes in your sheet music. Imagine your elbows floating as you make bow strokes. They should remain in the same position in relationship to your body as you move your right arm back and forth from the shoulder.
Improving Your Playing
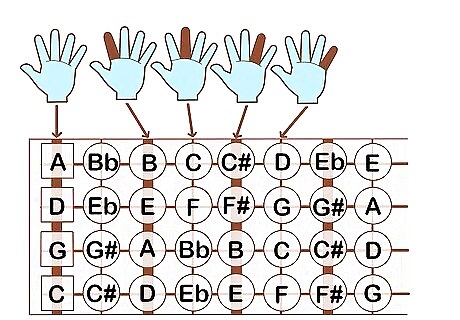
Study a fingering chart to learn more notes. Now that you know the string notes when they are played open, you can study a chart to see how to play more notes using your left fingers on the cello’s neck. Search “cello notes chart” in your Internet browser to find images of the notes on your cello neck. As you study the notes, practice playing scales to help you memorize them. Start from C major, on the C string
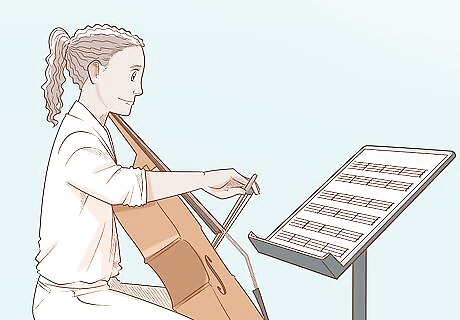
Learn to read music to make it easier to play songs. If you don’t already read music, learn to read it by taking a lesson, a music class, or by searching for online lessons. Once you can read music, teach yourself some easy songs such as “Twinkle Twinkle Little Star” to practice playing songs. Other easy songs to learn include “Hot Cross Buns” and “Mary Had a Little Lamb.”
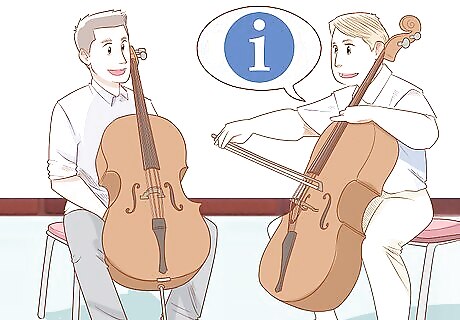
Take lessons to learn songs and improve your technique. Taking cello lessons in person is one of the most efficient ways to improve your playing. A teacher can give you feedback on your technique, assign you activities to learn, and offer ways for you to improve. Search “cello lessons near me” online to find a local teacher offering lessons. A good way to become more enthusiastic about playing is to find a friend who plays a different instrument. When both of you get good, you can play duets.




Comments
0 comment