views
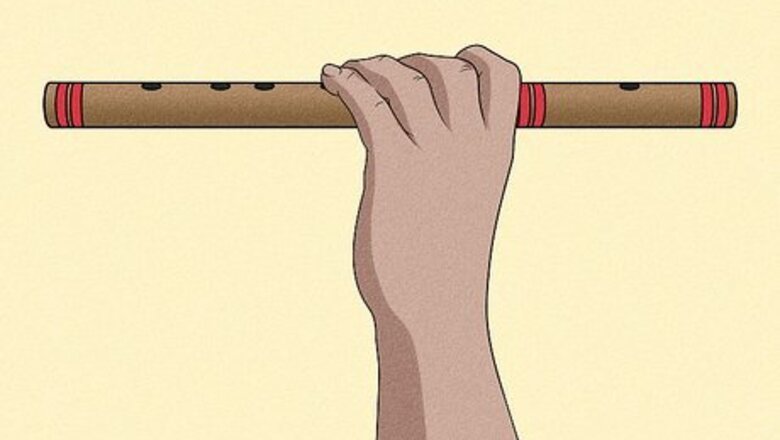
- Hold the flute parallel to the floor, extending to the right. Place your left hand outside the flute near your face, and your right hand inside the flute further down.
- Place the blowing hole centered on your bottom lip. Purse your lips with a small opening and blow against the top edge of the hole to make a sound.
- Use your left index, middle, and ring fingers to cover the first 3 holes near your face. Use your right index, middle, and ring fingers to cover the remaining 3 holes.
Holding the Flute
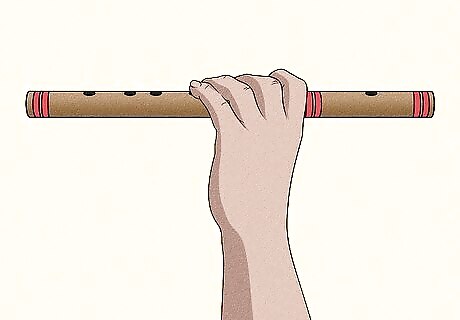
Hold the flute so it’s parallel to the floor with the holes facing up. Bamboo flutes are played horizontally, just like silver flutes in Western musical groups. Keep your elbows relaxed and out to your sides rather than pinching them close to your body. Keep your shoulders low, relaxed, and held slightly back to open up your posture (try not to hunch them forward). Hold the flute in front of a mirror so you can see what your body looks like, rather than just relying on feel. A loose, relaxed form is going to help you produce the best sound. There are some versions of bamboo or wooden flutes that are played vertically, like a recorder or clarinet.
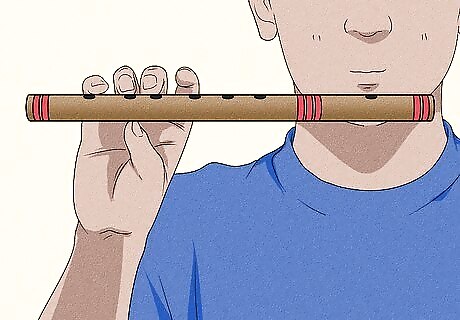
Position the flute so that the finger holes extend out to your right. Most bamboo flutes have either 7 or 8 holes: 1 is the blowing hole, and 6 of them are finger holes, which are used to create different pitches. Hold the flute so the blowing hole (the left-most hole) is near your lips, and the finger holes (which often look like 2 groups of 3 holes) are to the right. If there’s the 8th hole, it will be between the blowing hole and the 6 finger holes. You don’t have to cover this while playing—there’s already a flexible membrane over this hole that helps create dynamic, unique sounds specific to the bamboo flute. If you ever hear a strange buzzing sound coming from your flute, chances are the membrane covering this hole has come loose and needs to be tightened.
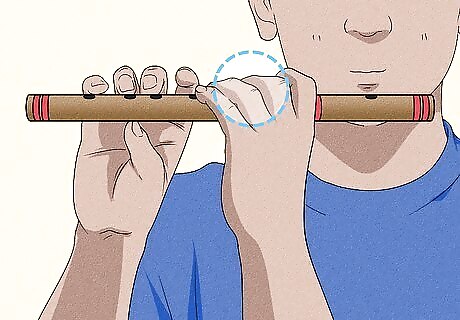
Place your left hand outside of the flute so your fingers curl inward. Position your left hand so that its palm is pointing toward your face. You’ll use your index finger, middle finger, and ring finger to respectively cover the 1st, 2nd, and 3rd finger holes. It doesn’t matter whether you’re right- or left-handed. Your left hand always covers the first 3 holes. In general, the pinky fingers are not used to play wooden flutes. If you’re missing one of your other fingers, though, use your pinky to cover the 3rd hole and your other 2 fingers to cover the 1st and 2nd.
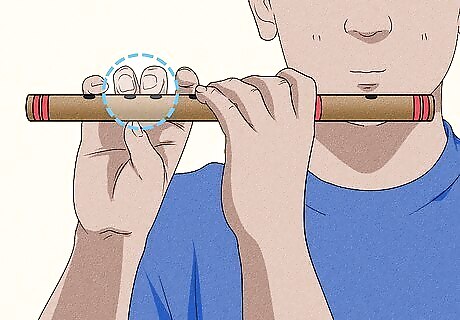
Put your right hand inside of the flute so your fingers curve outward. Unlike the left, face your right palm away from your body. You’ll use your index finger, middle finger, and ring finger to cover the 4th, 5th, and 6th finger holes, respectively. The 5th and 6th holes are sometimes spaced further apart from each other than the other holes, so you may have to stretch your middle and ring fingers away from each other slightly to cover them. Use your thumbs in both hands to support the weight of the flute and keep it in the correct position.
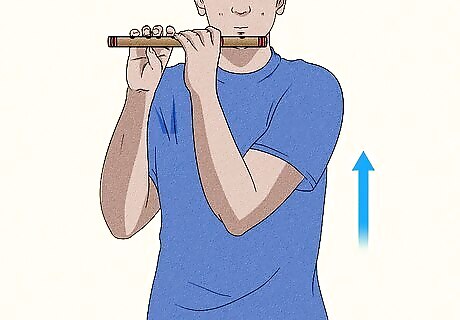
Stand tall with your shoulders held back to allow the best airflow. Use good posture to help breathe deeply from your diaphragm (the large muscle under your lungs that controls your breathing), which will help produce the best sound from your flute. Keep your legs about shoulder-width apart and bend your knees very slightly so that you don’t lock your knees or lose your balance while playing. If you’re sitting, keep your feet flat on the ground and your thighs roughly parallel to the floor. Hold the same tall posture you’d use while standing from the waist up. Aim to keep your neck, shoulders, and spine straight, tall, and relaxed. Fight the urge to tilt your head forward toward the flute—instead, always think about raising the flute to you.
Making a Sound
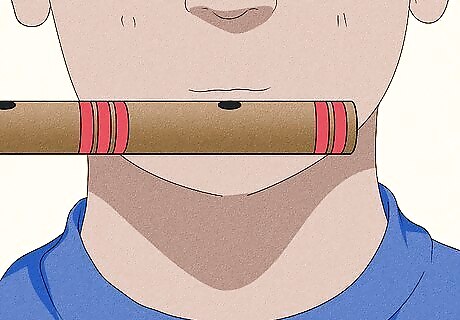
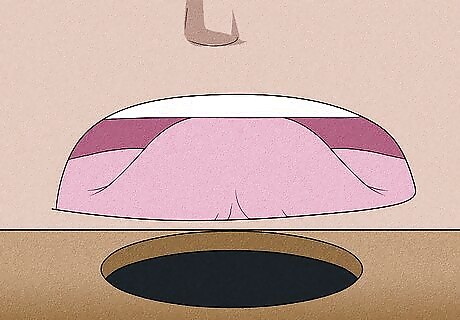
Position the blowing hole so it’s centered below your bottom lip. Hold the flute so that the hole is perpendicular to your bottom lip instead of angling it inward to face your lips (when you blow, you’ll blow downward rather than straight out in front of you). Allow your bottom lip to cover about ⅓ to ½ of the blowing hole. Tip: You’ll be blowing a lot of air while practicing the flute, so give your lips some extra TLC by exfoliating them or putting on moisturizing chapstick after each practice session.
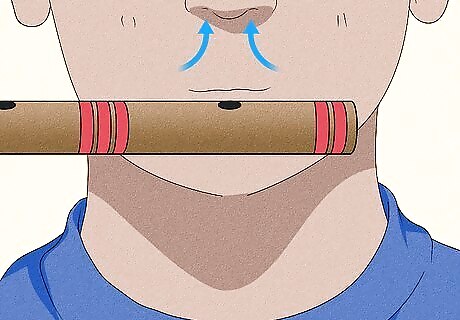
Breathe in deeply with your diaphragm to prepare to blow into the flute. Think of your lungs like a jar, and you have to fill that jar starting at the bottom. Take a deep breath from your stomach, and let it expand outwards with air. Once your belly is full, fill your chest and ribcage with air, and then move to your shoulders. Keep your shoulders low and relaxed while you inhale. If you feel your shoulders creep upward, it may mean your breath is too shallow or that you’re tense. Try practicing breathing in deeply without the flute a few times, following the belly-chest-ribcage-shoulders method. Be mindful as you breathe and pay attention to how your body feels in these moments. Try to recreate this feeling every time you refill your lungs with air while you play.
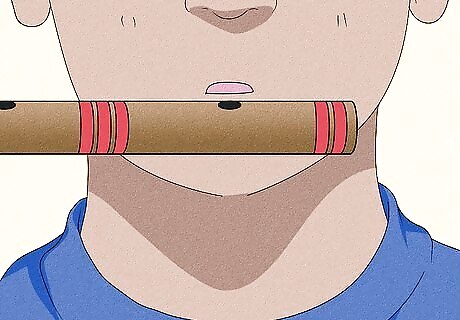
Make a small opening in your lips and blow air down toward the hole. For now, leave the finger holes uncovered and focus on producing a clear, ringing sound. To form the correct lip shape (embouchure), imagine you’re spitting a grain of rice out of your mouth—keep the corners of your mouth firm and your lips slightly elongated, almost like a grin (avoid a circular “ooo” shape, like when you’re whistling). Direct your air toward the top edge of the hole rather than straight into it. To change the direction of your airstream, slowly move your bottom lip back and forth until you ding the “sweet spot” where a note sounds. You don’t need to blow very forcefully to produce sound. Think about a fast, narrow, “cold” airstream (like you’d use to blow out a birthday candle). Have you ever blown air into a glass bottle to make a ringing sound? If so, what you’re doing to the flute is very similar to what you did when you “played” the bottle.
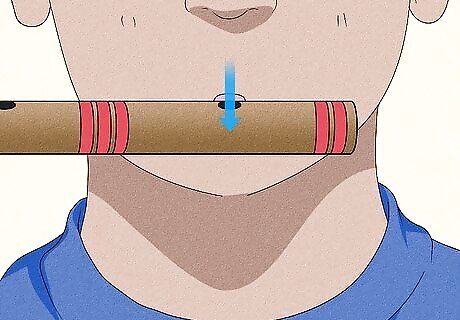
Pace your exhale so that you don’t use all of your air in one go. Once you find the right air speed, direction, and focus to produce a note, challenge yourself to hold it out for as long as you can. It doesn’t take a ton of force to produce a sound, so use the minimum amount of breath needed (in fact, if you “overblow,” the sound will crack or won’t come out at all). As a beginner, you may need to stop and breathe again rather frequently. That’s OK! As you advance, you’ll be able to play more and more notes and phrases in a single breath. Without the flute, try exhaling very slowly with your lips pursed to mimic the embouchure. Breathing exercises like this are great ways to “practice” playing the flute, even when you don’t have your flute with you.
Practice articulating the sound with your tongue. Once you’re comfortable holding out a prolonged note, try lightly tapping the tip of your tongue against the spot where the back of your top teeth meet the roof of your mouth while you blow. This is called articulation, or interrupting the air stream to create shorter, separated sounds. Think of how your tongue moves when you make a “too” syllable, then replicate this motion while you play (“too too toooo”). Keep your air stream moving the entire time you’re articulating. It’s a common error to halt the air stream or take a breath between each tongued note.
Adding Fingers
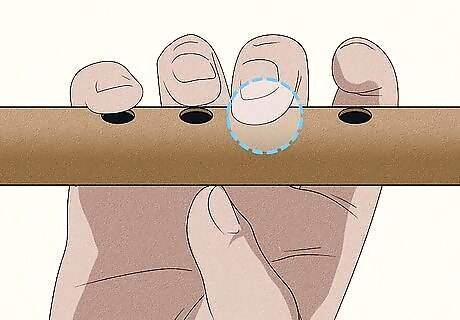
Practice covering one finger hole at a time to play new notes. After you’ve made a note with none of the finger holes covered, try covering the very 1st hole with the index finger on your left hand. Master making a sound on that hole, and then add the middle finger on your left hand to the 2nd hole, and continue on until all 6 holes are covered. Each new note may require a slightly different air force or adjustment to where you blow into the hole. Make small, incremental changes to figure out what you need to do. The more fingers you add, the lower the pitch will go. The low range of a bamboo flute usually needs a slightly wider, slower airstream, while the high range requires a faster, more focused air stream. This can take some time to master, so don’t be worried or upset if it takes you several sessions to create sound from each successive finger hole.
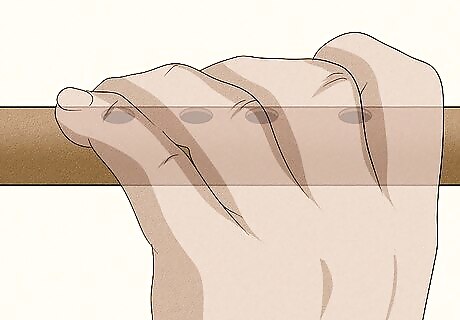
Cover each hole with the pad of your finger (not the very tip). When you place a finger on any given finger hole, place it down directly on top of the hole, hinging from your lowest knuckle (closest to your hand). This ensures each hole gets completely covered and has a good “seal.” If any air leaks out, it can affect the sound quality or pitch of the note. Avoid sliding your finger into place or trying to just use the tip of your finger. Instead, just practice “popping” the pad of your finger quickly on top of the hole to cover it all at once. As you add fingers, make sure the ones you put down previously don’t slip off of their respective holes (this is especially common in the right hand, where the middle finger can slide off the 5th hole as you place your ring finger on the 6th hole). If you have very small fingers, you may want to look into getting a smaller bamboo flute—there are ones made specifically for people with smaller hands that might make the process easier and more enjoyable for you.
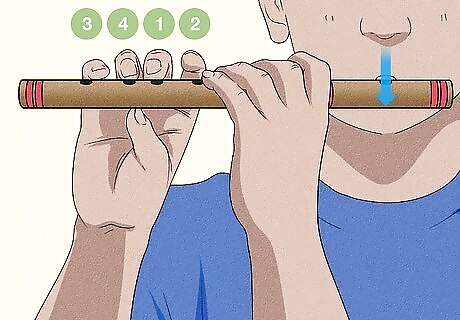
Practice playing multiple notes in one breath to play a scale. Once you’ve got the hang of producing a sound on each note, try playing them in sequence up or down in one breath. Keep a continuous stream of air going while you move your fingers, and challenge yourself to add more and more notes in one breath to work on playing longer, more expressive phrases. Practice your scales articulated (tongued) and unarticulated (slurred). To tongue a note, make a “too” motion with your tongue at the same time you move your finger to a new note. When you’re starting, aim to practice every single day, even if it’s only for 15 minutes at a time. It’s more efficient to space short sessions throughout the week than to cram a few hours into one day. If you’re interested in or able to, consider taking private lessons. They’re definitely not required and you can self-teach yourself to play the bamboo flute, but a professional instructor can help overcome any hurdles you face.
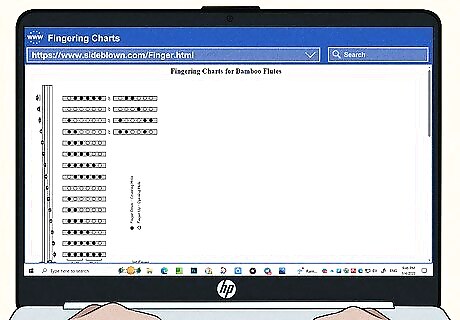
Use sheet music and fingering charts to play specific notes and songs. Once you’ve become more comfortable with producing sound from your bamboo flute, it’s time to take that knowledge and start making music! Memorize which finger combos make which notes, then locate those notes on a musical staff to begin playing songs by sight. There are lots of fingering charts online that you can memorize and practice to become proficient at reading and playing music. Also try looking up tutorial videos for specific songs you want to play (or just to pick up some tips and tricks).


Comments
0 comment