
Growing a Bare Root Plant
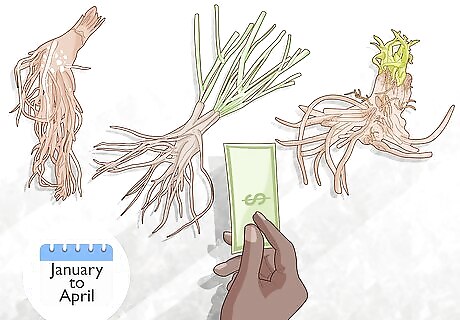
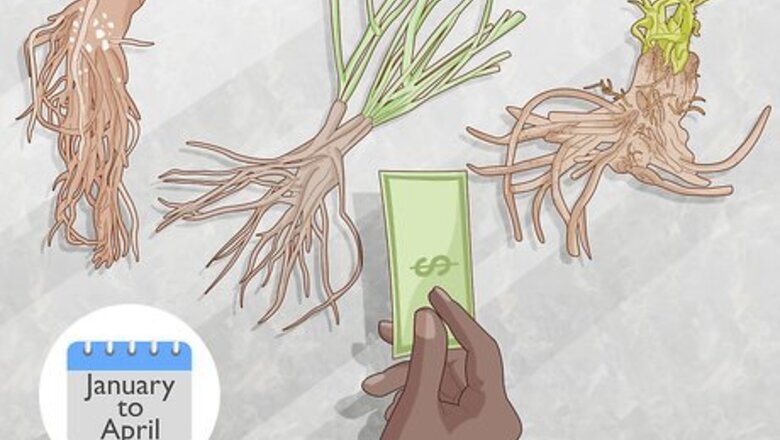
Purchase your bare root plants during the dormant period. Bare root plants are most likely to take root if you plant them during the dormant season, which lasts from late fall through early spring. Depending on the plant you want to grow, it's best to purchase your plant between January and April. Try to get your plant in the ground before its buds start to swell. That way, the plant will be able to put all of its energy into the roots. It's best to put your bare root plants in the ground within about 24 hours of bringing them home. If you can't plant them right away, keep them in a cool place with the roots covered and moist. Do not let the roots dry out. You can buy bare root plants from most greenhouse nurseries, or you can purchase them online and have them shipped to you if you want a better selection. Did You Know? Bare root plants are stored in cool, moist without any potting soil around their roots. This can save you a lot of money, since you're not paying for a container and soil.
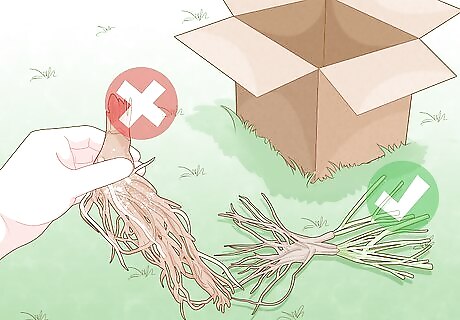
Examine the plant when you receive it to ensure it looks healthy. The plant should be plump and firm, with a healthy-looking root system. Although a few broken twigs are fine, the plant should be mostly intact, and it should be free of mold, mildew, or a rotting smell. Also, the roots should feel slightly heavy, rather than light or dried out. If you purchase your bare root plants in the store, look them over before you bring them home. However, if you order them online, check them out as soon as they arrive to make sure they're suitable for planting. Use garden shears to snip away any branches or roots that appear to be damaged or withered. Wondering how to plant ginger root or other rhizomes? If you have a plant that produces rhizomes, like ginger, turmeric, asparagus, bamboo, or irises, you can use this same technique to grow the plant from even just a small piece of the rhizome, as long as it has growing buds. However, you can also plant the entire rhizome, if you prefer.
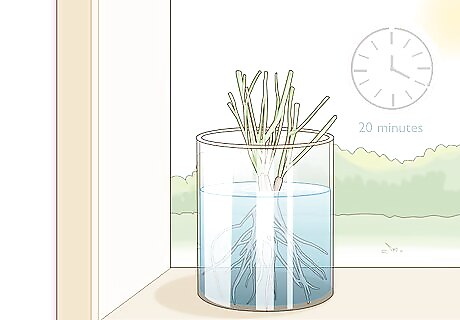
Soak the root in water before you plant it. Fill a container with cool water, then place the roots of your plant in that water. The length of time you'll soak the roots depends on the plants—soft perennials might only need to soak for about 20 minutes to soften them, but woodier plants will benefit from soaking for several hours or overnight. As you experiment with how to plant bare root trees, you'll get a better idea for how long to soak each plant. If you're not sure, though, soak the plant for at least 3-4 hours. Do not leave the roots in the water for more than 24 hours or they may begin to rot.
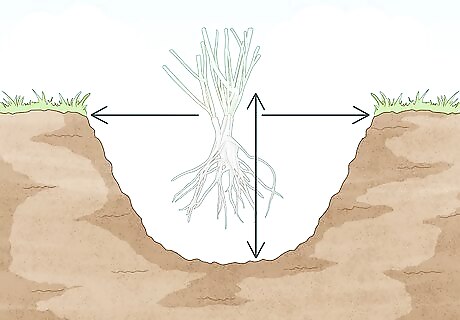
Dig a hole that's as deep as the root system and twice as wide. Use a shovel to break up and remove the soil wherever you want to place your plant. It's important that the hole is deep enough, because you don't want the roots to be bent or clumped up when you put the plant in the ground. In addition, digging the hole so it's about twice as wide as the root system, you'll ensure there's plenty of room for the roots to grow outward. Make sure when you're choosing the location for your plant that you factor in the soil type, water drainage, and sunlight in that area.
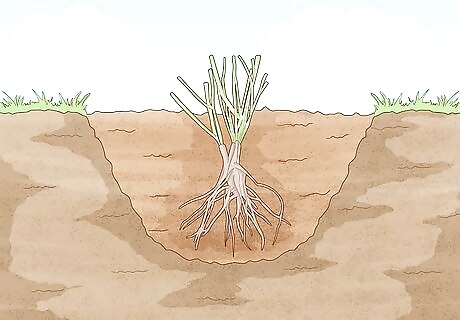
Place the plant in the hole and start filling in soil. Arrange the plant so the base of the plant is level with the ground, with the roots hanging downward. Then, use your hand to carefully spread out the roots so they're spaced out evenly, and start filling the hole with your choice of planting material. If you're filing the hole with the same dirt that you dug up, it may help to mix in some topsoil or compost to add nutrients and improve drainage.
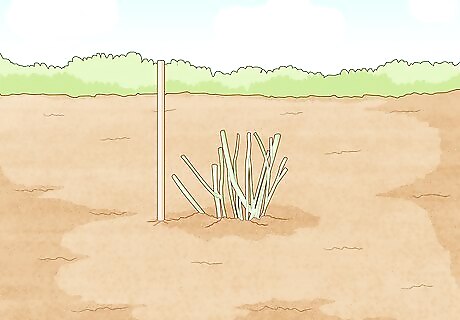
Push stakes into the undisturbed ground to add support to the plant. If you're concerned your plant is top-heavy and can't support itself, push a wooden or metal stake into the ground on either side of the hole you dug. Tie a string to each stake, then gently tie the strings around the main stalk of the plant. Don't put the stakes into the planting hole, as they might not stay upright.
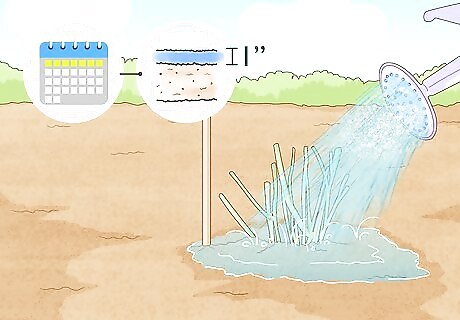
Water the plant thoroughly. Once your plant is in the ground, saturate the soil well. This will help encourage the root to start growing. However, don't flood the soil—if there's water standing on the surface, let it drain before you add any more. Don't fertilize the plant for at least the first 4 weeks. The water needs of your plant will depend on the type of plant you chose, but in general, try to give the plant about 1 in (2.5 cm) of water each week.
Rooting a Plant from a Cutting
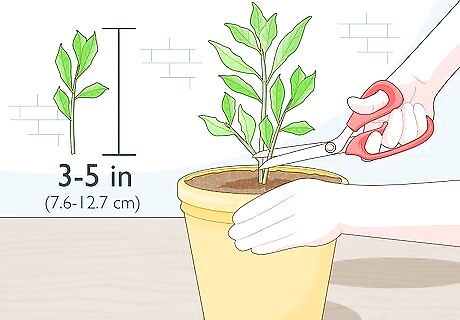
Use sharp garden shears to take cuttings from your plant. Try to snip a 3–5 in (7.6–12.7 cm) section of new growth from your plant. Cut carefully, since if you crush the stem, it may not root as easily. Avoid taking a cutting that's covered with flower buds, if it's possible. The plant will put energy into these buds that may take away from root growth. Only take cuttings from healthy plants. If the parent plant is diseased, the cutting likely will be as well. Research your plant to discover if cuttings are the best way to propogate them. Some plants are harder to root from a cutting than others. For example, it's possible to learn how to root an aloe plant from a leaf cutting. However, it's much easier to find an offset, or a pup, growing at the base of your plant. These have their own root systems, so you can just transfer them to a new pot.
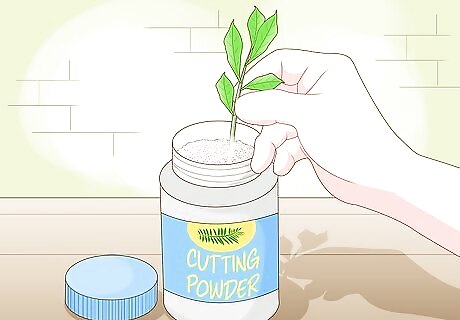
Dip the end of the cutting in root hormone to boost growth. Check your local garden supply shop for a compound designed to help promote root growth. These are often sold as powders. Pour a little of the compound in a separate container, then dip the end of each of your cuttings into the powder and tap the cutting to get rid of any excess. Pouring the compound into a separate container helps prevent cross-contamination if your cuttings have any bacteria or diseases.
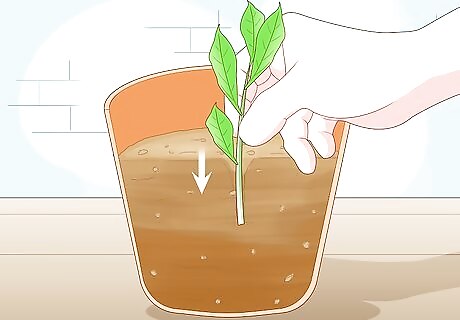
Push the cutting halfway down into a container filled with rooting medium. Place the cut end of your plant down into the container, and push until the cutting is buried 1/3 to 1/2 down its length. If you took multiple cuttings from the same branch, take special care to ensure that each cutting is upright, with the buds pointing upward. If the cutting is upside-down, it is unlikely to root. Your rooting medium needs to retain moisture while still providing good drainage. Coarse sand is a good option, but you can also combine equal parts peat and perlite or peat and sand, if you prefer. You can also place the cutting in a clean glass full of water and leave it there until roots develop. This is a good option if you want to keep a close eye on the roots.
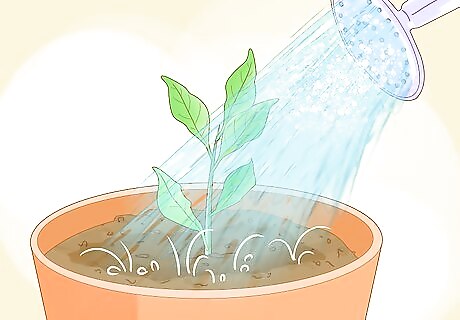
Water your plant thoroughly. If you put the cutting in a rooting medium like sand or perlite, give it enough water so all of the medium is damp. However, don't flood the plant, as you'll just wash away any rooting hormone you might have used. If you're rooting the plant in water, you can skip this step.
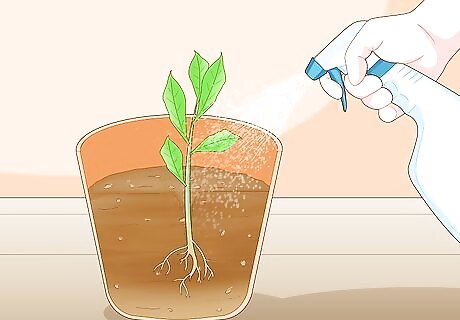
Keep the plant moist for 1-2 months or until it takes root. Each day, check the soil by pushing your finger down about 1 in (2.5 cm) below the surface. If it feels dry, use a spray bottle to mist the plant and rooting medium with water. You should also place the plant in indirect light, since direct sunlight will keep the plant too hot and dry.
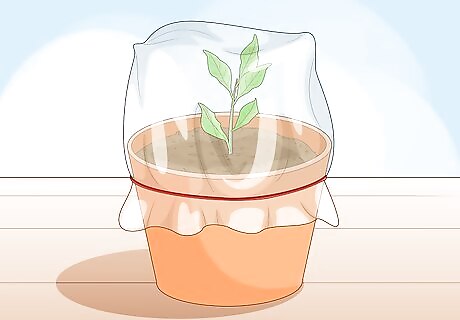
Cover the plant with plastic if you need extra humidity. When you're rooting a plant, you'll have the best success if you can keep the plant moist at all times. If you live in a dry environment, placing a sheet of thin, translucent plastic over the plant can help retain any moisture that's in the air, creating a more humid environment.
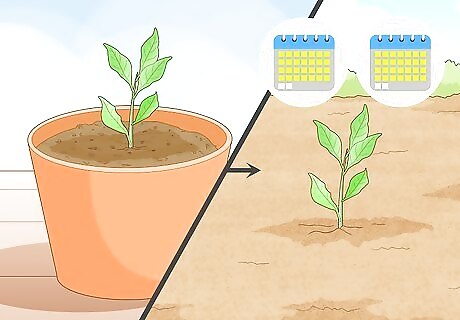
Transplant your cutting into a container or a bed. It should take about 4-8 weeks for your plant to develop roots that are 3–4 in (7.6–10.2 cm). At this point, your plant will need more nutrients to continue growing, but it may not be strong enough to move to its permanent home yet. For the best results, place it in a protected, raised bed, or put it into a container. Let the plant grow in this spot for about a year, then transplant it to its permanent location.


Comments
0 comment