views
Choosing What and When to Plant

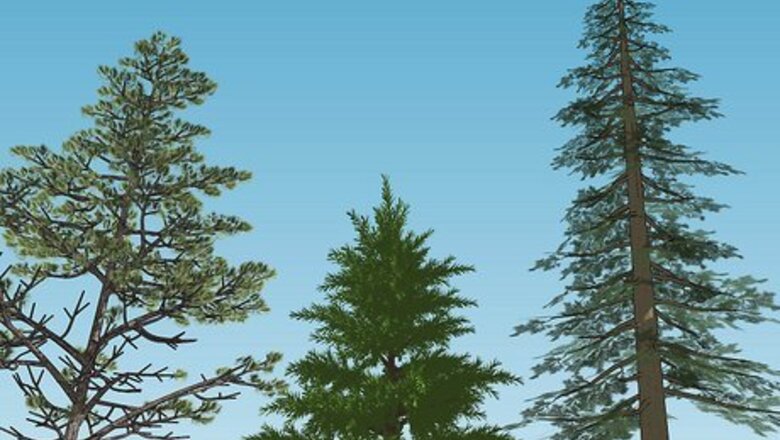
Pick which type of pine tree to plant. Choose between breeds that are native to your area. Ensure a successful growth with a tree that is proven to be well adapted to your climate and soil. Contact a local nursery or gardening store, which could identify the best candidates for you and/or provide reference material. You can also research which types of tree are best for your area through online resources or simply driving around your town and seeing what pines grow best.

Choose a planting method. Decide between planting bare root seedlings, containerized seedlings, pot-grown seedlings, or burlap-balled trees. Each is an effective method, but such factors as price, labor involved, and the best time of year to plant can vary between them. Bare root seedlings: the roots of these are entirely exposed, which makes them the most vulnerable to the elements. Containerized seedlings: these roots are covered by soil in a biodegradable container, which can be planted directly into the ground as-is. Pot-grown seedlings: with these, the roots are also covered by soil, but both the roots and soil must be removed from the pot before planting. Burlap-balled trees: as the name suggests, these young transplants have their roots and soil wrapped in burlap, which can be planted as-is.

Decide when to plant. The best window for your tree may vary in length depending on your region, but generally speaking, plan to do it in the fall or early spring (usually referred to as the “dormant season”). Avoid winter and summer, since extreme temperatures will most likely hinder healthy growth. Also bear in mind: Because of their vulnerability, bare root seedlings have the shortest window for planting. If you decide to go with these, find out exactly when the dormant season is in your area so you don’t plant your tree too early or too late. Pine trees are more resistant to frost than flowers. If you plant yours in spring, do so as soon as the ground thaws so you can maximize the later spring showers. However, you can still plant containerized seedlings, pot-grown seedlings, and burlap-balled trees later in the spring if necessary. Planting them in the fall causes less stress in the root system. However, burlap-balled trees fare the best through wintry conditions because they’re sturdier.

Wait until you’re ready to plant before buying. Promote healthy growth by planning to put your seedling or tree in the ground immediately upon purchase. If necessary, store them safely until the ground is ready, the weather improves, or whatever other delay involved resolves itself. To store them: Do not open their packaging. Repair any tears, holes, or opened seals with tape. Opened packages allow moisture to escape, which may cause the roots to dry out. Keep them out of the sun, in a cool, well-ventilated area, ideally between 35 and 38 degrees Fahrenheit (1.7 to 3.3 degrees Celsius), so they remain dormant until you’re ready to plant. If you’ve purchased more than one seedling and they come in boxes, keep your stacks no more than three boxes high. Allow room in between each stack so air can circulate between them.
Putting Your Tree in the Ground

Clear grass and weeds. A week before you’re ready to plant, spray the ground with herbicide to kill the roots of grass and weeds so your seedling or tree doesn’t have to compete for water. Once the roots die, physically remove them. Then use a spade to loosen the soil.

Test for drainage. You want your seedlings to have plenty of water, but you don’t want to drown them, either. To check drainage, dig a hole roughly a foot deep (30 cm). Fill it with water and then check it 12 hours later to make sure all the water has drained. If all the water drained, you’re good to go. If not, either install land drains, select another area to plant, or only plant a type of pine proven to fare well in very wet conditions.

Dig your hole. Dig a hole slightly larger than the seedling’s root structure or container, plus a little deeper (the bigger the root structure/container, the deeper the hole). You’re going to fill that extra space at the bottom with topsoil, so as you dig your hole, keep that soil accessible. Depending on how much you’re removing, divide the soil into different cups, buckets, or piles to keep track of it.

Line the bottom with topsoil. Topsoil has the most nutrients, so make this the roots’ first contact with the native soil. Once you’ve dug your hole, fill the extra space at the bottom with topsoil until the hole’s depth equals the root structure or container. If you live in a very wet region, or if this particular spot receives excessive water for whatever reason, add a little more topsoil to raise the top of the root structure/container a little bit above ground.

Inspect your seedlings. Before you stick them in the ground, double-check their health. Ensure a healthy growth by disposing of any seedlings or trees that already seem to be on their way out. Keep in mind that seedlings are very fragile, so be very gentle when handling them. Look for: Mold and mildew Missing or easily removed bark Broken stems and roots Dried-out roots

Separate roots. Ensure that they spread away from the base of the tree so they cover the most ground. This way the tree will have more access to nutrients and water in the soil. Depending on which method you’re using, do the following: Bare root seedlings: gently pry any major roots away from each other if they appear bunched together. Pot-grown seedlings: once you remove the root structure and soil from the pot, inspect the soil’s edges. If roots appear to have curved back into the soil after reaching the pot’s walls, gently straighten them. If necessary, widen your hole to accommodate them. Containerized seedlings and burlap-balled trees: these can both be planted as-is, if desired. However, removing the container/burlap enables you to correct curling roots as you would with pot-grown seedlings. It also promotes faster growth after planting.

Plant your seedling or tree. Place the root structure or container in your hole. Continue filling the hole, using the topsoil first. Softly tamp the soil with a small tool (like your shovel’s handle) as you go until the surface area is flat and even with the surrounding ground or slightly domed above it. With bare root seedlings, be sure to pack topsoil in between each root when you first place it inside. Don’t use your feet or other broad objects to tamp the soil. Stick to something that’s only one or two inches (2.5 to 5 cm) in diameter. This gives you more control so you can avoid damaging the roots underneath. Tamp gently, as compacting the soil too much can make it difficult for oxygen to reach the roots. The heavier or wetter the soil is, the less tamping it will need. With burlap-balled trees, you may need to stake them afterward to prevent them from falling over if they appear to be slanting or in danger of doing so.
Caring for Your Tree

Add mulch. Ring the base of the stem with mulch and keep the mulch off the trunk of th tree. Keep weeds down and trap water in the ground all at once. Replenish as needed to maintain a consistent cover. If using wood chips, avoid those from black walnut trees, which contains elements that could inhibit your pine tree’s growth. Create a well in the soil around the trunk if the weather is hot and dry. It will help keep water near the tree.

Erect a sunscreen. Protect your seedling from too much direct sunlight. If the area isn’t already adequately shaded, erect a sheet of plywood roughly 2’ x 3’ (60 x 90 cm) between the seedling and the afternoon sun, when it’s usually at its most intense. Paint or seal the wood first to prevent water damage. Other materials, like cheese-cloth or some plastics, may reduce the amount of sunlight it receives, so use those if that’s all you have. But since they won’t block it entirely, opt for wood if possible.

Water as needed. Test the soil underneath your mulch for dryness. If the soil is dry enough to crumble apart in your hand, add water. If the soil already feels moist, the tree should be fine as-is. Avoid over-watering, which could drown the roots. Exact water needs will vary depending on the type of pine tree, the amount of direct sun it receives, the time of year and climate, and other factors. Contact a local nursery for more precise advice for water needs in your region.

Shield from animals. If you have a lot of wildlife in your area, consider your seedlings at risk of being eaten or trampled. Favor physical barriers over repellants. Use chicken-wire to fence in the area and/or fit a plastic tube over the exposed seedling. Alternatively, to kill two birds with one store, simply install a plywood sunscreen around all sides.

Prune seasonally. Remove dead and/or lower branches in the fall or winter as the tree grows. Improve air circulation by getting rid of branches that appear dead or dying. Reduce the risk of disease by discarding any branches that touch the ground, where dead vegetation may collect and rot. Pine trees grow approximately 8 to 16 inches (20 to 40 cm) each year.


Comments
0 comment