views
Cleaning Tires
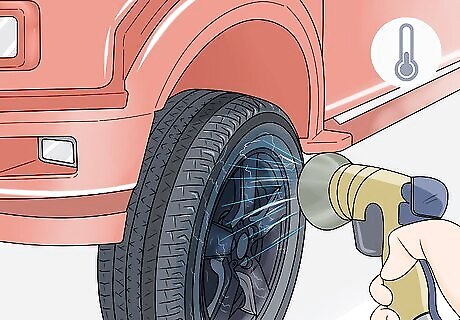
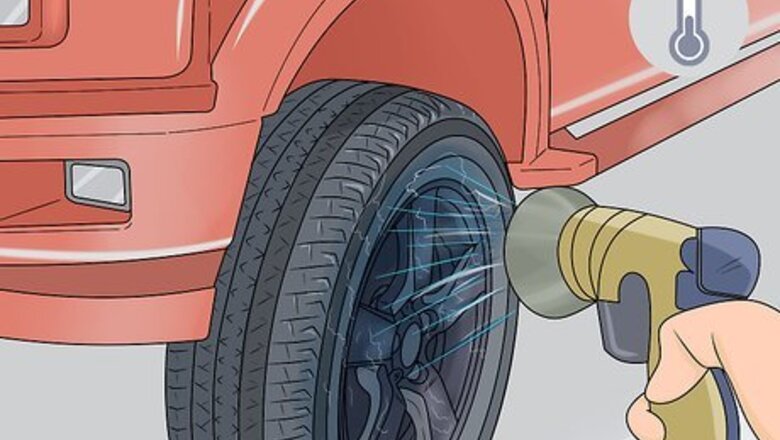
Hose the tires off with cold water. Park the car in your driveway or another place where you will be able to access a spigot or faucet. Connect a garden hose to a nearby outlet, then use it to spray down the tires. Get them completely soaked. Use the spray to remove as much debris as you can. If you are able to, clean the tires in a shady spot so they stay cool and don’t dry out as quickly. A pressure washer is more effective than a garden hose. If you have one, use it to blast more loose debris off while hosing down the tires.
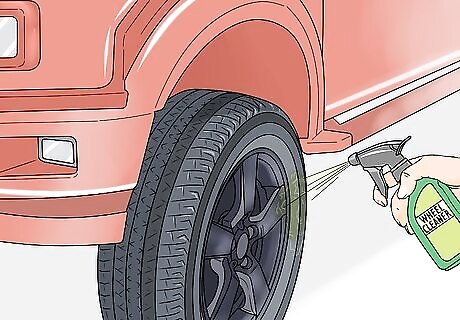
Spray a tire cleaner all over the wet tire. Purchase a quality cleaner specifically for tires. The best option to get is an all-natural whitewall tire wash, especially if your tires still have any paint left on them. Otherwise, you can safely use another wheel cleaner without any risk to your tires. Make sure the tire is well-covered, particularly the outer edge where the paint will go. Work on the tires one at a time. That way, you can focus your energy on one of them without worrying about the others drying off. Whitewall tire cleaners are formulated without bleach or alcohol, so they don’t crack or yellow paint. Other types of wheel cleaners may have harsh chemicals in them. Most of the products you can use to clean, remove, and paint tires are available online, at hardware stores, and at auto parts stores.
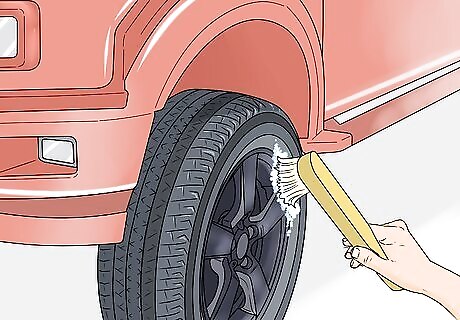
Scrub the wheel clean with a stiff-bristled nylon brush. Work on the tire in sections. For example, try starting at the top, completely cleaning it, and moving clockwise. It’s tedious work, but scrub every part of the tire to ensure there isn’t any loose debris that could get underneath the paint when you apply it later. If the tire starts to dry out before you finish, rinse it with clean water, then apply more of the cleaner. You could use a scrubbing pad if you prefer it to scrub brushes. Get a mildly abrasive, soap-covered steel wool pad, for instance, or a microfiber pad. Stiff scrubbers can scratch up your tires, so don’t use anything too abrasive.
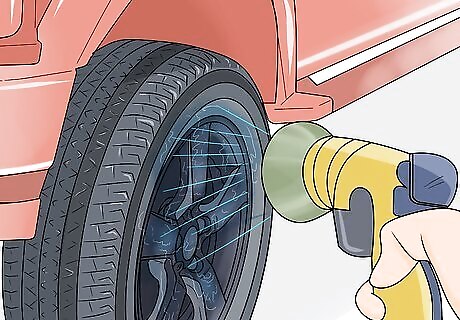
Rinse the tires with clean water from a hose. Spray the tires to remove the soap and any remaining debris. When you’re done, inspect the tires for cleanliness. Note any areas you may have missed earlier. Wash them before moving on. Double-check to make sure that the tires are completely clean! You could give them a quick wipedown again after you remove them to ensure they are ready to be painted.
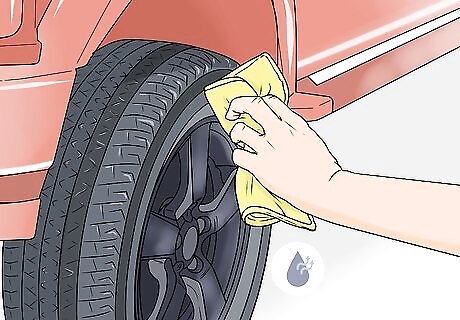
Dry the tires off with a terry cloth or microfiber cloth. Select a soft cloth that you don’t plan on using for any other purpose. Use it to wipe down each tire front to back and top to bottom. Once the tires are clean, set aside your cleaning tools to prepare for painting. Save your cloth and other tools specifically for your tires. They could have harmful things, such as brake dust on them. Brake dust is very abrasive and can harm your car’s paint job, for instance.
Removing Tires
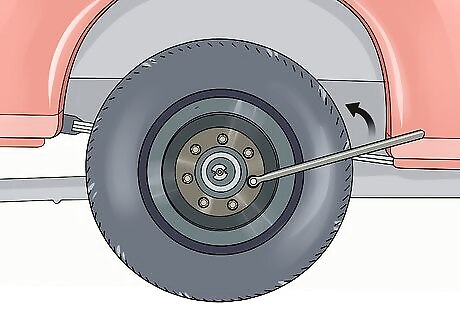
Loosen the lug nuts with a tire iron if you’re removing the tires. Use the tire iron to break the lug nuts loose. Give them a quarter-turn counterclockwise, but leave them on the wheels. If they are stuck, spray them with a rust-breaking lubricant like WD-40. You could also use other tools, like a wrench or a socket wrench. If you’re unable or unwilling to remove the tires, take care to cover the edges and rims. You can paint tires while they’re on a vehicle and still get a quality finish, but it’s a little easier to do it while they are on the ground.
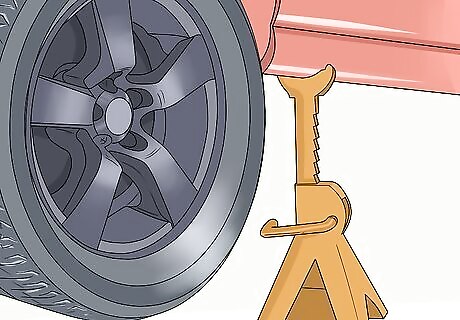
Lift the car on a jack if you plan on removing the tires. Find the jack point on your car, which is usually right behind front wheels or ahead of back wheels. Slide a jack underneath the car, then crank the jack’s lever clockwise until the tire is off the ground. Slip a jack stand next to the jack to keep the car stable while you work. When jacking up a car, park on solid ground in an area away from traffic. Work in your garage, for instance. Soft ground, such as grass and dirt, can’t support the vehicle’s weight. Focus on one tire at a time. It’s better to remove, paint, and replace them individually instead of all at once. You will have to move the jack and jack stands to remove each tire. If you’re removing them all at the same time, use plenty of jack stands, blocks, or hydraulic lifts to keep the car off the ground.
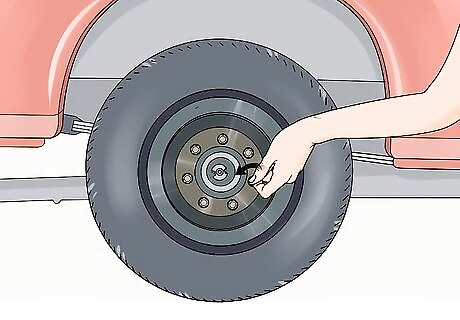
Unscrew the lug nuts by hand or with a wrench. Since you loosened the lug nuts earlier, they should be easy to remove now. Just rotate them counterclockwise until they come off. Switch to using a wrench if they are still a little resistant. Then, set them all aside in a safe spot for later. Be careful to avoid moving the car at all. Make sure it’s secure on the jacks before attempting to remove the wheels.
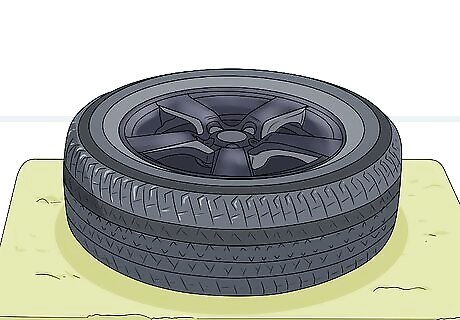
Remove the tire and lay it flat on a covered surface. Place a drop cloth or a piece of scrap material, such as a sheet of cardboard, on the ground. To pull the tire off, stand in front of it and pull it toward you with both hands. Afterward, place it rim-side up on the floor. Don’t paint on an uncovered surface. Painting can get a little messy, so your floor could end stained before you’re through. Drop cloths are available online or at most hardware stores. However, scrap material works just as well, but make sure it’s bigger than the tire.
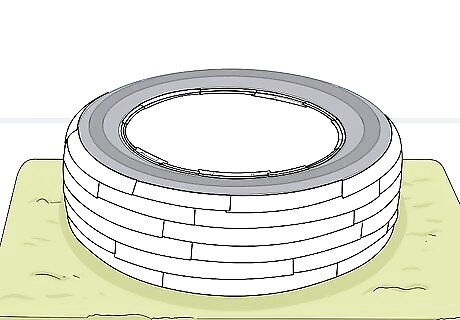
Cover the tire with ⁄2 in (1.3 cm)-wide masking tape. Check the tread around the outer edge of the tire. Tires have a slightly raised ridge on the edge of the tread. Place tape around this ridge, then cover the metal rim with tape as well. You could also cut a piece of cardboard and tape it over the rim. It will help keep the rim clean. Make sure the tire is well-sealed so paint doesn’t leak under the tape. It can prevent you from getting that clean, circular pattern whitewall tires have.
Applying Whitewall Paint
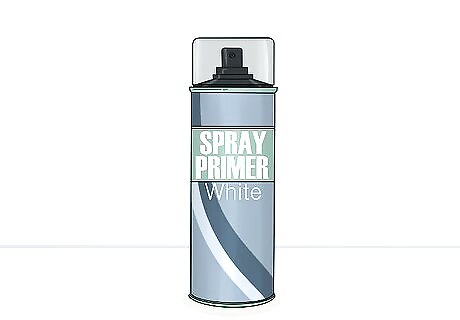
Select a white spray primer if you want extra protection for the paint. Choose one that is water-resistant and good on exterior surfaces. General, all-purpose spray-on primers are fine. Try using a flat-colored primer so that it doesn’t show through the paint when you add it later. While you can paint without using a primer, whitewall tires have a chemical in them that causes paint to turn brown. Using a primer can help block out that chemical. Make sure the primer is compatible with the type of paint you’re going to use. If you’re using a general primer, this won’t be a problem.
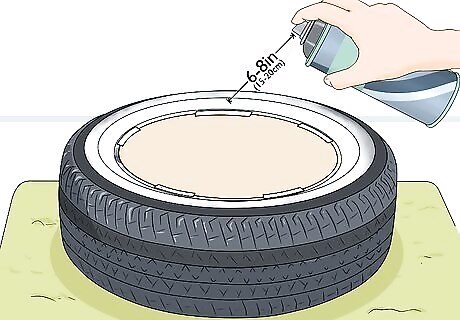
Apply a coating of primer to the tire. Hold the spray can about 6 in (15 cm) from the surface of the tire. After shaking the can briefly, press the button on the nozzle to begin spraying the primer. Work from top to bottom, moving along the uncovered portion at a moderate, consistent pace. Cover the rubber in a single, consistent layer of paint. Finding the right pace can be a little tricky if you have never used spray paint before. Watch how the paint sticks. If it looks spotty, sweep the canister along at a slower rate, and speed up if the paint builds up too much.
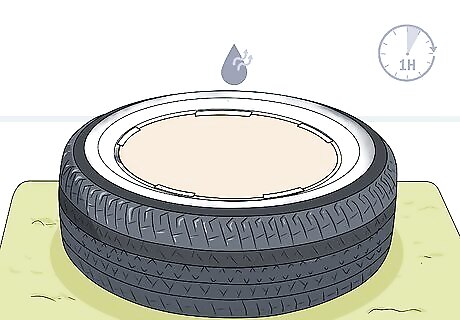
Wait 1 hour for the primer to dry before recoating it. Spray primer dries quickly, so you won’t have to wait too long to continue working. Make sure the primer feels dry to the touch before doing anything else to the tire. Then, check the base layer of primer. If it looks thin or uneven, refinish it with a second layer. Check the manufacturer’s instructions for the recommended drying time. Keep in mind that the primer will take longer to dry in cool or humid conditions. Since whitewall tires often discolor paint, it’s a good idea to add 2 or even 3 layers of primer to help block out the chemicals.
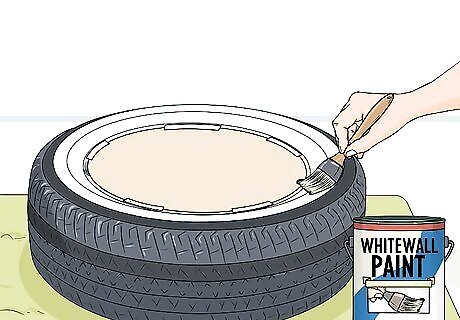
Spread a whitewall paint over the tire with a brush. Purchase a whitewall tire paint and a regular, soft-bristled paintbrush. After stirring the paint, dip the brush in to coat the bristles, then apply the paint over the area you primed earlier. Keep the coating as consistent as possible. Whitewall paint is available online. It can be somewhat expensive and difficult to find. Plus, it doesn’t always stay white for very long. Another option is to use white spray paint. Try using one designed for difficult surfaces or plastic. Acrylic house paints can also work pretty well, but you can also use Plasti Dip.
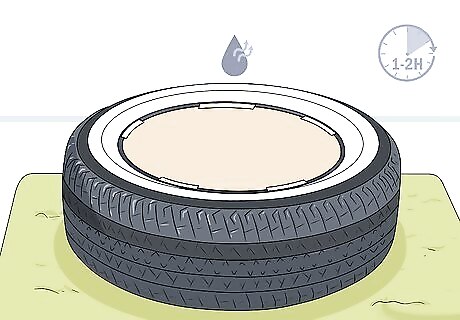
Let the paint dry for 1 to 2 hours. Check the manufacturer’s recommendations first, since the drying time will vary depending on what kind of paint you use. Make sure it’s dry to the touch. Keep in mind that the paint will take longer to dry during cool or humid weather. While you’re waiting, you can clean off your paintbrush to prevent it from accumulating dried paint. Dip it into a small, plastic container filled with turpentine, then let it dry on its own before using it again.
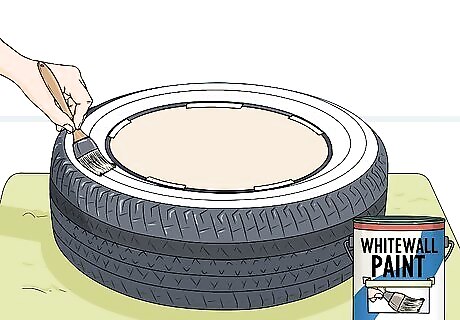
Apply a second coating of whitewall paint onto the tire. Work slowly to avoid getting the paint on the rest of the tire. When you’re done, let the paint dry, then check its consistency. If it still looks uneven, add an additional layer. After the paint has finished drying, peel the tape off the tire and clean your paintbrush. You could also finish the tire with a clear coat. It’s a transparent type of paint that blocks sunlight, preventing underlying paint from yellowing.




Comments
0 comment