views
Building a Table Lamp
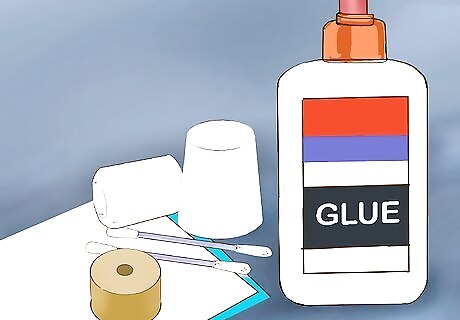
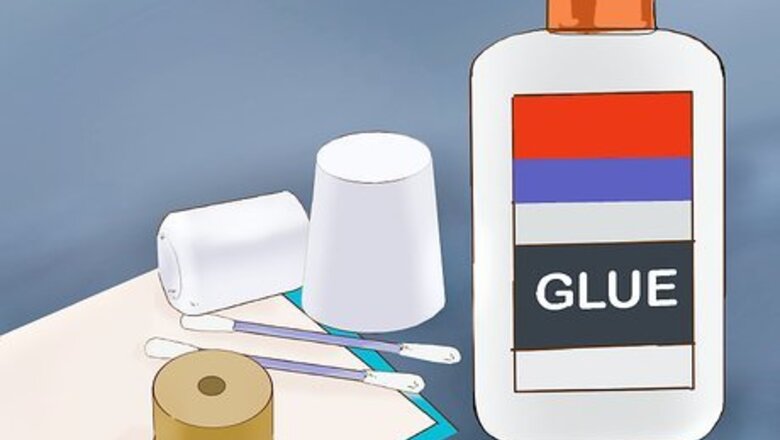
Gather supplies. Whether you purchase your supplies at a dollar store or at your local craft store, you will need foam marshmallow, cardstock, a cotton swab, a wooden bead, glue and paint. Create a lampshade using foam marshmallow, use the wooden bead to create a detailed lamp base, cover the lampshade with the cardstock, and use the cotton swab as your lamp post. Foam marshmallow is a small piece of foam that looks exactly like marshmallow. Cardstock is similar to scrapbook paper but thicker. Choose your prefered colours as craft stores often carry a wide variety. Avoid using super glue on foam as it is strong enough to disintegrate it.
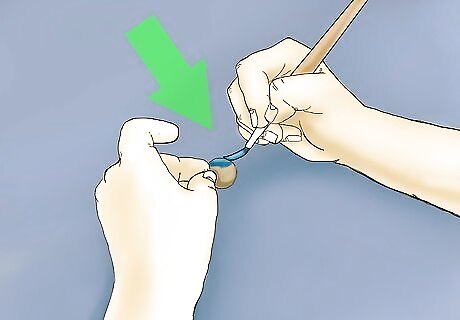
Paint the wooden bead. Choose a colour that fits the scheme of your furniture set. It will save you money if you are able to use your paint on multiple pieces of furniture. Use a fine tipped paint brush which can be purchased at your local crafts or art supply store.
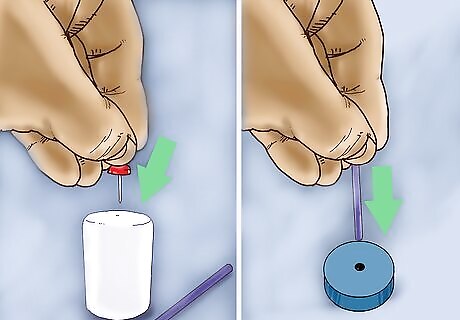
Choose your height. Using a pin or razor, poke a hole in the foam marshmallow at its center. Cut the cotton tips off of the cotton swab and use the remaining wood shaft as your lamp post by inserting it into the hole at the center of the foam marshmallow. Place the other end of the lamp post into the wooden bead and adjust to your prefered height. Use sharp scissors to cut the cotton swab as dull scissors may cause it to splinter. Cut in small increments to ensure that you don’t make your lamp too short.
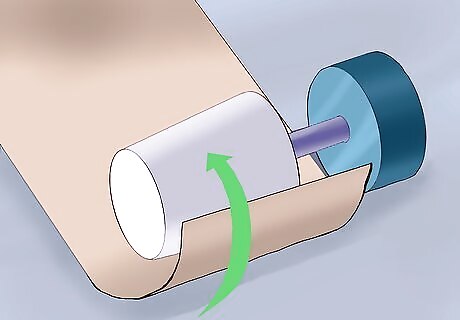
Create the lamp shade. Place the cardstock around the foam marshmallow to measure the height and width of your lampshade. Be sure to add some extra leeway on the height so you can fully cover the foam. Once satisfied with your measurement, cut the cardstock and glue it onto the foam marshmallow for your lampshade. Add a drop of glue into the opening of the bead and stick the cotton swab in to complete the lamp. Center foam before gluing the cardstock. Make sure that there is a small space at the bottom and top of your lamp shade. Allow each piece to dry completely.
Creating a Storage Tote
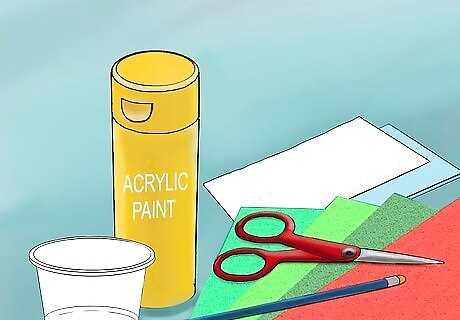
Gather your supplies. You will need to obtain a fast food dipping sauce container that approximately 2.25 inches (5.71 cm) x 1.25 inches x 1 inch (2.5 cm) high. You will also need fun foam (3” x 2”), white card stock paper (10” x 3/16”), acrylic paint, glue, matte sealer, scissors, and a pencil. The fun foam can be any colour as you will be painting it. The paper needs to be card stock as regular paper will ripple when painted. Choose your prefered colour of acrylic paint and a matte sealer as glossy will provide too much shine.
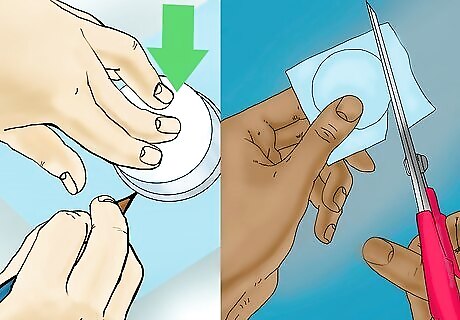
Ready your container and lid. Wash the container and dry it completely. Smoothen the lip by trimming any extra plastic. Turn the container upside down and use a pencil to trace the face of the container onto the Fun Foam in order to make the lid. Cut out the lid being mindful not to create any jagged edges. Glue the container’s top to the fun foam. Make sure the glue has completely dried before you trim the edges. Cut the edges to ensure the top is smooth and to avoid any ripples.
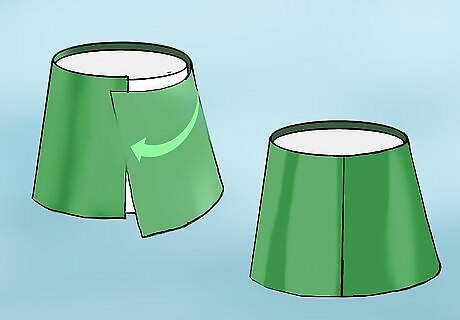
Attach the lid lip. Starting at the short end of the container, wrap the strip of cardstock around the edge and create the lip for the top of the container. Slightly overlap the beginning and end of the cardstock as you continue around the entire edge of the container. Use tweezers or forceps to set the cardstock in place and glue where necessary. Let the glue dry and be mindful to only use a little bit of glue as any excess will create visible drops or marks. Trim any excess cardstock to create a smooth even line all the way around the container.
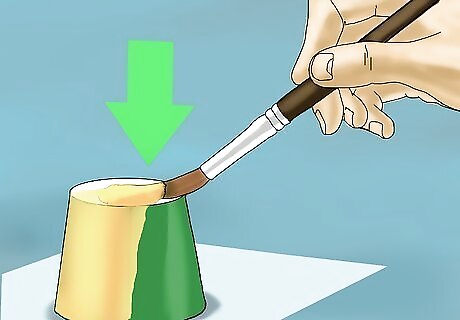
Paint and seal. Choose your colour and paint several coats on both the tote and the lid. Dry before applying each coat and aim for at least 3 coats of paint. Once your final coat has dried, apply sealer it give it a plastic finish. Use a fine tipped paint brush or cut an angled piece of foam to apply the paint and sealer. You may also add a label or graphic design to your tote.
Creating a Bed
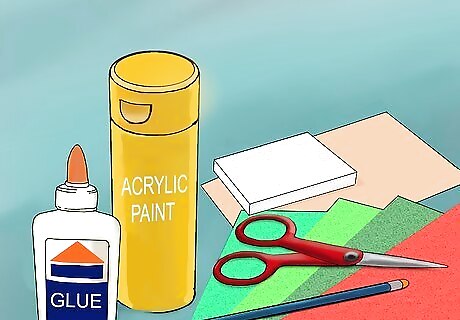
Gather your supplies. You will need cardboard, glue, acrylic paint, and foam to use as stuffing for the bedding and mattress. You may find these items at a dollar store or your local arts and craft store. There are many types of foam but you want to go with something that isn’t very rigid as you may not be able to stuff it into the bedding and mattress. Polyurethane foam is low quality and, as such, the cheapest choice; however, it is used for regular bedding and packing filler, and will be easy to place inside your bedding and mattress. You do not want to spend a lot on your foam because it will be covered and you will only be using a small amount.
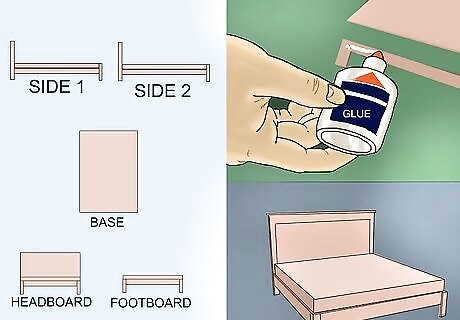
Cut out and assemble a bed frame. Find a bed frame pattern online and measure to your preference. Your headboard and footboard should roughly be the same size or the headboard may be slightly larger. Once you're satisfied with the size, cut these two pieces from your cardboard. Measure and cut the base of the bed. This will be slightly larger than your mattress. The base of the bed will be comprised of 2 side pieces that will be long and skinny rectangles. These will connect to both the headboard and footboard to create your bed frame. You should have 5 total pieces made from your cardboard: headboard, footboard, base, and 2 side pieces. Glue all 5 pieces together to create the bed frame by gluing the headboard and footboard with the base and adding the side boards at the end. The side boards will be placed along the exposed edges of the bed.
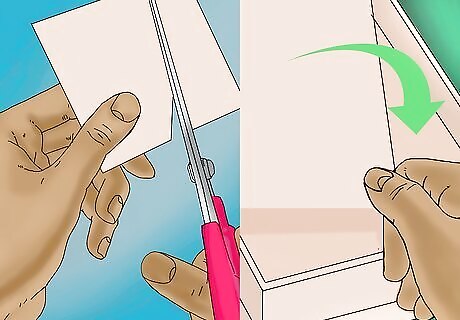
Build the mattress. Cut and stuck some cardboard so that they fit snuggly in the bed frame without obstructing your headboard or warping the frame. Glue the pieces together and use wrapping foam around the cardboard once dry. Stitch the foam around the cardboard.
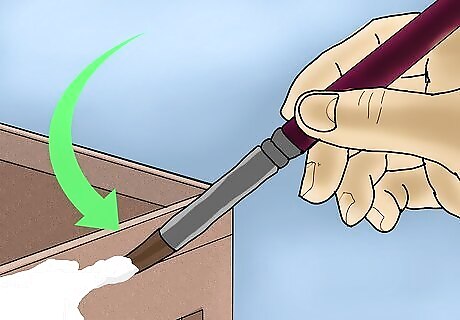
Paint the bed frame. Paint your bed frame with acrylic paint. Use a fine tipped brush that may be purchased at a dollar store or an arts and craft store. You may need up to 3 coats to depending on how dark and rich you want your color to be. You may add a design or stickers once the paint has dried. Once painted, place the mattress into the bed frame and glue it into place.
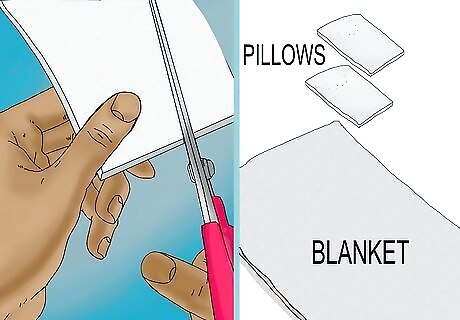
Make a blanket and pillows. Hold a piece of foam against the mattress to measure the width of your blanket so that the edges come slightly past the bed. Cut 2 rectangle pieces of foam for your pillows. You may cut them to your prefered size or cut extras for throw pillows.
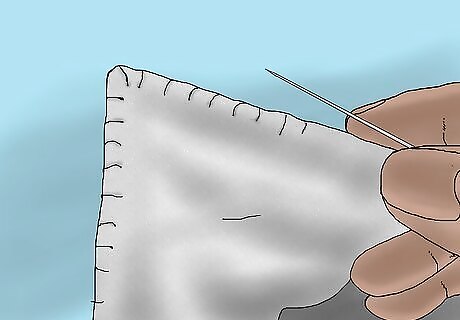
Stitch up a blanket cover and pillow cases. Cut cloth for your pillows and blanket making sure that you leave enough excess fabric that it covers the foam and can be stitched closed. It is easiest to cut two pieces of fabric to cover each pillow and your blanket. Leave the detailed fabric, or part of the fabric with a design, facing inside as you stitch the pieces together. Leave a small opening before closing and turn the fabric right side out. Cover the foam and stitch the cover closed by folding the opening in and stitching the side. You may also add embroidery or design if you have the time.


Comments
0 comment