views
X
Expert Source
Susan StockerGreen Cleaning Expert
Expert Interview. 8 November 2020.
Making Liquid Soap from a Bar
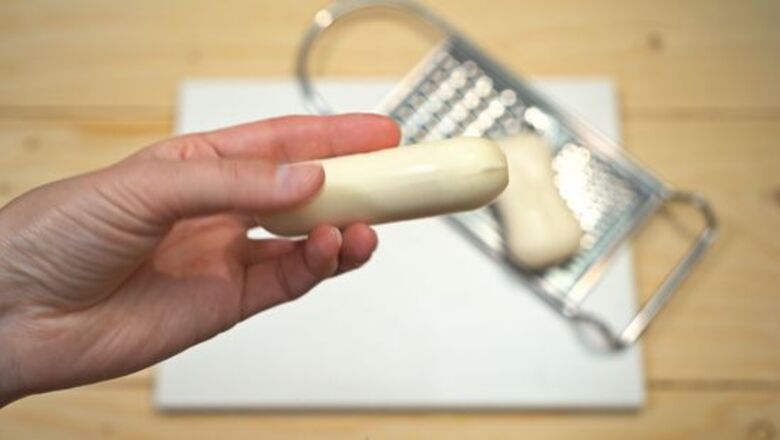
Choose a bar of natural soap. You can use any bar you like. The finished product will inherit its properties (like scent) from the bar you choose, so make sure that you choose one that you like. Creating liquid soap from a bar of soap is much faster and safer than making soap from scratch, as you will not have to work directly with any lyes. Your finished product will only be as “natural” as the bar of soap you choose. When specifically trying to make natural soap, make sure you have read the ingredients list on the bar you are using.
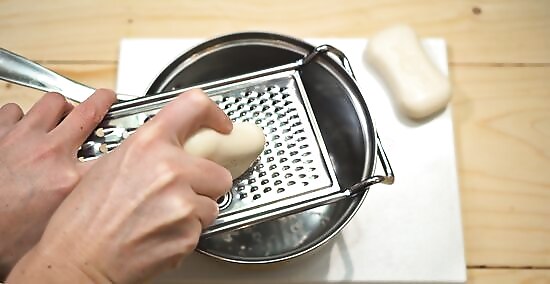
Cut or grate the soap into a pan. The more finely you grate the soap, the easier it will be to combine it with water. A conventional kitchen grater will get the job done just fine. If you use a grater that you use in your kitchen for food, make sure that you rinse it thoroughly before using it again.
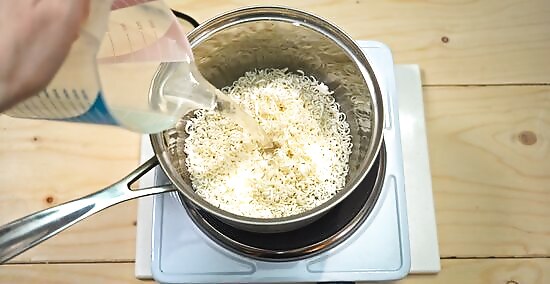
Add water. Use about 950 grams of water (about 4 cups) for an average sized bar of soap. You may alter the amount slightly depending on how thick you want the resulting soap to be. Using substantially less water, about 350g, you can create a cream-like soap that can be used for shaving. You can vary the water amount depending on the precise thickness you want, using the above amounts as a guideline.
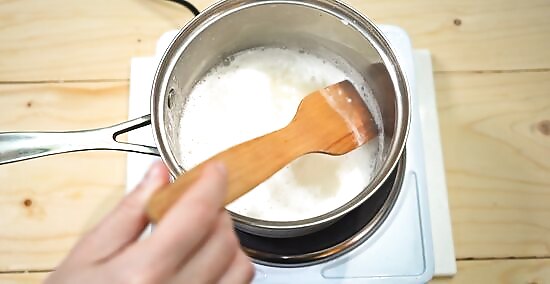
Bring the mixture to a simmer and stir until combined. It will take about 15 minutes for the soap and water to combine. When it is done, it should have a frothy, soupy look. Before moving on, let the mixture cool for about 15 minutes. Repeat this entire step if the mixture is becoming separated.
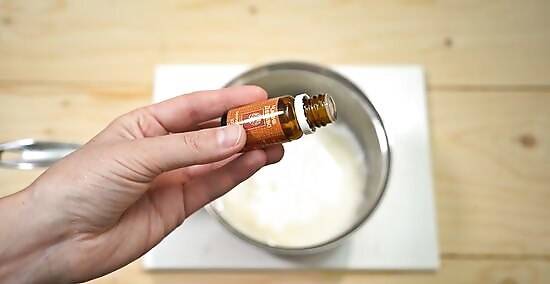
Add essential oils. You can choose to skip this step if you do not want to add any additional scents to your soap. If you do want to add essential oils to create your own scent, it is best to start with a neutral, scentless soap. Essential oils are very strong; a few drops is all you need. Simply put a few drops into the mixture, and stir thoroughly.
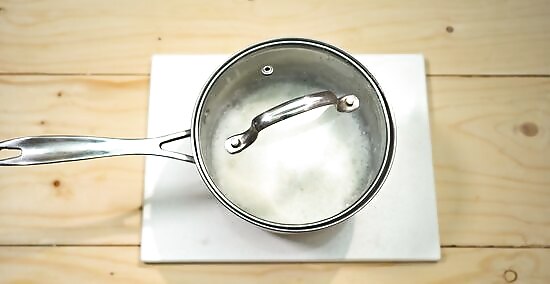
Let the soap sit for 24 hours. It takes about between a half and full day for the soap to fully “gel.” You can leave the soap in the same pan you used before, or transfer it to another container. If you shake the soap and it retains its gel-like consistency, it is ready to use. Make sure you add essential oils only after the soap has cooled and sat for 24 hours.
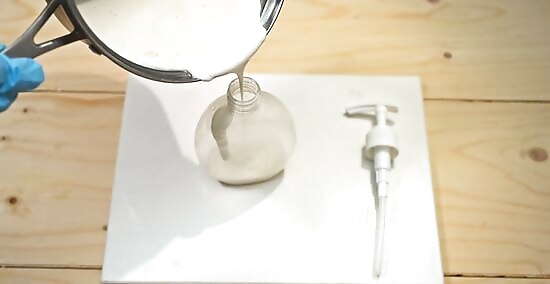
Pour the soap into dispensers. The soap will be ready to use immediately. When creating large amounts of soap that you might not use all at once, make sure that you store the excess in a clean, sealed container.
Making Liquid Soap From Scratch
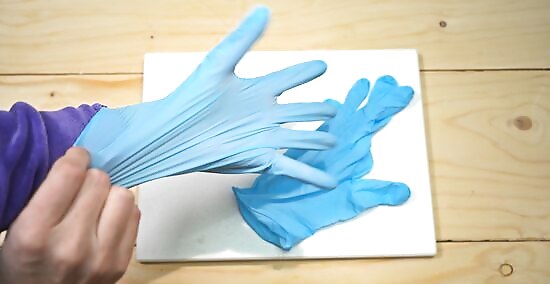
Wear your protective clothing. You are working with chemicals that can cause damage to your skin. Make sure to keep your skin covered at all times. Protective gear includes: Safety goggles/glasses. These are absolutely necessary to protect your eyes from any chemicals that may splash up. A long-sleeved shirt. Protective gloves.
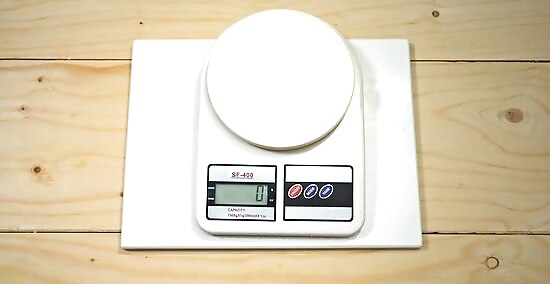
Prepare your kitchen scale. Using a scale allows you to measure your ingredients very precisely. Zero out the scale, remembering to put the empty vessel you will be using on top.
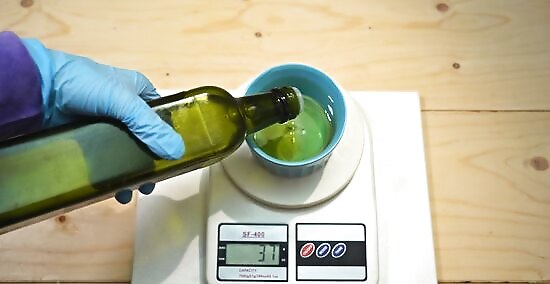
Measure out the required ingredients. Measure the water (170g, 850g), potassium hydroxide (100g), olive oil (350g) and coconut oil (150g) into separate bowls or containers, so they are ready to be combined with each step. Make sure that you use a dry bowl or container for the potassium hydroxide. You do not want it to contact water until you are making the soap.
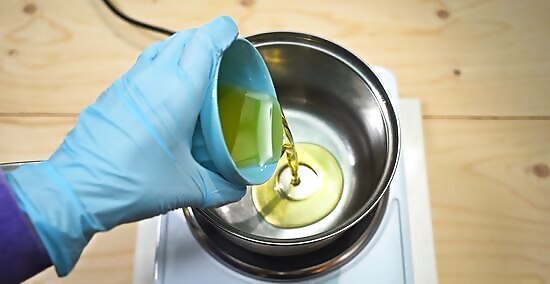
Mix the oils together over low heat. Add 150 grams of coconut oil. Add 350 grams of olive oil to the coconut oil. Stir the oils together briefly, then leave over low heat while doing the next step.
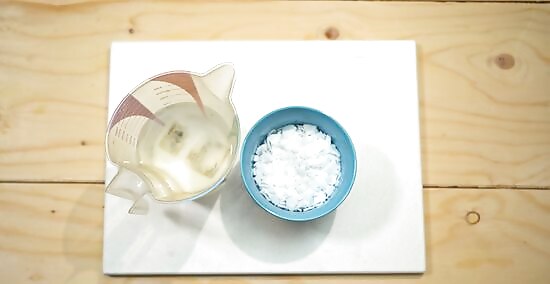
Measure 100 grams potassium hydroxide and 170 grams water. Use your kitchen scale and be careful to measure accurately. 100 grams potassium hydroxide 170 grams water Set aside.
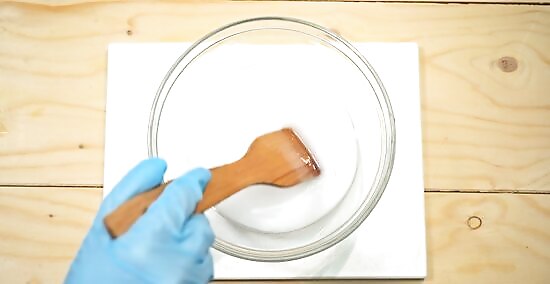
Pour the water into an empty bowl. Then add the potassium hydroxide slowly and stir until the solution is clear. WARNING: Do not pour the water over the potassium hydroxide! This can cause the chemical to react and splash up dangerously. Mix in a well ventilated area. If you are inside, open the windows. The mixture will heat up, so let it cool before moving on. Combining water and potassium hydroxide will cause a chemical reaction. This is normal, but be careful. Always be sure to keep your goggles on throughout the process.
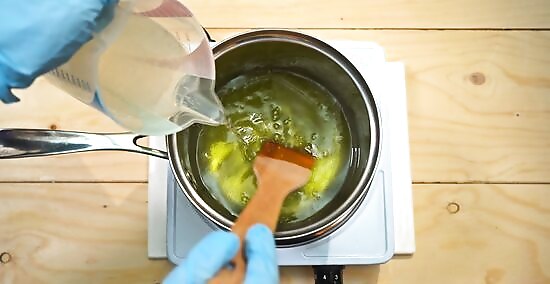
Add the water mixture to the oil mixture Pour slowly to avoid splashes. Keep the area well ventilated. Ensure the entire mixture is poured into the oil.
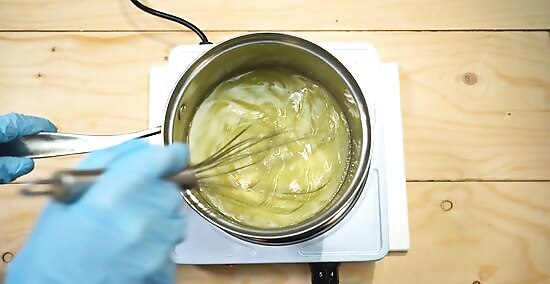
Stir by hand for five to ten minutes. You want to ensure the oils, water, and potassium hydroxide are fully and completely mixed together.
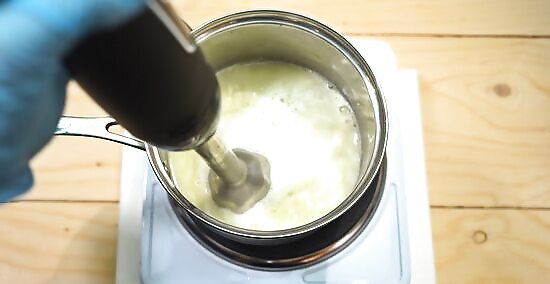
Mix with an immersion blender until the soap reaches “trace.” Immersion blenders are sometimes called “stick blenders.” This well help you to achieve the right consistency in your soap much faster than mixing entirely by hand. Trace is a pudding-like consistency. If you can pull the blender out from the soap, and the circular outline of the blender remains slightly raised in the soap for a few moments, it has achieved trace. If you do not have an immersion blender, you can stir by hand. However, this will drastically increase the amount of time the soap takes to achieve trace.
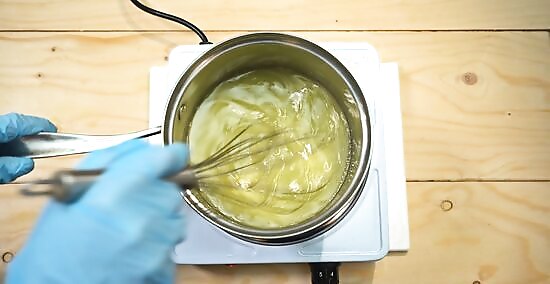
Continue heating over low heat for several hours, stirring every half hour. Returning to stir regularly is an important part of the process. Make sure the soap does not separate. The soap will be done when it resembles a clear jelly. Nearly finished soap will be very difficult, if not impossible, to stir.
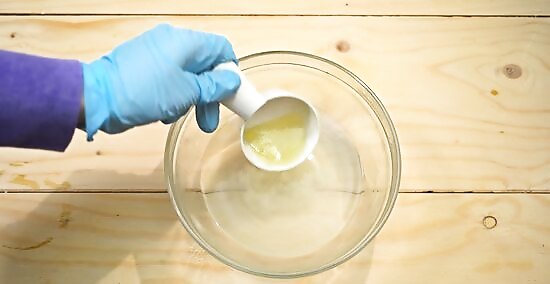
Test the soap. Add a small amount of soap to a small amount of boiling water in the in 1:2 proportion. You’ve created the base for your soap, but it is not quite ready to use. If, when mixed, the solution is clear, you’re done! If the mixture is a milky white, then return it to the heat source and continue heating for another thirty minutes and repeat until the solution is clear.
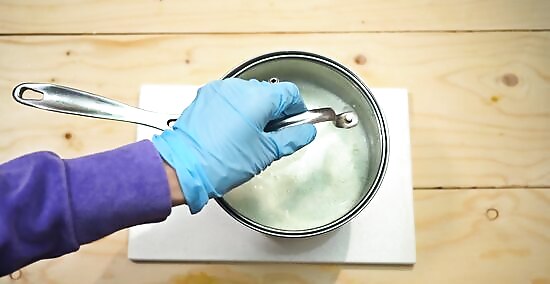
Bring the 850 grams of water to a boil. Then combine the water with the jelly solution you have created. Stir until completely mixed and then take off the heat and let the soap cool.
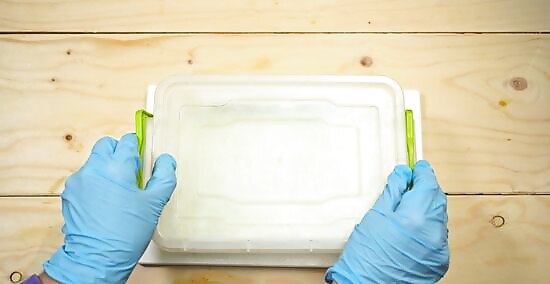
Let rest in a jar or other sealed container. You should let your liquid soap rest for an extended period of time. Soap may need to rest from a period of a day or two up to several weeks. The soap will be ready to use as soon as it cools, but letting it sit will add clarity that you may desire.
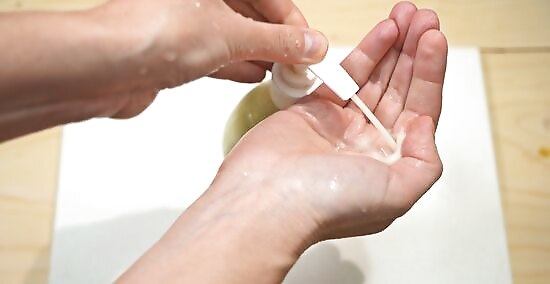
Pour the soap into dispensers. You will likely have made more soap than will fit in one dispenser, so distribute your liquid soap into dispensers for use around your home. When creating large amounts of soap that you might not use all at once, make sure that you store the excess in a clean, sealed container.


Comments
0 comment