views
Preparing the Crates for Assembly
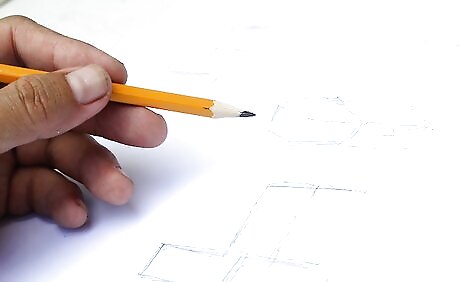
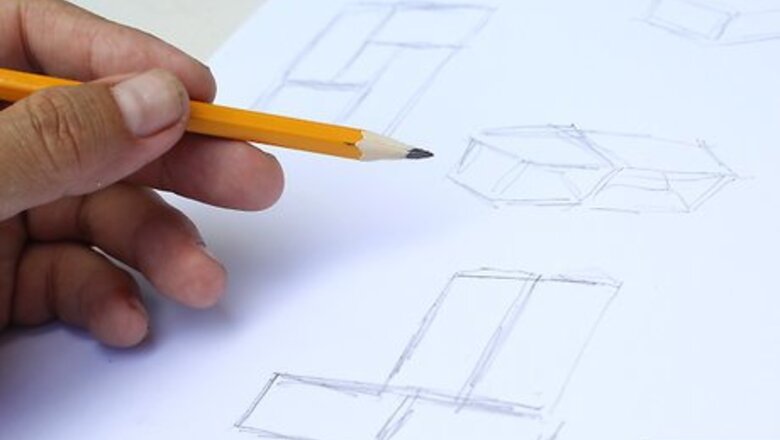
Plan a simple bookshelf design. You won't know how many crates you'll need to buy or scavenge until you plan out your crate shelf. Think about how many rows of crates wide your shelf will be. Crates can be stacked one on top of the other to add height to a shelf. Keep track of the total number of crates. Same sized crates can be stacked side by side, with additional crates stacked on top to form a bookshelf shape. Singly stacked crates will make a simple bookshelf design.
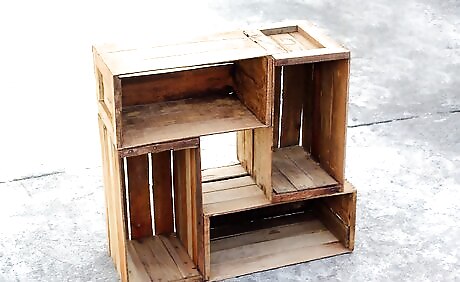
Create shelves with a gap in the center. Fasten two crates together to form an L-shape. One crate should stand on its end and the other lay flat. Similarly, two other crates can be fastened like a 7. The L and 7 shapes can then be attached at the top and bottom to make a unique shelf with a gap in the middle. It may help you to visualize a design by drawing it out. With a pencil and paper, draw simple boxes to represent crates. Arrange these to your preference.
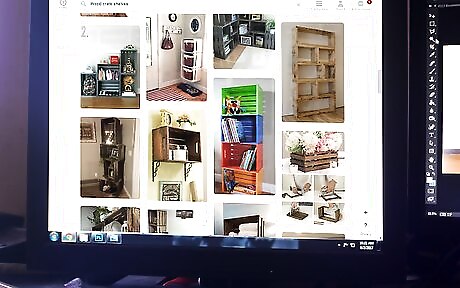
Look for inspiration for crate shelf designs online. When trying to think up a neat design, looking at the designs of others can help. Check Pinterest or do an online keyword search for “crate shelves.” Bookmark websites that have designs you like so you can find them easily again. Combine your favorite features into a single design all your own.
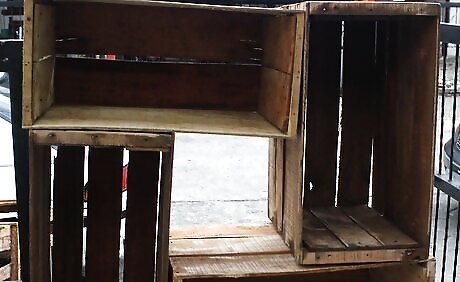
Keep shelf sturdiness in mind when planning your shelf. Some designs may look good on paper but aren't safe in reality. If you're a beginner, you may want to start with a simple bookshelf design, as it is relatively stable.
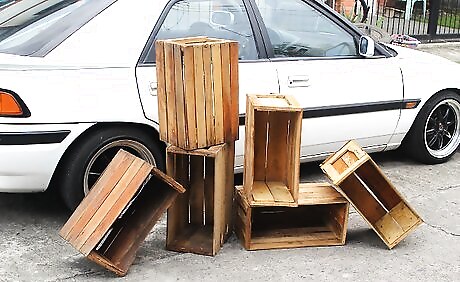
Gather your supplies. Most of these supplies can be bought at your local hardware store. Crates are sold at many craft stores, hardware stores, and home centers. Choose sturdy, unfinished, wooden crates. Including the crates, you'll need: 1-inch (2½ cm) screws Drop cloth (or a similar cover, like newspaper, plastic tablecloth, or an old sheet) L-bracket (x1; to attach the shelf to a wall) Lint-free cloth (x2) Paintbrushes (optional) Power drill (and drill bits) Primer and paint (or wood stain; optional) Sandpaper (medium grit, between 60 and 100 rating) Unfinished wooden crates
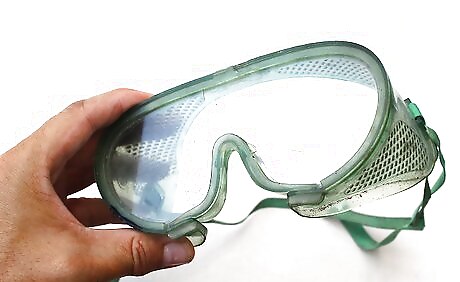
Ready your work area. Choose a flat, sturdy, level surface, like a work bench. You can create an outdoor workbench by lying a sheet of plywood between two sawhorses. Lay out a drop cloth or similar cover over your work area to catch sawdust and stray paint or wood stain. Paint and wood stain fumes can build up dangerously in enclosed spaces. Because of this, choose a well-ventilated workspace if you plan to paint or stain your crate shelves.
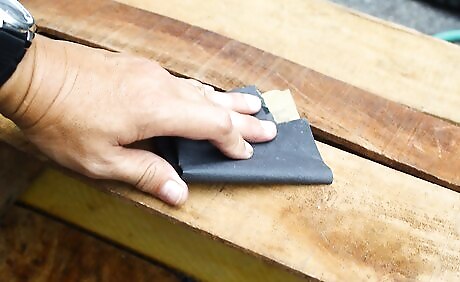
Sand the crates. Rub sandpaper in the same direction as the grain of the wood with firm, moderate pressure. When the wood is smooth, sand the next portion. Continue this until all of the crates are smooth. Wipe the crates with a lightly dampened, lint-free cloth to remove sawdust and dirt. Follow this with a dry, clean, lint-free cloth. The grain of the wood is the direction formed by the natural lines in the wood. Follow these natural lines with your sandpaper to achieve the best finish. This process may take an hour or longer depending on the condition of your crates and the total size of the shelf. Speed this process up by using a belt sander or orbital sander.
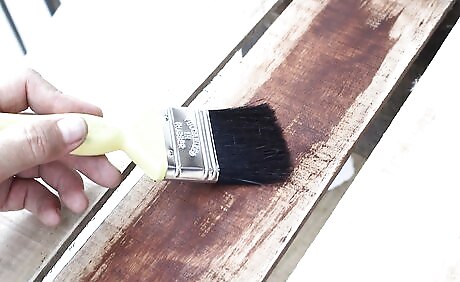
Paint or stain the crates, if desired. Prime wood first before painting for the best results. Wood stain can generally be applied directly to clean, sanded wood. For most wood stains, you should wear gloves when applying it to prevent it from staining your skin. Allow painted shelves to dry fully before assembling your shelf. This time will vary depending on the paint or wood stain used. Check the label of your product to determine the drying time. Follow the label instructions on your paint or wood stain to achieve the best results. In many cases, you may need to use several coats to produce an even finish.
Assembling Crates as a Shelf
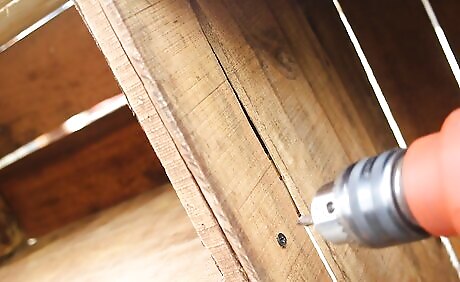
Screw the shelf together. Arrange the crates in your planned design. Inspect the crates for stability. When the crates are in place, fasten the crates together with screws. Two screws connecting each crate to its neighbor at its corners should do the trick. Keep the crates steady while fastening them together. Crates screwed in incorrectly will be easily noticeable. Have a friend or family member hold the crates in place as you fasten them.
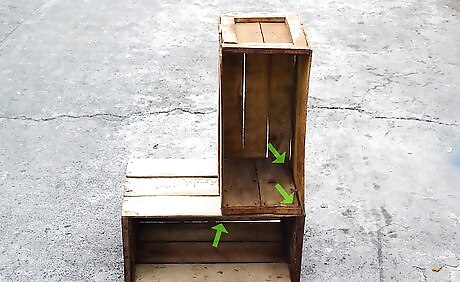
Test for stability and reinforce the shelf with screws, if necessary. Apply gentle pressure with your hand to test the balance of the crate shelf. Press on the inner parts of the shelf with gentle pressure. Increase pressure gradually. Add screws to crates that feel like they need more support.
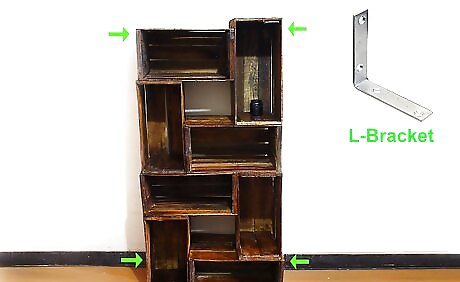
Attach the shelf to a wall with an L-bracket for added stability. Measure the total height of your crate shelf with a tape measure. Mark this height on the wall where the shelf will be positioned. Screw the bracket into the wall so it can fasten the shelf to the wall. Screw the bracket into the top of the shelf. To prevent the shelf from damaging your wall, anchor the L-bracket into a stud. Find studs with a studfinder or other simple techniques. Crate shelves can be somewhat light. If you don't intend to fill your shelf with heavy items, like books, an L-bracket will keep your shelf from falling over.
Adding to Your Shelf
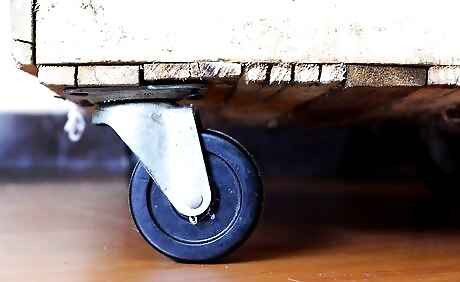
Attach casters for a rolling shelf. Crate shelves that are only a single crate high make excellent shoe storage spaces or as cubbyholes. Make these portable by attaching casters to the bottom four corners of the shelf. This can also be done larger crate shelves, like those shaped like bookshelves. Casters or similar wheels can be purchased at your local hardware store or home center. These are generally attached by fastening the caster to the wood with screws.
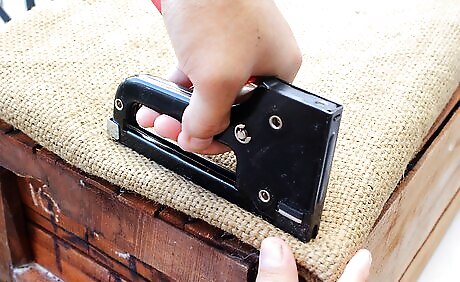
Cover low, sturdy shelves with fabric to make a seat. Cut a length of fabric 2 in (5 cm) larger than the top of your shelf on all sides. Align the fabric's edge with a corresponding outer edge of the crate. Attach the fabric along the edge with staples. Repeat this along three of the four sides. Stuff cotton into the cover through the open edge. Staple this edge closed when enough stuffing has been added. Check your crates for sturdiness before adding a comfortable fabric cover. The crate should easily support the weight of a normal person.
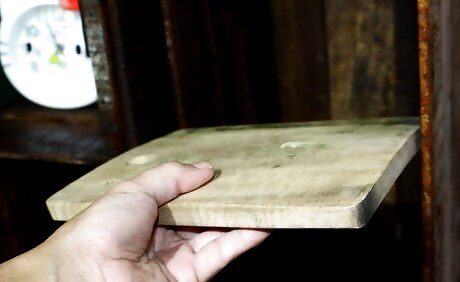
Make compartments in your shelf with dividers. Cut a piece of plywood to fit inside your crate and insert it to create dividers. Use wooden planks to make slatted dividers. Fasten dividers in place by screwing them into the crate at the top and bottom.
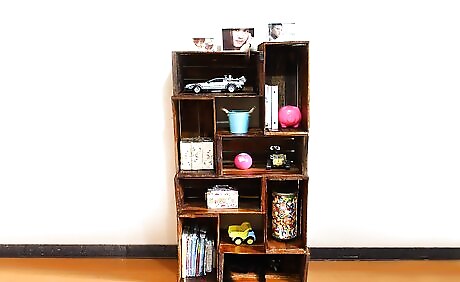
Finished.





Comments
0 comment