
Choosing a Game Concept
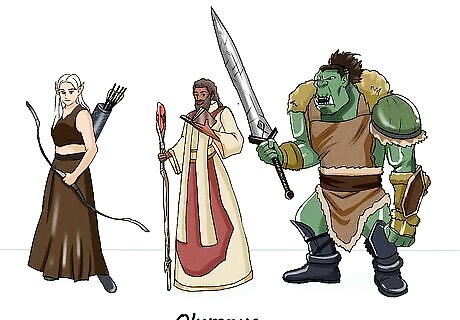
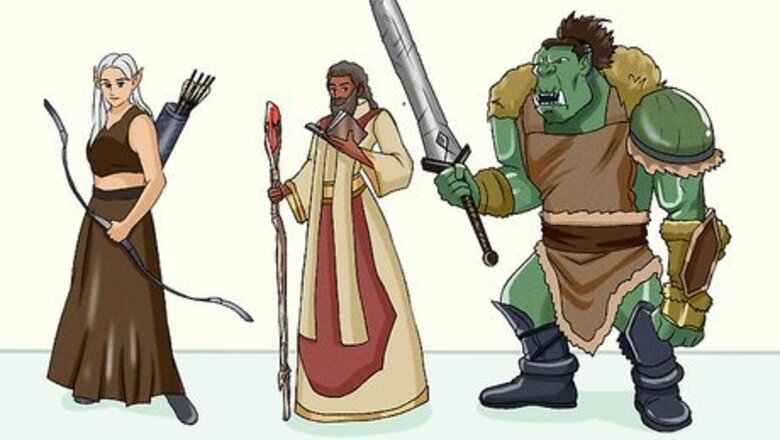
Pick a name and theme for your game. Think about what kind of world you want in your game. Come up with characters, creatures, and other elements that exist in the world of your game. Use the theme to help decide the name and other aspects of your game. For instance, if your game involves magic or spells, think about the type of characters that exist in your game as well, such as elves, wizards, or orcs. You could have a fighting trading card game that involves different types of characters such as ninjas, samurai, and commandos. If your game is about warriors and monsters from Greek mythology, you could name it something like “Olympus” or “Argonaut” so it suits the theme and concept of the game.
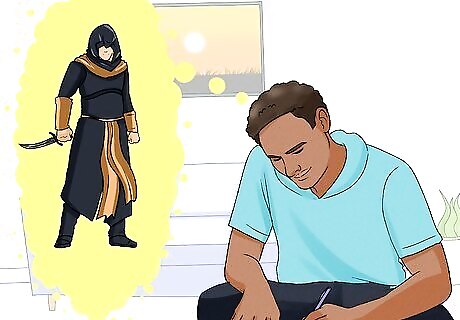
Create a backstory and history for your game. Spend some time thinking about the history of the world of your game. Write backstories for each of the characters and creatures to create a rich and complex universe that your game exists in. For example, maybe one of your characters is an exiled king who hopes to reclaim his throne, or maybe there’s an assassin character looking for revenge. The larger world of your game could be a place that just survived a major flood or maybe there was a recent zombie outbreak that wiped out most of the people.
Come up with a way for players to win the game. Give your player a goal or goals that they have to work towards in order to win or beat the game. Choose goals that give meaning to your game so people are interested in playing it and it sounds fun. If you’re making a fighting game, your goal could be to simply defeat your opponent by playing cards that beat theirs. Adding goals to your game can also force players to strategize how they want to play their cards, which can make your game more fun and engaging.
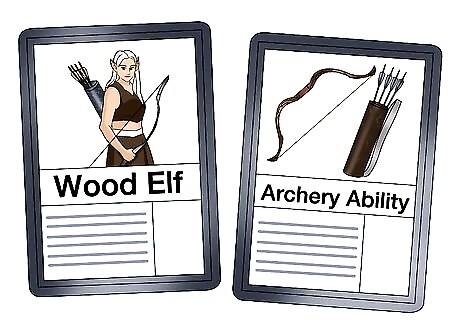
Use your theme to come up with the mechanics and card types. Design your rules so they make sense and suit the world of your game. Add commands, attributes, styles, and procedures that make sense for your game and help make it a cohesive playing experience. For instance, if you’re making a game with wood elves, you could include an archery ability and create a point system for arrow damage. Try to balance the rules and character abilities so the gameplay is relatively even. It wouldn’t be much fun, for instance, if there’s one group of characters who always win in fights. EXPERT TIP Ashton Wu Ashton Wu Board Game Expert Ashton Wu is a Board Game expert at Shelfside. After delving into the Yugioh tournament community while growing up, Ashton launched himself into the board gaming community in 2014 and went into reviewing board games as a career full-time in 2019. His YouTube channel Shelfside has over 35K subscribers and over 4 million views, assisted by written reviews on the Shelfside website and BoardGameGeek.com. He also consults with gaming companies to build high-quality gaming products. Ashton is a tournament commentator, board game playthrough director, and host of the Shelfside Podcast, where he talks about board games with his business partner, Daniel. He received a Bachelor of Arts in Economics at the University of California, Santa Barbara, in addition to the Technology Management Certificate. Ashton Wu Ashton Wu Board Game Expert Today's card game players prefer fast-paced games. To keep players engaged, design a game that prioritizes impactful turns and avoids dragging on. Shorter games equals more fun - The key to a successful card game is to focus on speed and engagement. Aim to create a game that's easy to understand and play while maintaining excitement.
Making Rules and Strategies
Research the rules of other trading card games for inspiration. Look up the rulebooks for other trading games online to get ideas of how they work and create a cohesive way to play. Draw inspiration to make your own rules and borrow aspects that you like from the games that you research to help form your game. Jot down rules and ideas that you like from other games in your handy notebook. For instance, you could borrow the turn-based fighting mechanics of a game like Yu-Gi-Oh! or Pokemon to help create your own system.
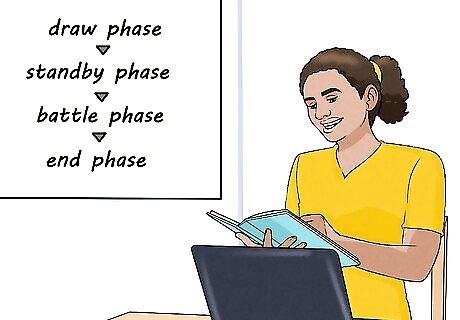
Create a gameplay loop that structures your game. A gameplay loop involves the order of actions in your game and dictates how your game is played. Come up with a structured system that defines how each player makes decisions during the game and how they use their cards. For instance, a simple gameplay loop could look like this: first you choose a character card, then you choose an action or attack card for that character, then you choose a healing or repair item card, and then you end your turn. A well-structred and ordered game helps make the gameplay smoother. It can also be helpful to look at the gameplay loops of other trading card games to use as models for your own.
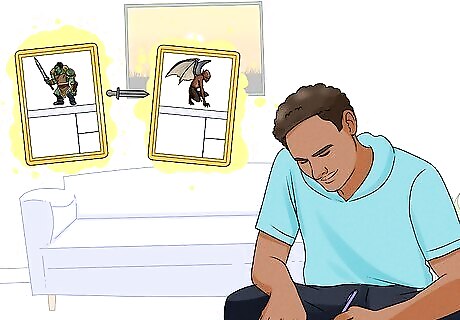
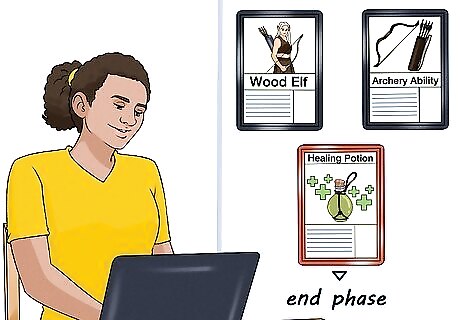
Allow players to build their own decks to encourage trading. Let players choose which cards they want to play during the phases of your gameplay loop. If players are allowed to fill their card decks with cards they like to use in different situations, they’ll be more likely to trade with other people. Letting players choose their own cards encourages them to build decks that suit their strategies and personalities. For instance, if your game involves magic and creatures like elves and orcs, you can have a player who likes to use healing magic and fire arrows, so they can craft a deck that suits their needs by trading with other players.
Make a list of what players can and can’t do in the game. Use your notebook to write down hard and fast rules that you create for your game. Come up with a solid list of abilities and rules that players need to follow. Be sure to write down actions and things that players definitely can’t do as well so the rules are clear. For instance, you can write down the actions a player can do during their turn, such as attacking an opponent, trading a card, or healing one of their characters. Prohibited actions are important too. For example, if playing a potion card right after playing a magic card gives an unfair advantage, you can make a rule that a player can’t play them back to back.
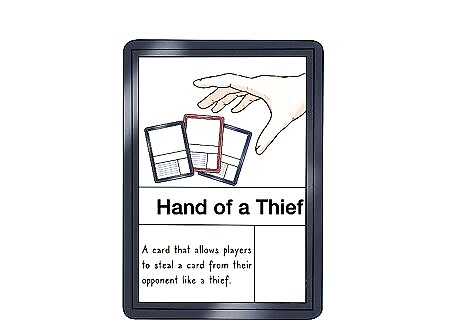
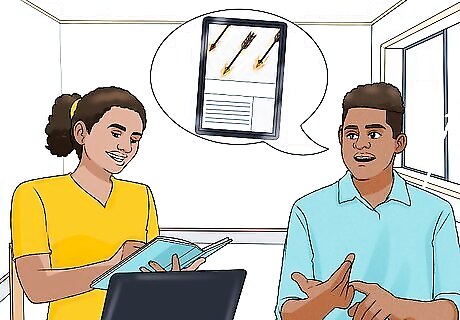
Include aspects that encourage players to interact with each other. Make rules that force players to engage with the other people they’re playing with. Add actions and items that motivate players to work together or fight one another in order to advance in the game or improve their chances of winning. For example, you could add a card that allows players to steal a card from their opponent. Add rules like forcing a player to perform at least 1 attack each round so they have to interact with another player.
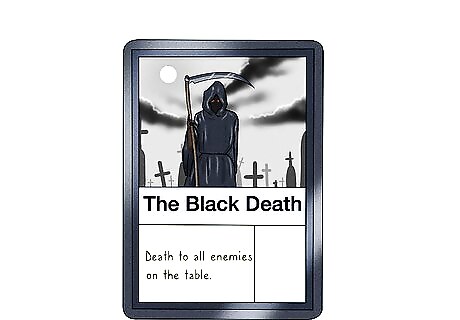
Add a catch-up feature to help players falling behind. Consider adding cards to your game that are designed to help out players who are losing or at a major disadvantage. Use rules that prevent 1 player from dominating other players too easily to make the game for fun and challenging. For instance, you could add a card to the game that can only be played when a player is about to lose, like a “Nuclear Bomb” card that can help them get back at another player beating them. Add a rule that keeps a player from winning too easily, like the rule in the game Uno that forces a player to say “Uno!” when they’re on their last card so other players know to target them.
Creating Your Cards
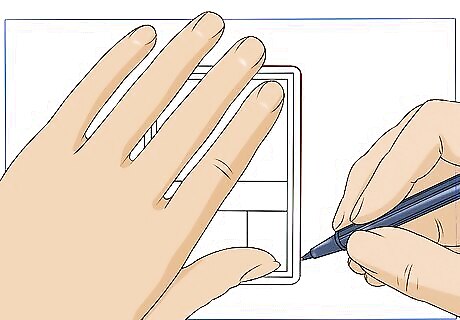
Trace the outline of a playing card on paper to make a template. Take a standard playing card or a card from a game that you want to copy for your own game. Place the card on your notebook or a sheet of paper and use a pencil to trace the outline. Use the outline as a template as you design your cards. You can make multiple outlines to use as templates or draw them as you need them. Draw the templates in your notebook so you have everything organized.
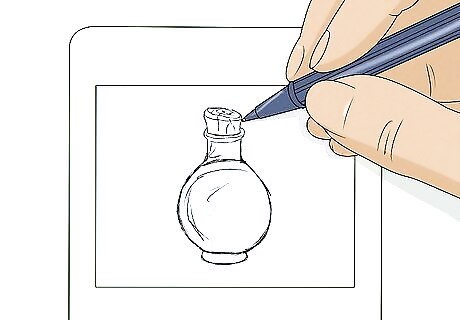
Create a box in the center and add the art of the card. Draw a square box in the center of your card. Add character sketches, creature designs, items, or other features of your game in the box so they’re visually depicted. For instance, you can draw your Warrior characters as well as items such as potions or creatures like dragons in the box. The art of the cards can really make your game look good, so spend some time coming up with unique designs.
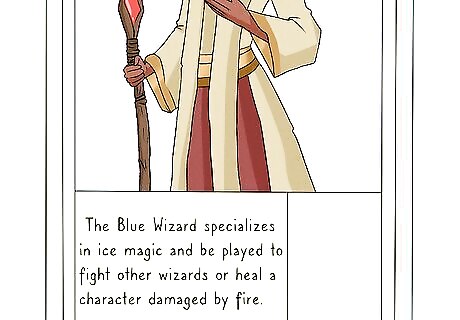
Add a text box at the bottom and write a card description. Beneath the art box in the center of the card, draw a rectangular text box. Write a description of the character, item, or whatever the card represents in the box. Include info about what the card does, when it can be played, and any other special rules about it. For instance, for a Blue Wizard card, you could have a description like, “The Blue Wizard specializes in ice magic and be played to fight other wizards or heal a character damaged by fire.”
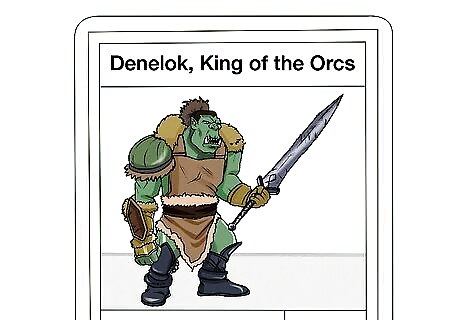
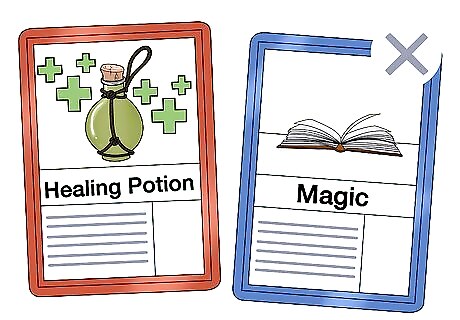
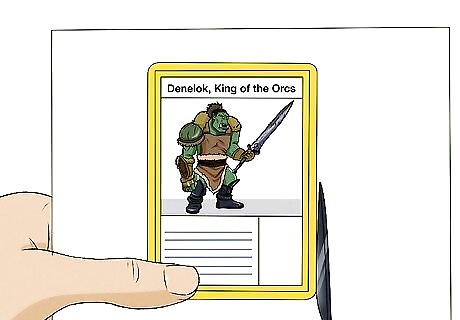
Place the title of the card at the top of the card. Just above the art box in the center of the card, draw a small, rectangular box. Write down the name of the character or a description of what the card is called or used for so it’s clearly identifiable. For example, you could write a specific character’s name such as “Denelok, King of the Orcs” or the name of an item or special ability such as “Healing Potion” or “Dual-Blade Attack.”
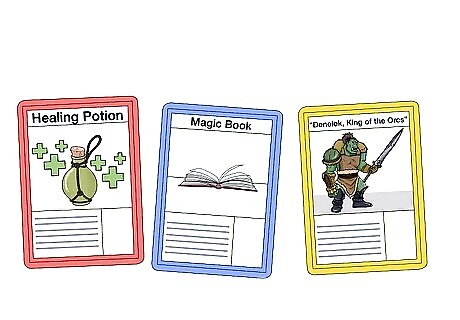
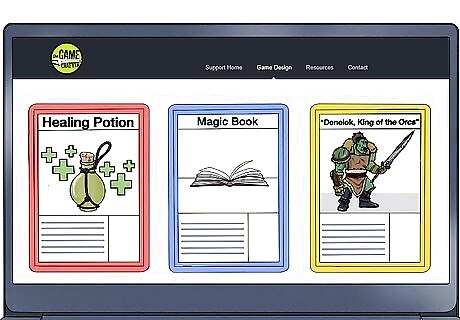
Use colors or symbols to help identify card types. If you have different types of characters, actions, items, creatures, or any other types of cards, choosing specific colors for each type can help make them easier to differentiate. Place a symbol in the top right corner of the card that clearly identifies what type of card it is as well so they’re easier to organize. For instance, you could have all of the items cards be red, all magic cards blue, and all character cards gold. Use something like a sword symbol for fighting cards or a heart symbol for healing or magic cards. Add colors to your cards to make them pop and enhance the art as well.
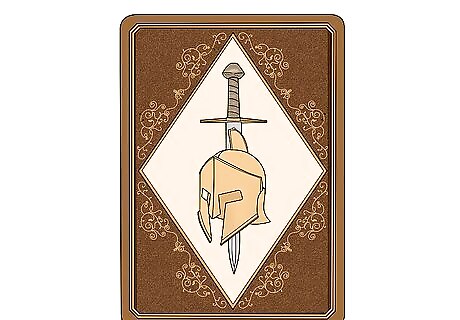
Create a single design for the back of all of your cards. Come up with a design for the back of your cards that fits the theme of your game. Include the name of the game on the back of the card. Use the same design for the back of all of your cards. You can also use colors that are prominent in your cards for the back. For instance, if there’s a lot of green or red in your character cards, you could use that in your design. As an example, if your game involves medieval knights or warfare, you could choose a wood or leather-looking design for the back of your card to suit the theme. You could also use a logo or symbol instead of the name on the back of the cards.
Make your own cards by drawing and cutting them out of paper. Draw more card templates on paper or cardstock and add the outlines for the art box, text box, and title. Add the artwork to the center box and the card’s description into the text box. Write the title and add any additional artwork and colors to complete the card. Use scissors to cut the card out when it’s finished. You can draw the back design on the back of the card when you’re finished. Make multiple cards at once by drawing a row of templates on a sheet of paper or cardstock and filling them out.
Upload your cards to an online card maker for an easy option. If you want to print your cards or have a digital copy of them, scan your drawn version and save it to your computer. Upload your images to an online card maker and pay to have them printed professionally. You can also upload the back design image so it’s added to each of your cards. The Game Crafter is a popular online trading card maker. You can visit their site here: https://www.thegamecrafter.com/.


Comments
0 comment