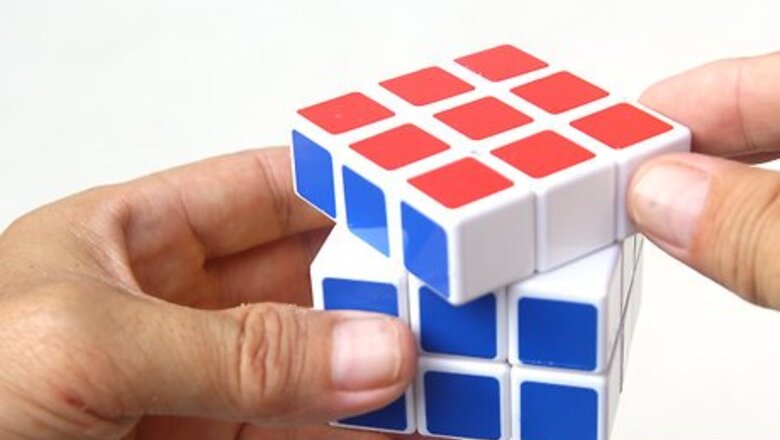
views
Lubricating Your Cube
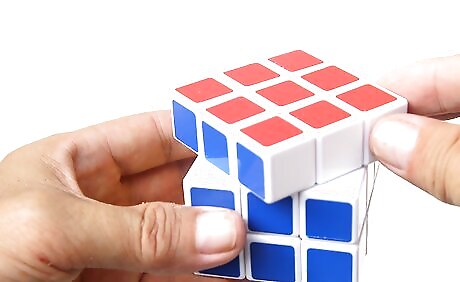
Turn the top layer 45 degrees. Take your stiff Rubik's cube and rotate the top layer until it is halfway between two sides.
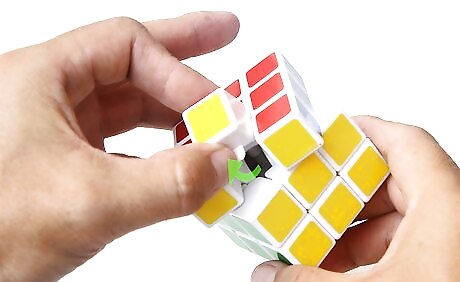
Pry out an edge piece of the top row. Wedge your thumb underneath one of the top layer's edge pieces (not a corner). Lift your thumb until the piece pops out. If you can't pry it out by hand, lever it out with a flat screwdriver. If the piece won't come out even with a screwdriver, try twisting a side face to loosen the connections.
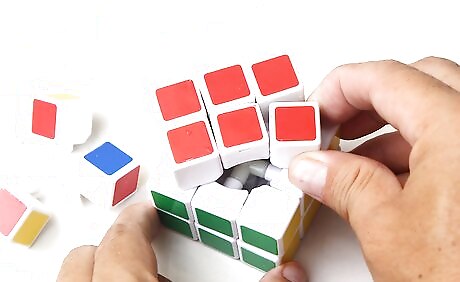
Disassemble the other edges and corners. Once the edge piece is gone, you can easily pop out the adjacent corner pieces, then the other edge and corner pieces around the top layer. Finish disassembly by removing all the other edge and corner pieces, levering with a screwdriver if needed. Do not remove the six central pieces. Leave them attached to the central mechanism.
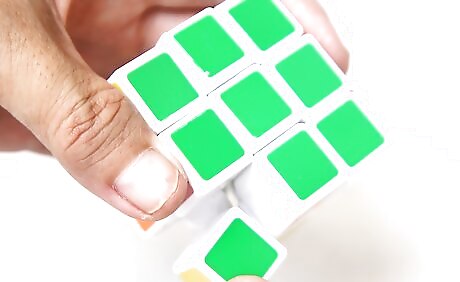
Protect the logo. If there's a logo on your Rubik's cube and you want to keep it looking good, cover it with a clear PVC sticker. The lubricant may damage the logo otherwise. You can buy the stickers at an office supply store.
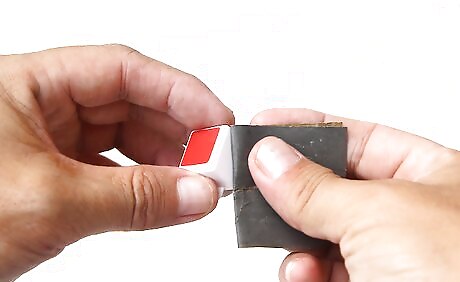
Consider sanding the cube. Some people lightly sand the non-stickered sides with coarse sandpaper, then again with fine sandpaper before lubricating. This wears down parts to reduce friction. This may help with a particularly stiff cube (especially models not designed for speed cubing), or with a brand new cube you want to break in fast. That said, many people prefer not to risk damaging their cube, or leave this step until you're down to 20 second solve times (or even lower) and are looking for every improvement possible.
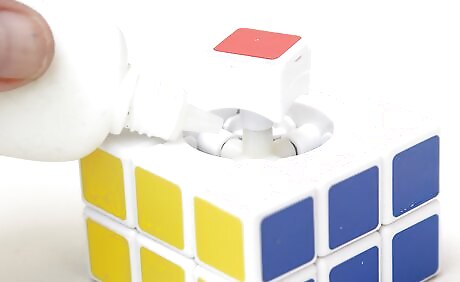
Lubricate the pieces with silicone. 100% silicone is the ideal lubricant, since it will not gum up or damage your cube — unless it has paper stickers, in which case skip to the next step. Lay the pieces over newspaper and lubricate all interior sides with a tiny amount of lubricant, including the central mechanism. Rub the lubricant into an even layer with a clean rag, and wipe off any excess. You only want a thin film. Competitive cubers might want to discuss specific products with other hobbyists. Too much lubrication can make the cube difficult to handle, so the choice of product and amount depends on your cube brand and personal preference.
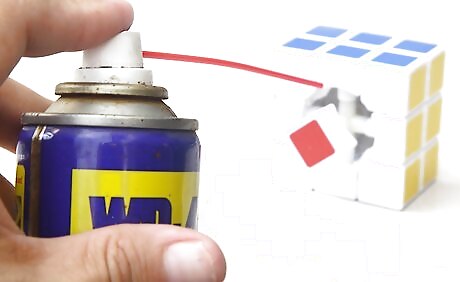
Look into alternative lubricants. If you have paper stickers (which silicone can damage), or just don't want to buy a new lubricant, there are other options: No-stick cooking spray, white lithium grease, graphite spray, and silicone-based furniture polish are less effective, but okay. It's a good idea to clean them off after a while, as some products can eventually make your cube sticky. Petroleum jelly (Vaseline), WD-40, and any lubricant that smells of petroleum are not recommended, since they damage some types of plastic. This is an okay choice to break in a new, extra-stiff cube, if you wipe it off thoroughly afterward.
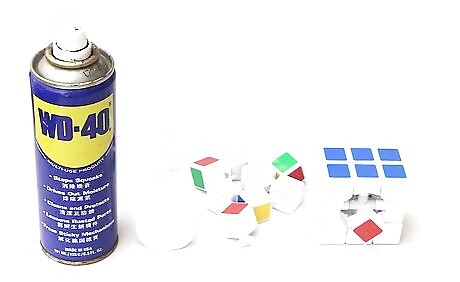
Let your pieces dry. Give your cube parts about ten minutes to dry before reassembly. In the meantime, you can adjust your cube in other ways.
Lowering Tension
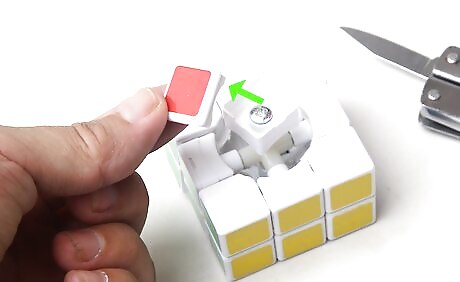
Pop the caps off the center pieces. The next most common way to improve your cube's turning speed is to adjust the tension on the turning mechanism. To get started, pop the colored squares off the central mechanism using a knife.
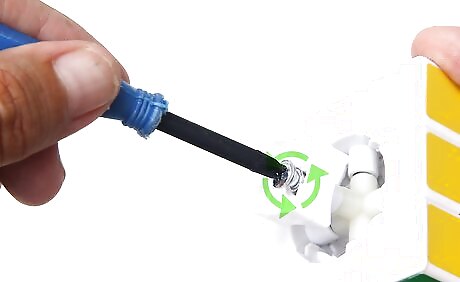
Turn the screws to adjust tension. Most models have a screw under each center cap. There is a spring coiled around each screw shaft, so turning the screw will adjust the tension of the cube. This adjustment depends on personal preference, but here's a good place to start: Pull on two center pieces on opposite sides. Check how far they have pulled apart. Ideally, it should be an equal amount of space on both sides, about 1 mm. Loosen or tighten the screws until all pieces allow roughly this amount of space when pulled apart. While you can loosen further for faster turns, a cube that's too loose is difficult to handle and can even break apart as you solve it.
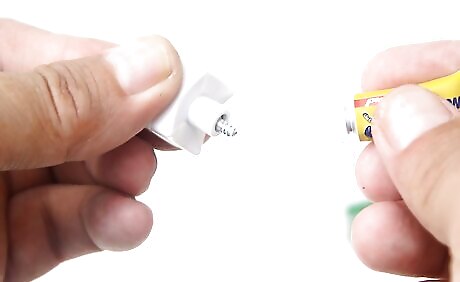
Superglue a troublesome screw. If your cube is old and feels "off," remove the screws to investigate the springs underneath. If a spring is unwinding or scratching into other pieces, you can hold the screw end of the spring in place with a tiny drop of superglue. If the screw head is wearing into the center piece, fit a metal washer between them. Never attach super glue to the other end of the spring, or you could block the turning mechanism.
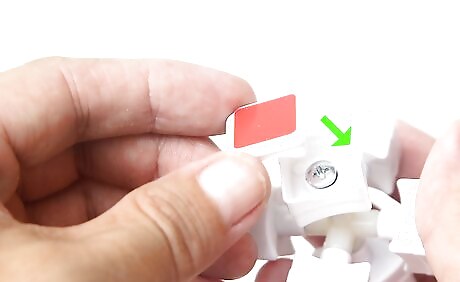
Fit the central squares back on. If they keep falling off, dip a needle in superglue and use it to reattach them.
Reassembling the Cube
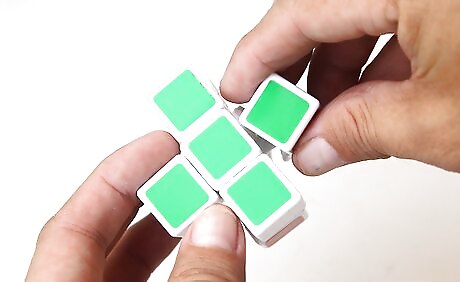
Make a cross of a single color. If you assemble the pieces at random, the puzzle will usually be unsolvable. Reassemble it in a solved position instead, starting with four edge pieces of the same color. This first part is the most difficult: Slide each edge piece into position around the matching central place. Hold them in place so they don't fall. If a piece won't go in, slide it on in a "wrong" position and twist it into place. Once the cross is made, carefully put the cube down, with the cross on the table surface.
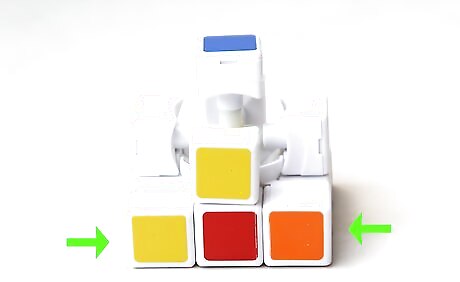
Complete the bottom layer. The four corner pieces on the bottom should snap on easily. They will help hold the other pieces in place, so it will be easier from here on out.
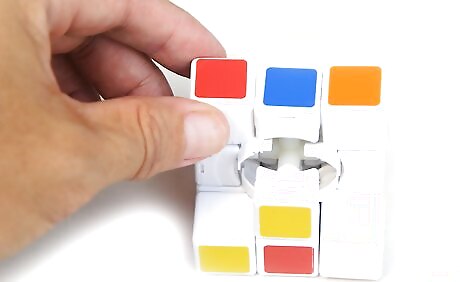
Attach three pieces in the middle layer. Make sure all pieces are in the correct position. Push them firmly into place. You should now have one gap in the middle layer.
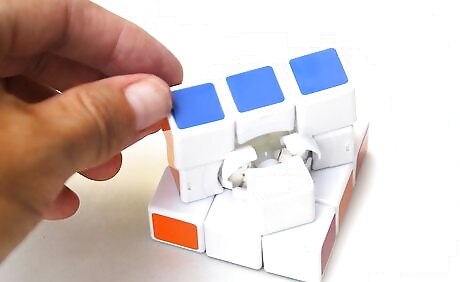
Build two rows of the top layer. Begin with a corner, which should attach easily, then build from it until you have two rows done. The edge pieces are easier to attach if you rotate the top layer so you can slot the edge piece in directly over the gap you left in the middle layer.
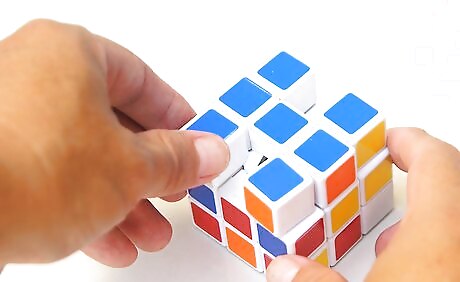
Complete the cube. Finish up with the final four pieces: Attach the last piece in the middle layer. Attach the two remaining corner pieces in the top layer. Rotate the top layer at a 45º angle to the others. Attach the final piece.
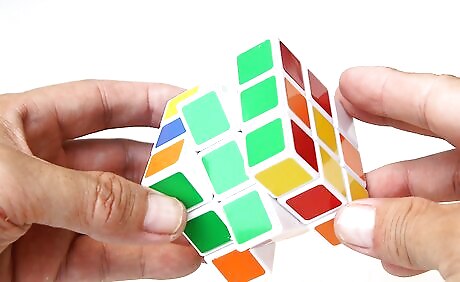
Scramble the cube for a while. The cube can feel stiff at first after adding lubricant, but after a few minutes of working it in, you should notice faster, smoother turns. If you adjusted the screws, it can take a couple hours of use to break in the cube and check whether the tension is where you want it. If lubricating made your cube stiffer and the problem doesn't go away within a couple days, you probably used too much lubricant. Disassemble the cube and wipe off the excess.



Comments
0 comment