views
Gathering Your Materials
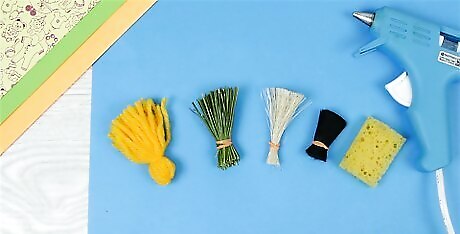
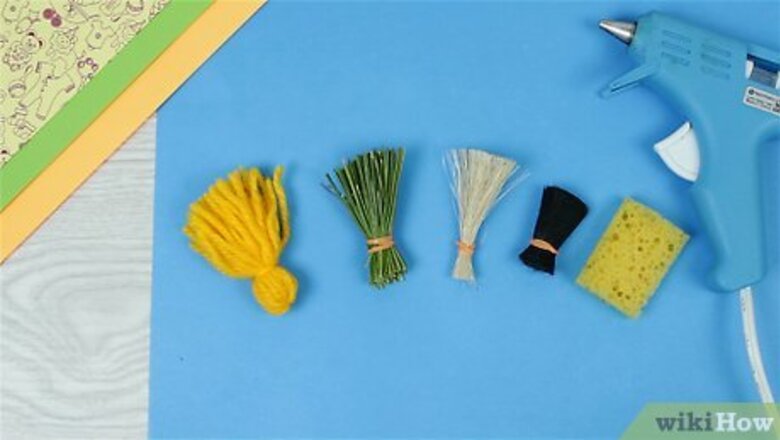
Gather bristle materials. Decide what you you want to make your brush out of and gather the necessary materials. You can use any material that will hold paint for a brush tip. Below are some suggestions for possible materials.. You can use hair, such as horsehair from a horse's mane or tail, human hair, or other animal hair, available at sporting good stores for fly-tying. Plant materials such as tree needles, grasses, or straw also work well. Larger fibrous plants like yucca or cattail stems can also be shredded to create bristles. You can also use household items such as pieces of foam, cardboard, cotton clumps, shredded strips of cloth, broom bristles etc. Craft materials like yarn, pom poms, or crepe paper can also work as bristles.
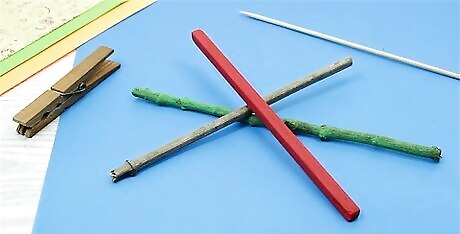
Select a handle. There are likewise many materials from which you can make your brush handle. Try sticks from the yard, bamboo, tongue depressors, or a yardstick. For a more professional and finished look, you can use doweling. If you are using string, yarn, or some other material with long fibers for your bristles, you can pull your bristles through a wide plastic straw. If you are using small items like pom poms or cosmetic wedges for the head of your brush, or if you aren't concerned about your brush being precise or lasting a long time, a quick shortcut is to just clip your brush material into clothes pins, and use the clothes pin as a handle. This is a great approach for young children.
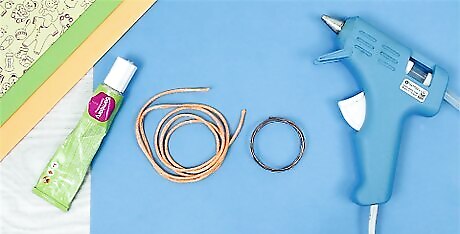
Choose an adhesive and binding materials. To make sure your brush holds together, you'll need to select an adhesive material (i.e. some kind of glue) and a binding material to wrap around bristles. For a durable, long lasting brush, use a strong, waterproof glue. For binding the bristles to the handle, there are many different materials you can use, including string, twine, elastic, rubber bands, or wire.
Making the Brush
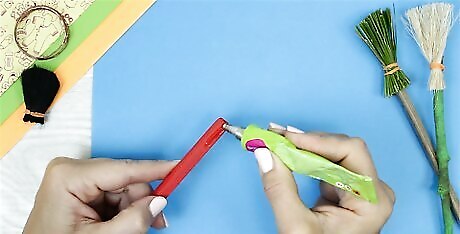
Apply the glue. Place the glue about 1/4 to 1/2 an inch around the bottom of the stick where the bristles will go. If you aren't concerned about creating a long-lasting brush, you can skip the glue and just affix your bristles with your binding material.
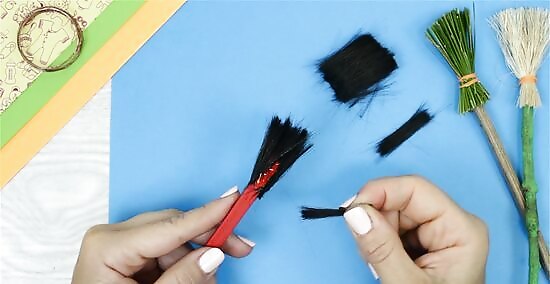
Apply your bristles. Cover the end of your handle (where the glue is) with about ⁄4 to ⁄2 inch (0.6 to 1.3 cm) of your bristle materials. You can vary the thickness of your brush by applying more or less of your bristle material.
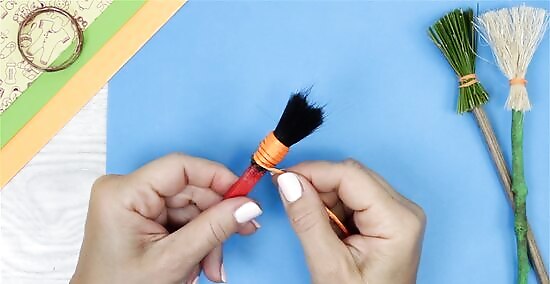
Bind your bristles in place. Tie string, twine, or other binding material around the bristles and handle. Make sure the binding is tight so your bristles do not slip out, especially if you aren't using glue. You may want to add more glue over the top of your binding to create a stronger, more durable brush.
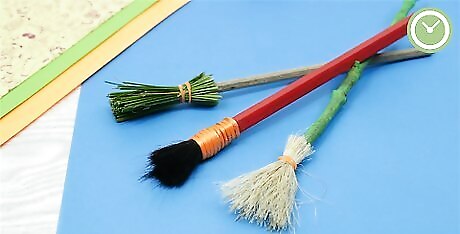
Let the glue dry. The amount of time necessary for this will vary depending on your glue and the amount you used. Follow the instructions that came with your glue, and if in doubt, wait a longer than might be necessary.
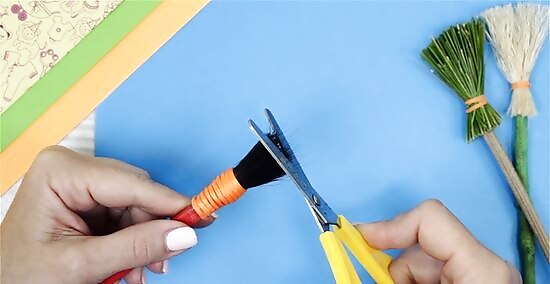
Cut and shape the bristles. Once the bristles are firmly secured, you can cut them to the length and shape you want. You'll probably want to keep about 1–2 inches (2.5–5.1 cm) in length. The width will vary according to how thick you'd like your brushstrokes to be. For a more precise brush, cut the bristles around the outside a little shorter than those in the center, so the bristles come to something of a point.




Comments
0 comment