
X
Research source
If you have some rudimentary sewing skills and access to a sewing machine, it is quite likely you can make a serviceable baby carrier just like this one.
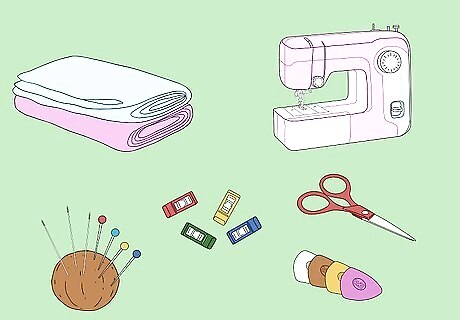
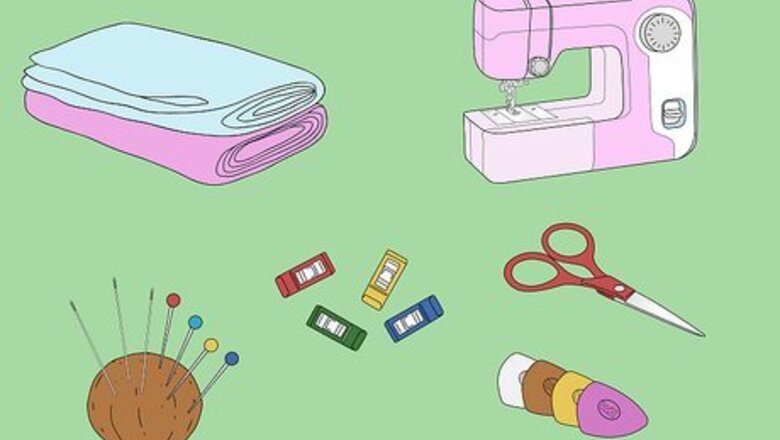
Obtain the needed supplies listed below.
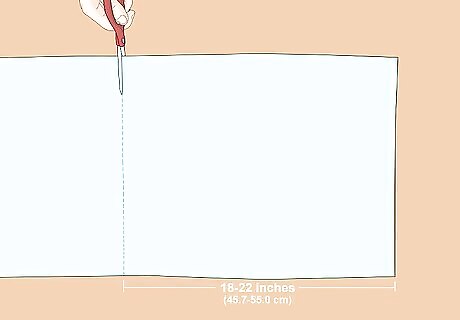
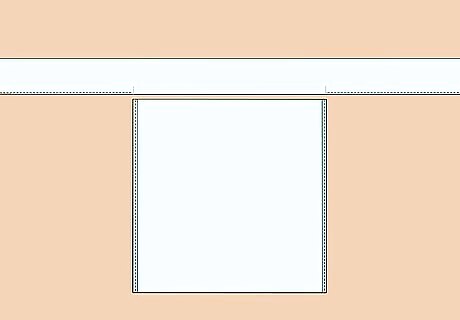
Cut an 18–22 inch (45.7–55.9 cm) square of sturdy cloth. You will need either a single layer of quite sturdy cloth such as denim or heavy twill OR you can cut multiple layers of thinner materials (3-4 layers of cotton, for example).
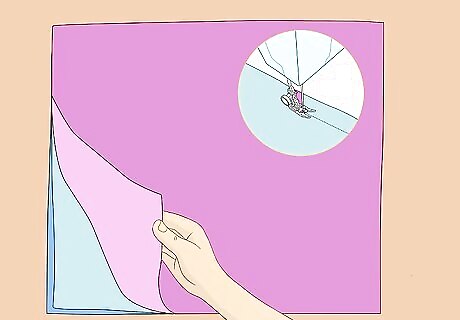
If you have chosen multiple layers, baste or quilt them together before proceeding.

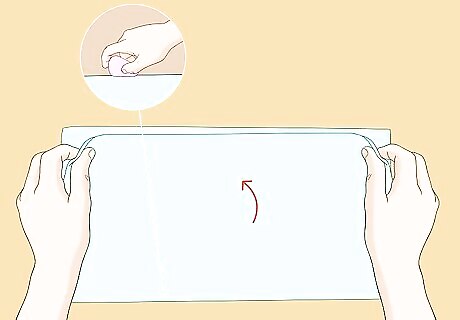
Hem two opposite sides of your square. Using triple fold bias tape is a quick and easy method that leaves the thinnest edge welt.
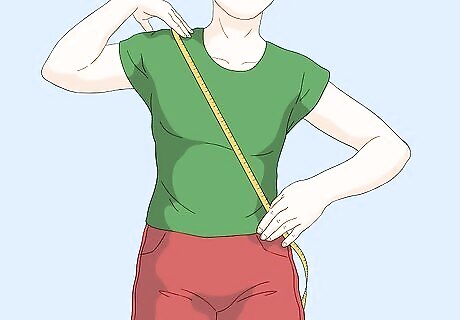
Measure your torso. You want the length diagonally from one shoulder, across the chest to your waistline and around the back up to the shoulder again.
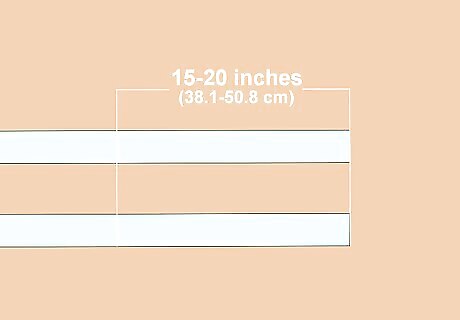
Add 15–20 inches (38.1–50.8 cm) to this length to get the length of your two shoulder straps/ties. A little too long is better than a little too short at this point. You can always cut the ties shorter later.
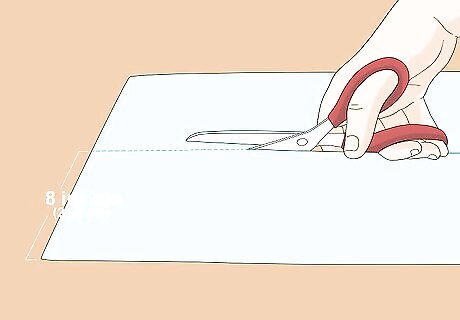
Cut material for two ties (length calculated in previous step) at least 8 inches (20.3 cm) wide. It is important that this material be wide so that it will distribute the child's weight over a wider area of your shoulders.
Fold the ties in half with narrow ends touching to find the center point of the length of the tie. Mark this with pins or chalk.
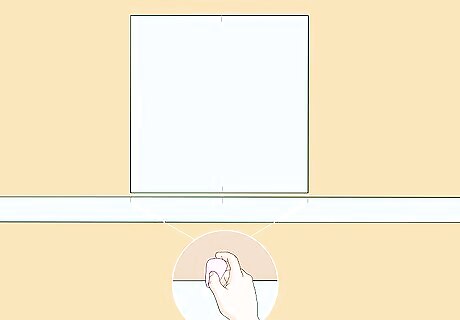
Fold the square in half with the two previously hemmed edges together. Mark the fold on the raw edges with pins or chalk.
After finding the center point, mark the length of the (raw edged) side of your square along the long side of the tie from the center point out.
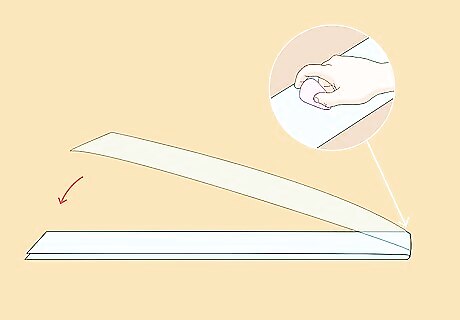
Remove the tie, fold it in half lengthwise (make a very long fold) and sew the sides closed. Leave the area you marked out in the center for the square unsewn. This will allow you to both sew the tie to the square and to turn the tie right side out.
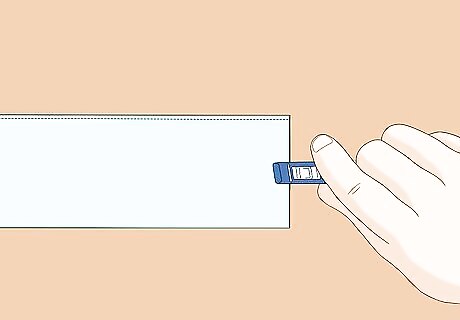
Miter or clip the seam allowances to allow the corners to turn neatly.
Repeat measuring, marking and sewing steps for the second tie.
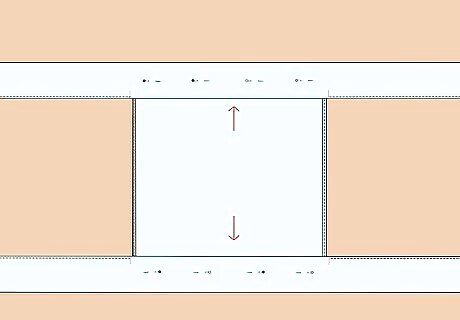
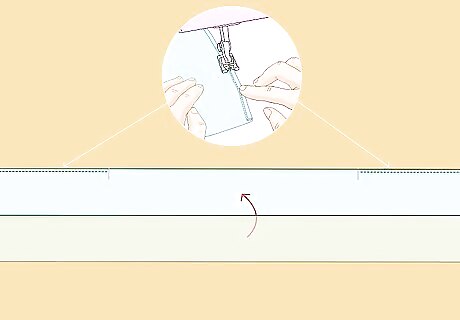
Place the raw edges of the square into the opening in the ties and pin in place.
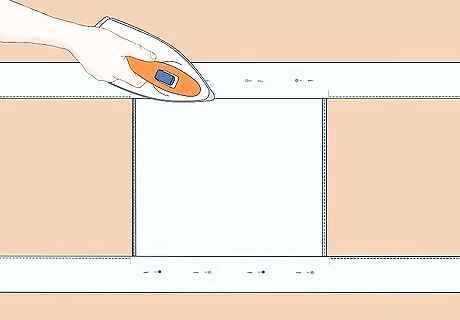
Iron the creases and pin carefully or baste. This will make machine sewing later MUCH easier, and make your finished product look much better.
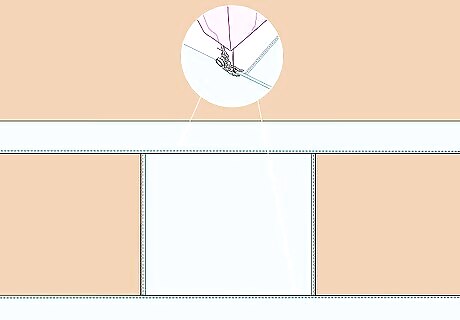
Top stitch the edges of the ties, taking care to sew multiple seams through ALL layers when sewing the raw edges of your square inside the ties. Three separate machine seams should ensure that these critical attachment points will not rip when your child is in the pouch.
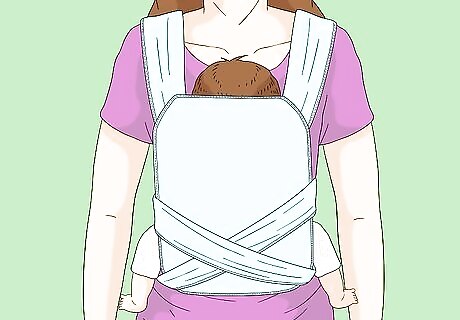
The pouch is now ready to wear. Place the square under the child's bottom and slightly up their back. Bring two top ties over your shoulder and two lower ties between the child's legs and around your waist. Tie opposite corners to each other in an "X" across your chest or back depending on how you want to wear the child (front or back). Stand up... and away you go with baby securely (and comfortably) tied onto you!


Comments
0 comment