
Assembling the Bubble Maker
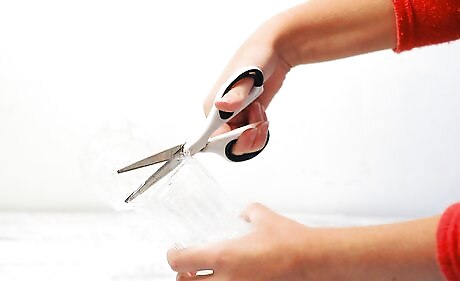
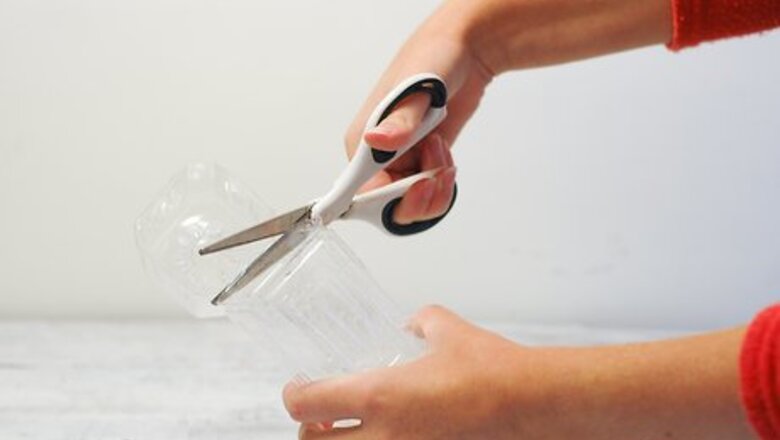
Cut the bottom off each bottle. Use scissors to cut across the base of each bottle being turned into a bubble snake maker. Only remove the bottom quarter portion of the bottle so your child will have enough room inside the bottle to blow into the washrag or fabric.
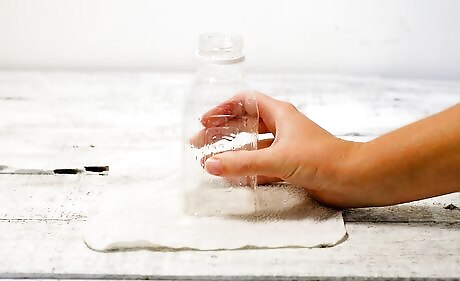
Create a circle on the washcloth or fabric. Cut a large circle that can be placed at the bottom of the bottle and held snugly with the rubber band. The fabric or rag will need to overlap the bottle enough for the band to hold it in place, so cut with plenty of edge left. If you don't want to cut into your washrag, just make sure it fits comfortably (flat and not bulky) on the bottom of the bottle and is easily held in place by the rubber band.
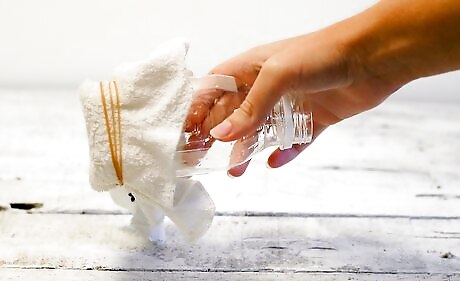
Cover the bottom of the bottle with the fabric. Secure it with the rubber band. Consider double tying the rubber band to ensure a snug fit; however, avoid crushing the bottle.
Blowing Bubble Snakes

Dip the fabric end of the bubble maker into the soapy water mixture. Allow the fabric to absorb the soap and water without over-soaking the fabric (or it will become heavy and too soggy to create bubbles).
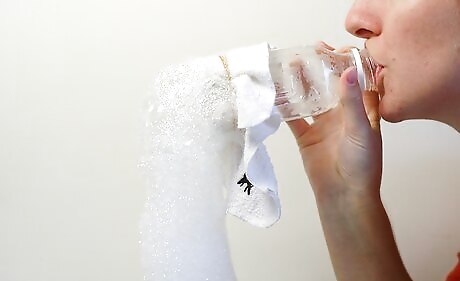
Blow on the other end of the bottle (the mouth) and watch the bubble snake emerge. Instruct children to gently blow in a steady stream to achieve a constant, consistent flow of bubbles. If the fabric becomes too saturated with bubble mixture, remove it, wring out and replace.
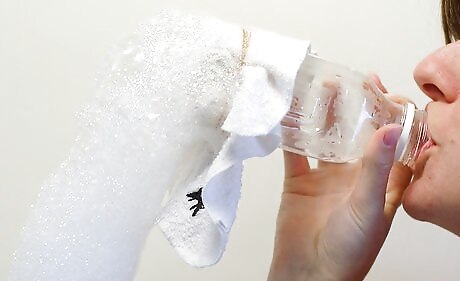
Finished. Blow as many bubbles as you wish, adding more bubble mixture if needed.


Comments
0 comment