views
Preparing Your Grill

Remove the lid and cooking grate. This will allow you to reach the bottom charcoal grate.

Clean out ash and dirt from the grill. Sweep out any leftover debris at the bottom of the grill and collect them in a trash bin.

Open the bottom grill vent. This will let air get to the charcoal and help it burn. You can partially close the vent you start to grill your food to regulate the temperature of your coals while cooking, but allow enough oxygen to reach the coal so that the fire doesn’t go out. You can also use the lid and lid vents to control the fire’s temperature.

Use briquettes for an easier, faster light. Many people prefer briquettes because they catch easily, burn longer and are inexpensive.

Choose hardwood charcoal for a more intense flavor. Hardwood charcoal burns out faster than briquettes but gives your meat a delicious, smoky flavor.

Use a mix of briquettes and charcoal. You’ll still get the classic barbecue flavor of the charcoal, but combined with the long-lasting burn of the briquettes.
Lighting Charcoal with Lighter Fluid

Group the coals in a pyramid shape at the bottom of the grill. The heat can rise from the bottom and the coals will help light each other, spreading the heat from one coal to the next. Pour out enough charcoal or briquettes to form an even layer on the bottom of your grill. Use more coal in cold or wet weather for a longer burn.

Pour a generous amount of lighter fluid onto the coal. Let it soak in for 3-5 minutes so that when you light the grill, the lighter fluid doesn’t burn off the coal immediately. Pour carefully to avoid getting lighter fluid on yourself. If you spill any while pouring, change clothes or thoroughly clean up the spill before lighting the grill. If you don’t have lighter fluid, place a piece of newspaper doused in vegetable oil under the charcoal and carefully light it with a match or lighter.

Add a little more lighter fluid to moisten the fuel. This will help the coals light more quickly.

Light the charcoal carefully with a long match or long lighter. Light it in 1-3 places on the moistened coal and allow it to spread to the drier coal.

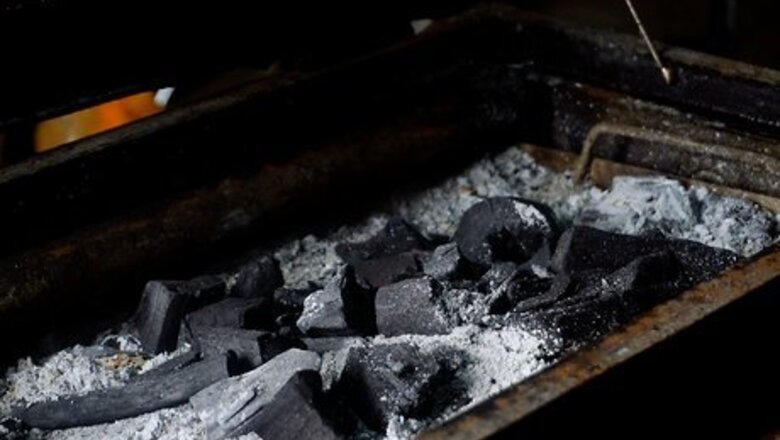
Let it burn for 10-15 minutes. The coal will heat up and the lighter fluid will burn off. You’re ready to start cooking once the coal is a white-gray color and glowing red at the center. Wait until the coals are ready to begin grilling. If you start cooking your food before the lighter fluid burns off, your steak or chicken will taste like petroleum! Do not add more lighter fluid to your grill once the coals are burning. It won’t make the fire heat up faster and you may burn your hands.

Arrange your charcoal with tongs. The briquettes should spread out on the bottom of the grill slightly past the area where you place your food to allow for even cooking. For vegetables and thinner meat like chicken, spread the charcoal evenly on the bottom of the grill. To grill thicker meat like steak, make the charcoal higher on one side than the other. You will start cooking the meat on the side with more charcoal. When the outside is cooked to your preference, finish cooking the meat on the side with less charcoal.

Replace your cooking grate. Your coals are heated and your grill is ready to go. Time to barbecue!
Using a Charcoal Chimney

Fill the chimney with charcoal. Pour in enough charcoal to reach about to the top of the chimney or just below it.

Stuff newspaper in the bottom of the chimney. Crumple the newspaper loosely and stuff it so that the bottom of the chimney is full, but not too tightly to suffocate the flame.

Place the chimney on the cooking grate and light the newspaper. Use a match or lighter and wear heat-safe rubber gloves.

Let the charcoal burn until it’s white-gray with ash. Give it about 20-30 minutes to burn, supervising the flame closely.

Pour the charcoal onto the grill when it’s white and ashy. Lift up the grate and set it aside, then use heat-safe rubber gloves to pour the charcoal into the bed of the grill. Arrange the coal with tongs and replace the cooking grate on top. The charcoal will be very hot, so be careful not to spill.


Comments
0 comment