views
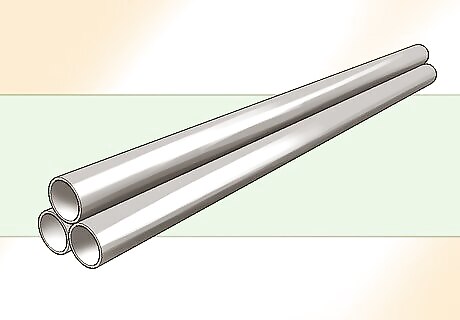
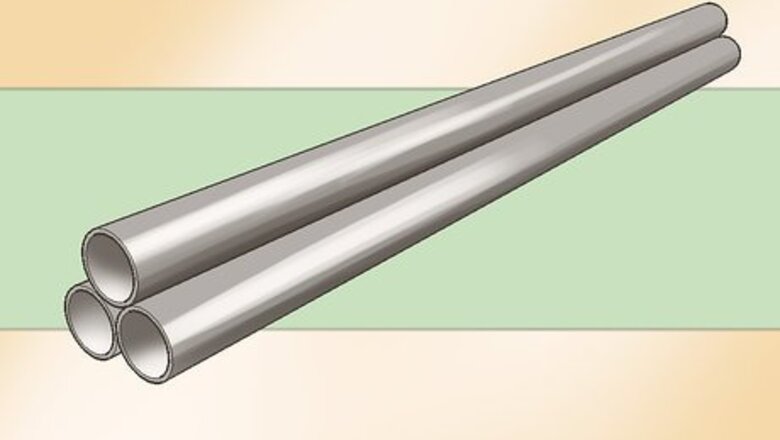
Choose the right material for installing electrical conduit fittings: The most preferred material is known as EMT (Electrical Metallic Tubing). EMT is very easy to install as you can effortlessly bend it and assemble it as per your needs. Also, you can conveniently take it off in case your wiring goes wrong somewhere. If you do not have it in your house, you can buy EMT from any of the electrical surplus stores for pretty cheap.
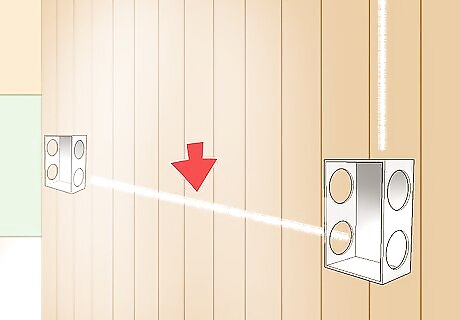
Chalk out a wiring plan: Find out the location of the electrical boxes on your wall to trace the route of the conduit. Draw the path from the main power source to the electrical box.
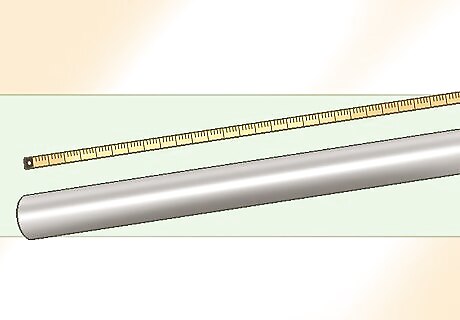
Measure the amount of conduit that you would need: Make appropriate marks in pencil wherever you think the bends should be, and measure the total length of the conduit that would be needed to finish the entire electrical conduit fittings. Now cut the length that you just measured with a tool called hacksaw. The cut ends are likely to have burrs which can be removed using a deburring tool or with pliers.
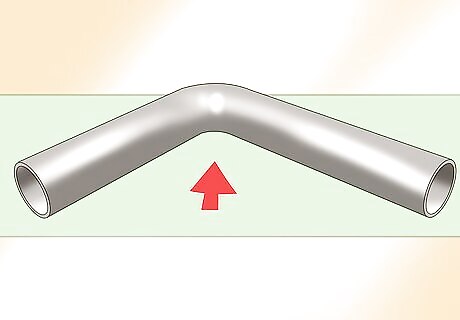
Make the necessary bends: It is now time to make bends that you had marked on the pipe in the previous step. Owing to the easy flexibility of EMT, this should not be very difficult. Conduit benders come in handy for doing this bending.
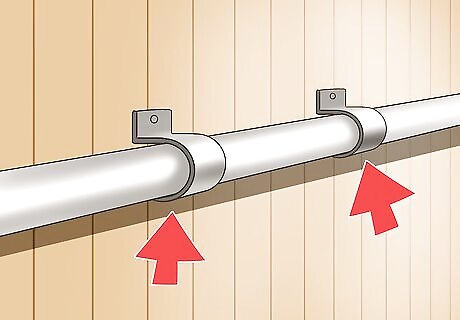
Attach fittings to the wall: You can use screws and straps with either single or double holes, available at electrical surplus shops, to attach electrical conduit fittings to the wall. Secure the conduit within three feet of where it connects to the electrical box.
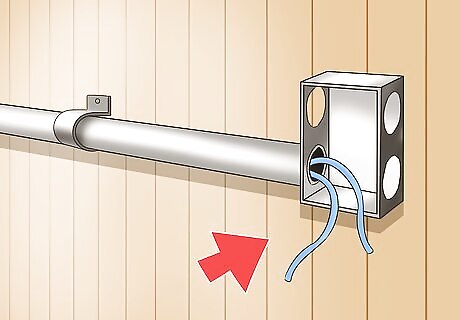
Tape the ends and put the wires in place: Use a widely available fish tape and run it through the entire route of the conduit fittings you just installed. Fix together the ends along with the electrical wires with the same fish tape. Give a finishing touch by pulling all the wire in the pipe in their right place.


Comments
0 comment