views
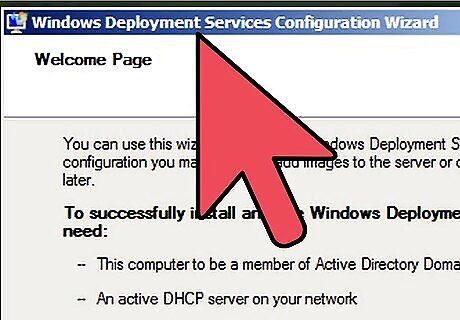
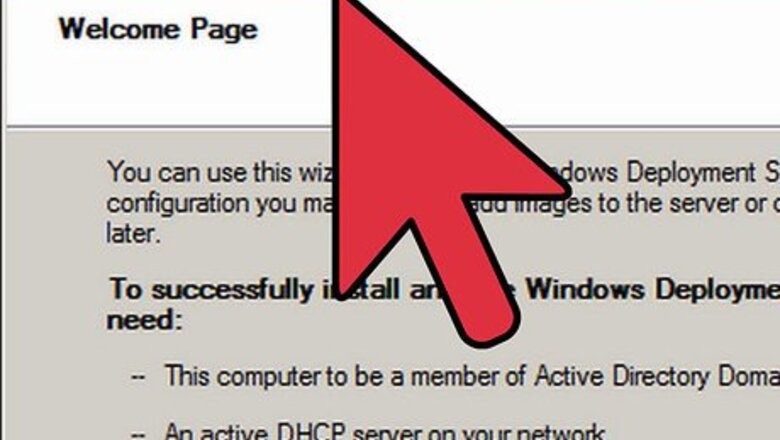
Install Windows Deployment Services (WDS) Role. In server manager, right click roles and select add role. The add role wizard should come up to the welcome screen, click next. Select Windows Deployment Services Role at the bottom of the list and click next. Accept defaults and click next. Click install.
Configure Windows Deployment Services Server. After the install, go to start menu, Administrative tools, click Windows Deployment Services. Right click on servers, select add server. Select local computer and click OK. Right click the server and click configure server. On the welcome screen click next. On this page you need to select a location to store the images, click next. Since the server is running DHCP, Select Do not listen to port 67 and Configure DHCP option to 60 to PXE Client" click next. Choose how you want the server to respond to clients. If you choose respond only to known client computers you will have to enter computers manually. Click next, then click finished.
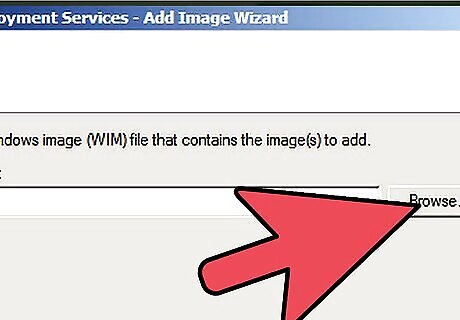
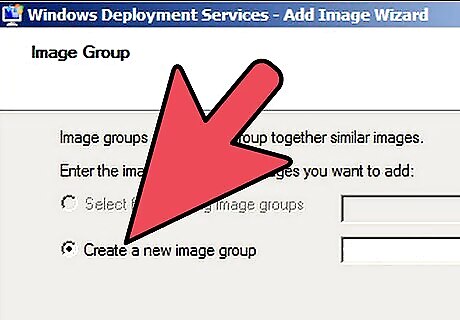
Add Boot Image. When you clicked finished after you configured the server the Add image wizard should have come up. If not in the Windows Deployment Services window, click the plus sign next to servers and click the plus sign next to your server you added. Right Click on Install images and select Add Install Images. Select Create a new Image Group and rename the image group. Click browse to choose the Windows image (.WIM) file you wish to use and Click next. If there is more than one image in the .WIM file, on the next page you need to select the images you want and click next. Make sure everything is right on the summary page and click next. The image or images will install. When installation is completed, click finished.
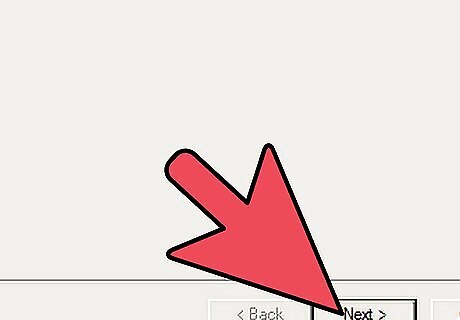
Create Capture Image. Right click the boot image folder under your server on the Windows Deployment Services window, and select add boot image. Browse for the boot image (boot.WIM)file you wish and click Next. Give the boot image a name and a description, click next. Confirm and click next. After Installation, click finished. Right click the boot image and select "Create a Capture Boot Image", click next. Name and give the capture image a description, and select the boot image you installed, click next. When the image has been captured click finished.
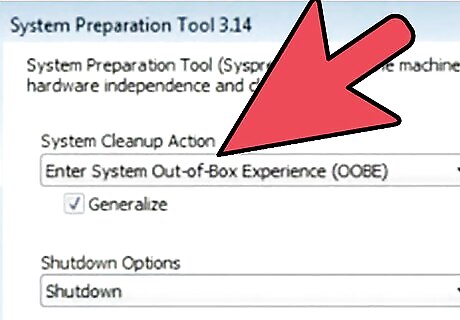
Run Sysprep on Client PCs. Boot up the client. Click Start, Computer, local drive C:\. The file path is C:\Windows\system32\Sysprep. Open sysprep folder and run the sysprep application. Set the system clean up action to enter system Out-of-Box Experience (OOBE), I recommend you set the shutdown option to shutdown, Check the Generalize box and click OK. Sysprep will run removing unique security IDs and other unique information.
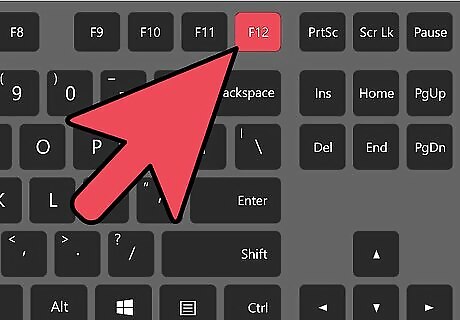
Boot into the network. Boot the PC, enter the key combination to enter the boot menu before windows boots. The combination is displayed on the screen when the bios is loading, usually f12. If you need to see the combination again or missed the time to enter the command press Ctrl+Alt+Del to restart. When you boot into the boot menu, select boot into network. Select the capture image from the Windows Boot Manager to boot into the Windows Deployment Services Image capture Wizard.
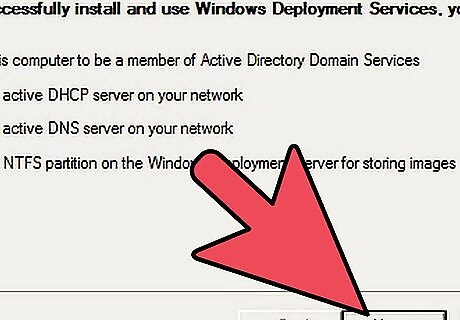
Complete the Windows Deployment Wizard. Begin by selecting the volume to capture. If you are looking for the C: drive it has been changed because of sysprep, because C:\ holds the boot files. After selecting the volume to capture, name the image and give it a description, click next. Check the Upload image to Windows Deployment services server. You should be prompted to enter credentials. Next select the image name from the dropdown box. Now we need to mount a drive by holding shift+f10 to enter Command Prompt. In command Prompt type: net use *\\Servername\Folder. Example: net use *\\Hound\my images. The "*" means chose a drive letter not in use, "Hound" is my server name and "my images" is my folder to hold the image. After you type in the command hit enter. Exit command prompt. Select browse to locate the location you created in command prompt. Click next. Now the hard drive is copying to the server. You have captured an image.





Comments
0 comment