views
Readying the Room
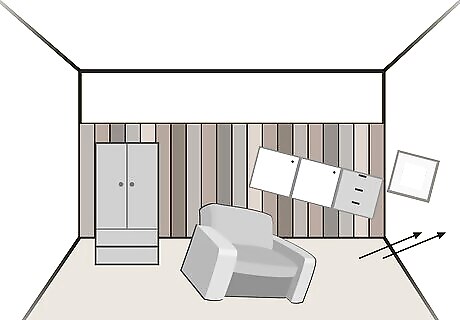
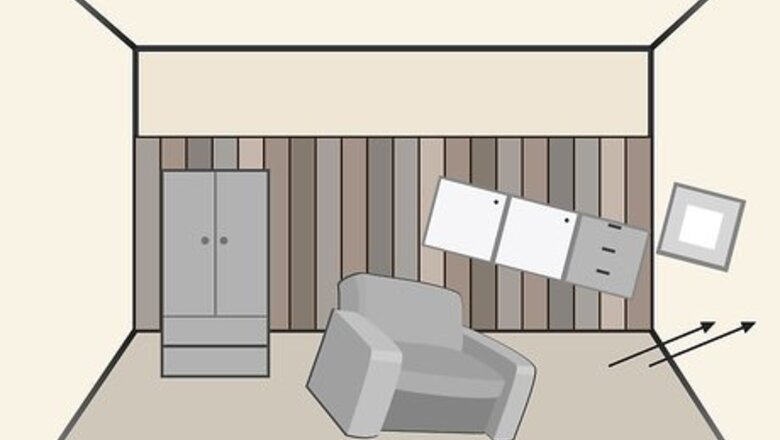
Remove your furniture away from the walls. Remove couches, armchairs, tables, shelves, and artwork away from the wood paneled walls. Place easy-to-remove furniture in a separate room.
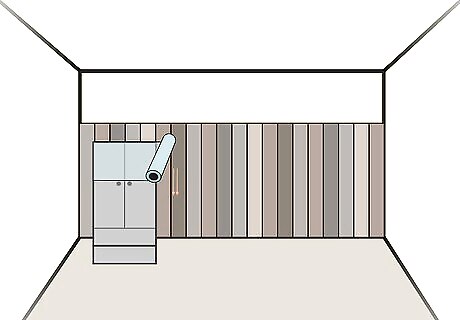
Cover heavy furniture with plastic. Cover heavy pieces of furniture, like couches and shelves, with plastic. The plastic will protect them from dust and paint. To ensure that the plastic stays on the furniture, use painter's tape to secure it to the furniture.
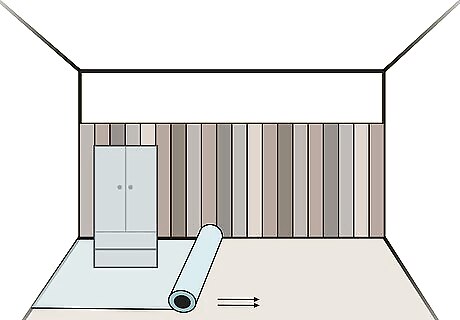
Cover the floor with plastic. Remove area rugs and place them in a separate room. Then line the floor with plastic. Use painter’s tape to tape the plastic to the bottom of the wall. This way the plastic will not move and expose the floor as you work on your walls.
Prepping the Paneling
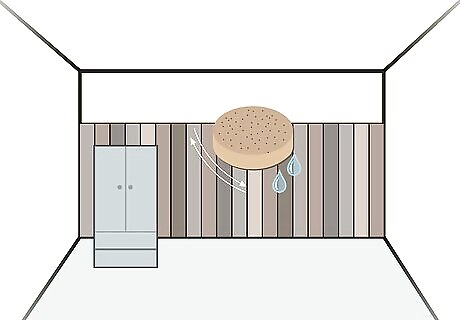
Clean the wood paneling. If your walls only have minor dirt and dust, just use a wet rag to wipe them down. Apply a mild dishwashing detergent to remove minor dirt and dust stains. However, if your walls have grease, grime, and other problem stains, use a heavy duty cleaner, like a solution of trisodium phosphate (TSP) and water, to clean them. Let the walls dry thoroughly after cleaning them, about 30 minutes to an hour. When using TSP, make sure to wear gloves, goggles, and a mask. Also open the windows to let the air flow. Wipe your walls down with a damp rag after using TSP. You can purchase TSP online or from your local hardware store. Make sure to use TSP according to the instructions on the bottle.
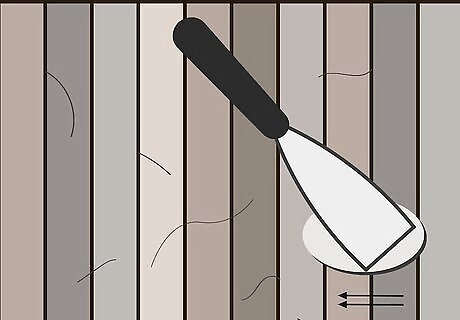
Fill in any nail holes. Use putty or a spackling compound to fill in any nail holes. Fill the holes with a small amount of putty. Let the putty dry completely before you begin sanding, about an hour or overnight. If you want to grey wash your walls within a day or two, use a quick-drying putty instead. You can purchase putty and spackling compounds from your local hardware store.
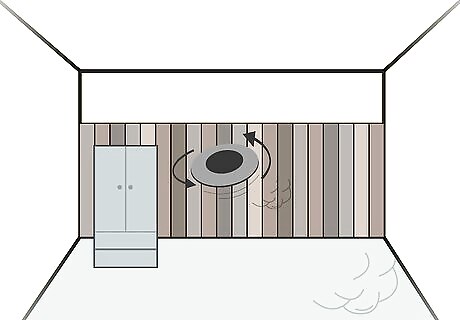
Sand the paneling. Use 100-grit sandpaper to sand the wood paneling and trim. Using a pole sander or a sanding block, lightly sand the wood paneling. This is also known as scuffing. Try not to over sand the wood. Sand just enough to remove the finish and smooth out the surface. If your wood paneling is thick, then use 200 to 220-grit sand paper. You may also want to use an orbit sander to sand thick wood paneling.
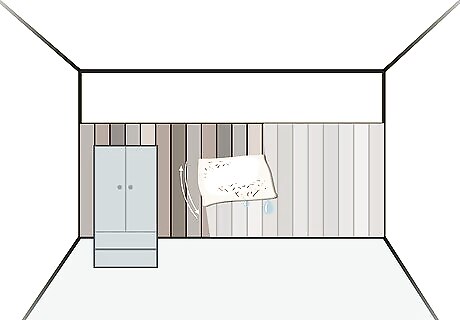
Wipe the dust from the walls. After you finish sanding, there will be a fair amount of dust on the walls. Wipe the walls with a clean, wet rag until all of the dust is removed. Make sure to let the walls air dry completely before moving on, about 30 minutes to an hour.
Painting the Walls
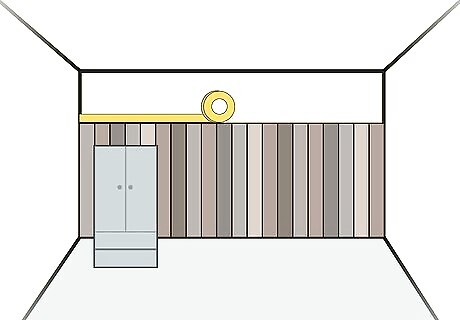
Apply painter’s tape. Section off any areas that you do not want to paint with painter’s tape. Make sure to press the tape flat against the wall. This way, paint will not be able to seep through when the tape comes into contact with the paint.
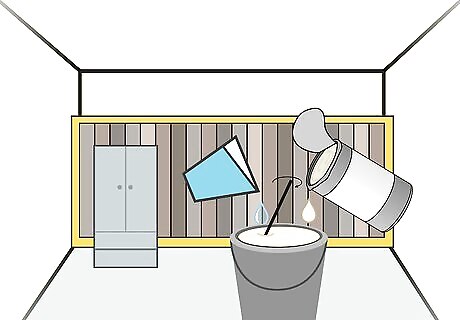
Mix a solution of paint and water. In a five-gallon paint bucket, mix a 1:1 ratio of grey paint to water. The consistency of the solution should be something like runny pancake batter. If the solution is too thick, then add more water until you have a 1 to 1.5 ratio of grey paint to water. Remember that the more water you have in your mixture, the more coats it will take to cover your walls.
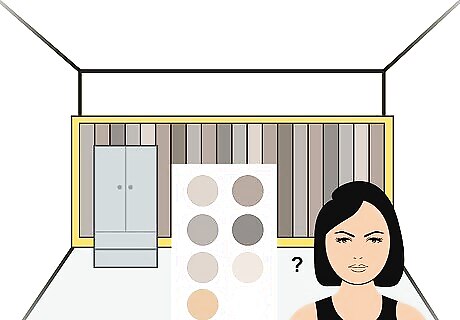
Use paint samples to find the right color. Pick two or three free samples of grey paint from your local hardware store. In a small, inconspicuous spot on the wall, apply the paint samples mixed with the appropriate amount of water. Let the paint set for three seconds and then wipe it with a clean, dry rag. Pick which color of grey you like best and use this to paint the rest of your walls. If you like the color, but it is too dark, then add more water to the mixture. If the color is too light, then add more paint to the mixture. This way you can avoid wasting money on paint if you do not like the original color.
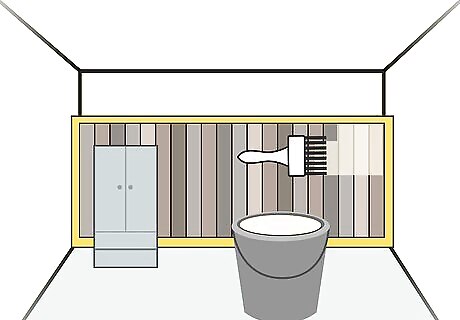
Apply the paint. Dip a clean paintbrush into the paint. Working in small 1x1 foot (.3x.3 meter) sections, start painting your walls from the top down. Start in the top left or right corner of the wall as well.
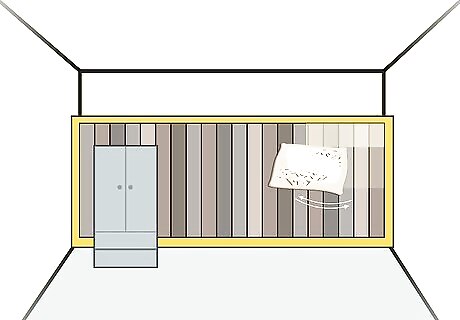
Wipe the paint with a cloth. After you paint each section, wipe the paint with a clean, dry cloth. Wiping the wall will remove any streaks or drops of paint. Ideally, you want to use scraps of flannel sheet. However, you can use cotton cloths as well. For example, paint a section until your brush runs out of paint. Then wipe the section with a dry cloth.
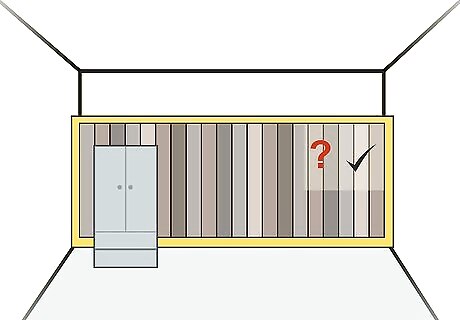
Step back and check your work. As you paint and wipe, make sure to step back to assess the wall for consistency. If a section of the wall is too dark, then wipe it with a damp cloth to lighten it. If a section of the wall is too light, then apply more paint and wipe with a dry cloth.
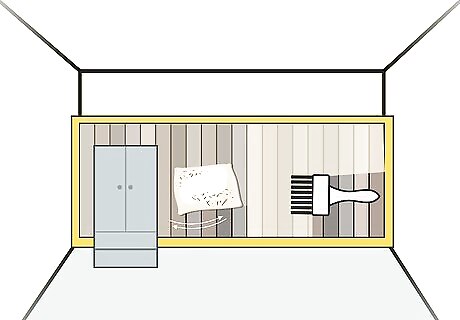
Continue painting and wiping until all of your walls are painted. You may need to apply a second coat if you want more coverage. However, make sure to let the walls dry completely (overnight) before applying a second coat. This way you can see what the finished walls look like to figure out if you need a second coat.
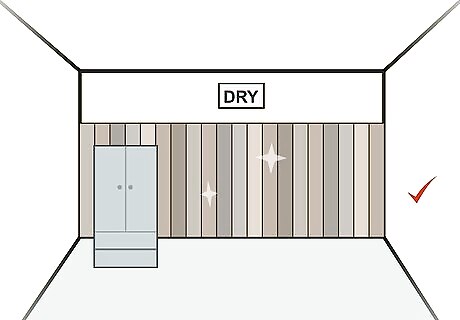
Let the walls dry completely. Once you are happy with the color and look of your walls, let them dry overnight, or for 24 hours. Once the walls are dry, remove the painter’s tape and plastic. Vacuum the floors and place your furniture back in the room.


Comments
0 comment